So you’re craving something warm, comforting, and utterly delicious, but the thought of spending hours kneading dough makes you want to crawl back into bed? Me too, friend. Me. Too. Sometimes, life just calls for soft, pillowy bread that practically melts in your mouth without requiring an entire afternoon of labor.
Good news! I’ve got a recipe for you that’s so simple, so forgiving, and so darn tasty, it feels like cheating. Get ready to bake some seriously soft and moist bread that’ll make your kitchen smell like a dream and your tummy sing. No intense yoga moves required, just pure, unadulterated bread bliss.
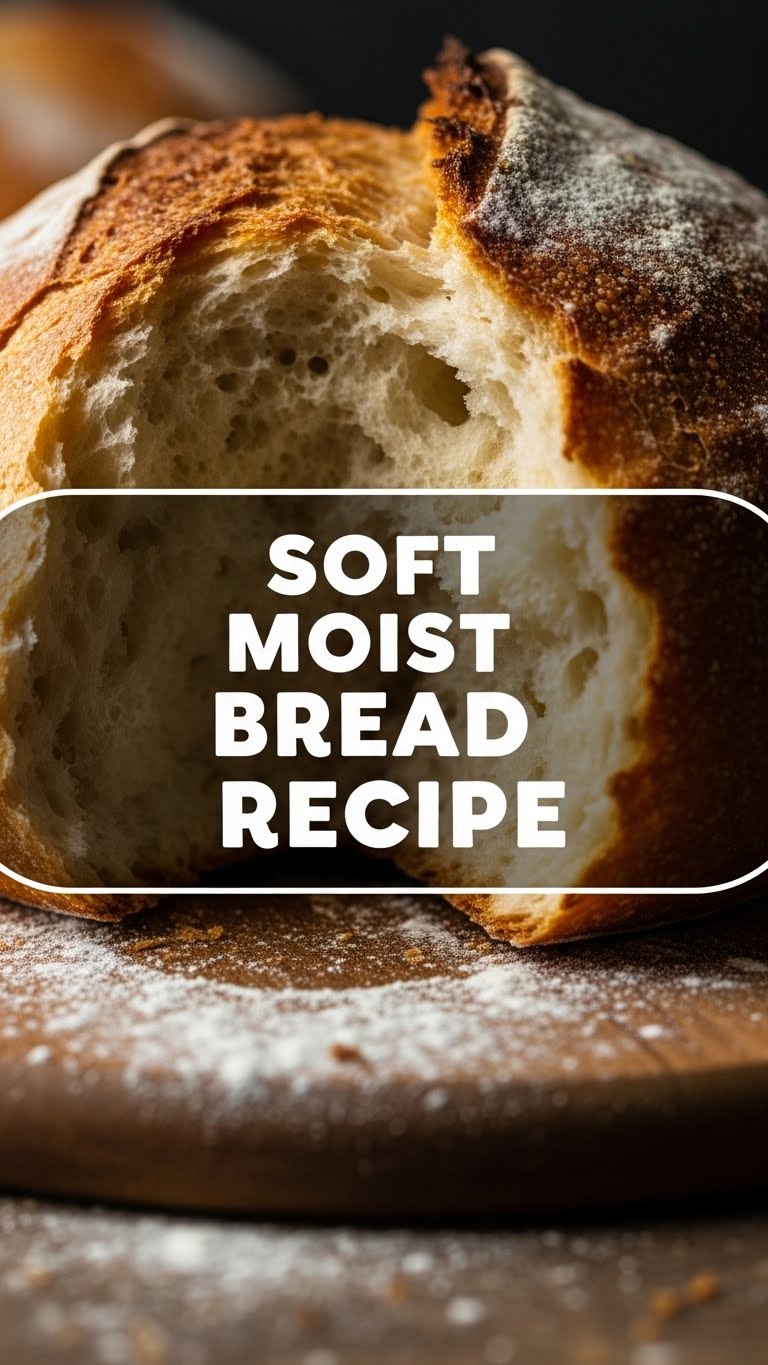
Why This Recipe is Awesome
Seriously, this isn’t your grandma’s 8-hour bread recipe (unless your grandma was secretly a kitchen wizard who had a life outside of dough). This bad boy is designed for maximum deliciousness with minimum fuss. It’s practically idiot-proof – and trust me, if *I* can make it without summoning a bread demon, so can you. It’s soft, it’s moist (yes, I said the M-word!), and it’s perfect for everything from slathering with butter to making the best darn sandwich of your life.
Plus, your house will smell like a bakery, which is basically the best air freshener ever invented. You’ll get all the glory for minimal effort. Win-win, right?
Ingredients You’ll Need
Gather ’round, my fellow kitchen adventurers! Here’s what you’ll need for your soft bread escapade:
- 1 cup Warm Milk: Not hot enough to scald a baby, not cold enough to give it a brain freeze. Think spa-bath temperature for your yeast friends (around 105-115°F or 40-46°C).
- 2 ¼ teaspoons Active Dry Yeast: That’s one standard packet. These tiny little magic makers are the key to fluffiness. Don’t use expired stuff unless you enjoy flat bread and disappointment.
- 2 tablespoons Granulated Sugar: Just a pinch to wake up that yeast, and a bit more for the bread’s inner sweetness.
- 3 cups All-Purpose Flour: The backbone of our bread dream. Don’t get too fancy here; AP works perfectly. You might need a tiny bit more for dusting during kneading.
- 1 teaspoon Salt: Essential! It brings out all the flavors. Don’t skip it unless you like bland sadness.
- ¼ cup Unsalted Butter, melted: This gives it that gorgeous richness and contributes to the softness.
- 1 Large Egg: For that golden crust and extra tender crumb.
Step-by-Step Instructions
Ready? Let’s get our hands a little floury!
- Wake Up the Yeast: In a large mixing bowl, combine your warm milk, 1 tablespoon of the sugar, and the active dry yeast. Give it a gentle stir. Let it sit for about 5-10 minutes. You’ll see it get all foamy and bubbly – that means your yeast is alive and ready to party! If it doesn’t foam, your yeast might be dead (RIP) or your milk was too hot/cold. Start over.
- Mix Dry & Wet: In a separate bowl, whisk together the flour, remaining 1 tablespoon of sugar, and salt. Once your yeast mixture is bubbly, add the melted butter and the egg to it, and give it another whisk.
- Combine & Knead It Out: Gradually add the dry ingredients to the wet ingredients, mixing until a shaggy dough forms. Turn the dough out onto a lightly floured surface. Now for the fun part: knead it! Push, pull, fold, and stretch for about 8-10 minutes until the dough is smooth, elastic, and no longer sticky. This is where the arm workout happens! Don’t skimp on this step; it’s crucial for that soft texture.
- First Rise: Lightly grease a clean large bowl with a little oil. Place your beautiful dough ball in it, turning once to coat. Cover the bowl with plastic wrap or a clean kitchen towel. Find a warm spot and let it rise for 1 to 1.5 hours, or until it has doubled in size.
- Shape It Up: Gently punch down the dough to release the air (so satisfying!). Turn it out onto your lightly floured surface again. Shape it into a neat loaf. You can simply roll it into a rectangle, then roll it up tightly like a sleeping bag, pinching the seams closed.
- Second Rise: Place the shaped dough into a lightly greased standard loaf pan (9×5 inches works great). Cover it again and let it rise for another 30-45 minutes, or until it looks puffy and has risen above the rim of the pan.
- Bake It! While your bread is doing its second rise, preheat your oven to 375°F (190°C). Once preheated and the bread has risen, pop it into the oven. Bake for 25-30 minutes, or until the crust is beautifully golden brown and sounds hollow when tapped.
- Cool Down: Immediately remove the bread from the loaf pan and place it on a wire rack to cool completely. I know, I know, it’s torture. But trust me, let it cool before slicing! This allows the internal structure to set properly.
Common Mistakes to Avoid
We’ve all been there! Learn from my flour-dusted mishaps:
- Killing the Yeast: Your milk temperature is crucial. Milk too hot? Yeast dies. Milk too cold? Yeast sleeps. Aim for “warm bath” perfection. **Warm milk is key!**
- Not Kneading Enough: Your bread will be dense, crumbly, and sad. Knead like you’re angry at something (or channeling your inner baker). Aim for that smooth, elastic feel.
- Skipping the Rises: Patience, young padawan! These rises are where the magic happens, developing flavor and that beautiful airy texture. Don’t rush them.
- Cutting Too Soon: It’s tempting to slice into that warm, fragrant loaf right out of the oven, but resist! Otherwise, it’ll be gummy inside and potentially squish.
- Forgetting to Preheat: Rookie mistake. Your oven needs to be ready to party at the correct temperature for even baking and a good crust.
Alternatives & Substitutions
Feeling adventurous? Or just missing an ingredient? Here are some ideas:
- Milk: Any dairy milk (whole, 2%, skim) works perfectly. Almond or soy milk *can* be used, but they might slightly alter the texture and richness. IMO, dairy milk gives the best results here.
- Sugar: You can swap granulated sugar for an equal amount of honey or maple syrup if you prefer, but be mindful that liquid sugars might make the dough a tad stickier, so you might need a tiny bit more flour.
- Butter: Margarine works in a pinch, but… why? Butter gives far superior flavor and richness. If you’re out of unsalted, salted butter is fine, just reduce the added salt by about ¼ teaspoon.
- Flour: Bread flour will give you a slightly chewier crumb, but all-purpose is ideal for that signature soft and moist texture we’re aiming for. Whole wheat flour will make a denser loaf, not what we’re going for with “soft and moist.”
- Shiny Crust: For an extra shiny, golden-brown crust, brush the top of the loaf with an egg wash (one egg beaten with 1 tablespoon water) before baking.
FAQ (Frequently Asked Questions)
Let’s tackle some common queries before you even think ’em:
- **”My yeast didn’t bubble! What gives?”** Probably too old, or your milk was a hot tub of death. Try again with fresh yeast and correct milk temp. It’s usually the culprit!
- **”Can I make this ahead?”** Absolutely! After the first rise, you can punch it down, shape it, and put it in the fridge overnight for a slow second rise. Just let it sit at room temperature for about 30-60 minutes before baking the next day.
- **”My bread is dense, not fluffy. Help!”** Likely not enough kneading, or it didn’t rise enough in either of the stages. Give that dough some love next time!
- **”How do I store leftover bread?”** In an airtight container or bag at room temperature for 3-4 days. For longer storage, slice the cooled bread and freeze it. It toasts beautifully straight from the freezer!
- **”Is this recipe *actually* idiot-proof?”** As close as it gets, my friend. As close as it gets. Just follow the steps, and you’ll be golden.
- **”Can I add stuff like herbs or cheese?”** Oh, heck yeah! Get creative! After the first rise, you can gently fold in things like dried herbs (rosemary, thyme), shredded cheese, or even some chopped garlic.
Final Thoughts
See? I told you it wasn’t rocket science! You’ve just whipped up a loaf of glorious, soft, moist bread that’s probably already making your entire house smell divine. Go ahead, take a bow. Your kitchen smells amazing, your tummy is about to be very happy, and you’ve conquered the mighty yeast (or at least befriended it).
Now go impress someone – or, let’s be real, just devour it all yourself. You’ve earned it, superstar! Happy baking, and happy eating!


