So, you’re staring into the abyss of your snack cupboard, dreaming of something *actually* good? And maybe something green for… St. Patrick’s Day? Or just because green is a vibe? Same, friend, same. Forget those rock-hard, bland discs pretending to be cookies. We’re about to make some minty, melty, soft chocolate chip magic that’ll make your tastebuds do a happy dance. No fancy equipment, no culinary degree required. Just you, me, and a whole lotta deliciousness.
Why This Recipe is Awesome
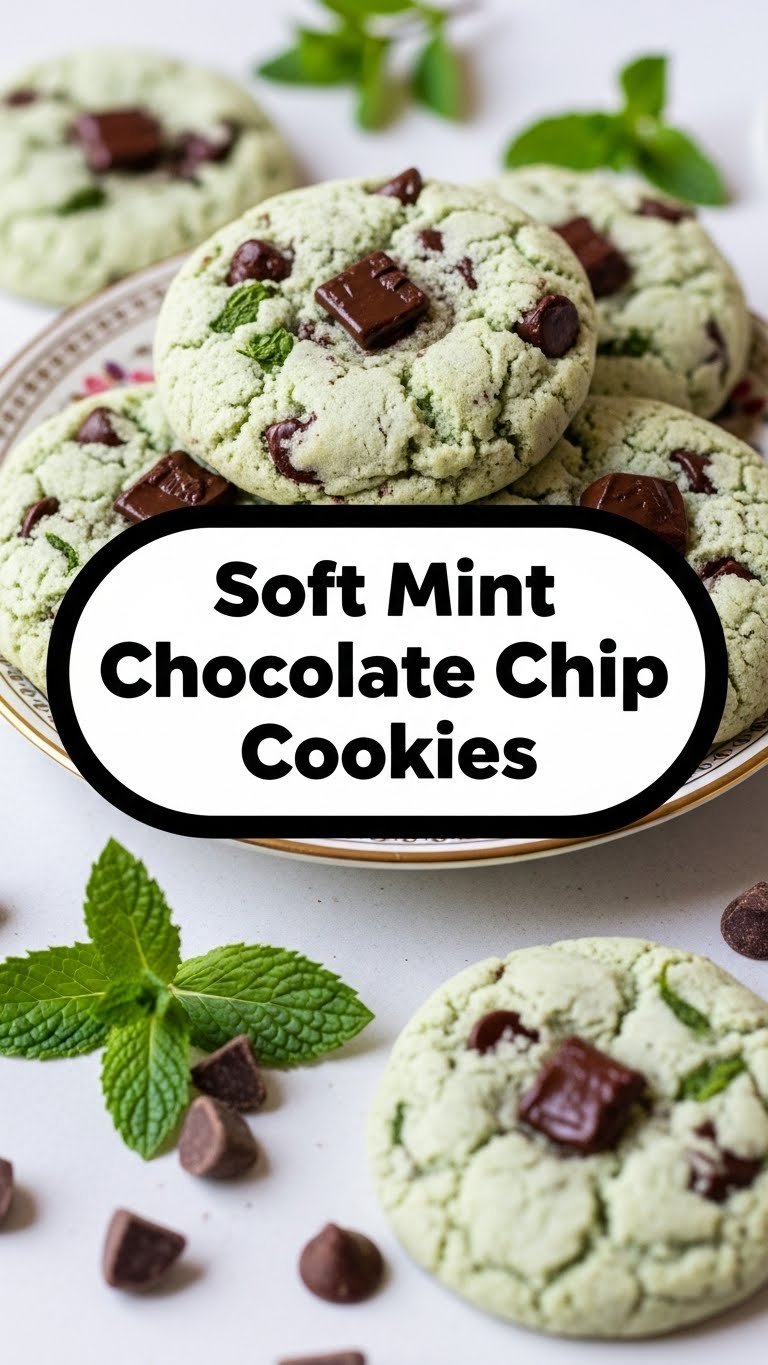
Okay, first off, these aren’t your grandma’s “good intentions, questionable texture” cookies. These are soft, chewy, and ridiculously easy. Seriously, if you can stir, you can make these. It’s practically idiot-proof – even *I* managed not to burn the kitchen down, and that’s saying something. Plus, the mint and chocolate combo? A classic power duo. It’s like a hug for your mouth, but with tiny chocolate explosions. And bonus: they look kinda fancy because they’re green! Instant impress factor, even if you just impress yourself while bingeing Netflix.
Ingredients You’ll Need
- 1 cup (2 sticks) unsalted butter, softened. Not melted into a puddle, just soft enough to smoosh with a spoon. Patience, young Jedi.
- ¾ cup granulated sugar. The sweet stuff.
- ¾ cup packed light brown sugar. This is key for that chewy goodness. Don’t skip it!
- 2 large eggs. Fresh from the chicken, ideally. Kidding, store-bought is fine.
- 1 teaspoon vanilla extract. The good stuff, not the imitation kind that tastes like regret.
- ½ teaspoon peppermint extract. Crucial for the minty kick! A little goes a long way, trust me.
- ½ teaspoon green food coloring (optional, but makes them extra fun). Go on, live a little.
- 2 ¼ cups all-purpose flour. The binder of dreams.
- 1 teaspoon baking soda. Our little cookie lifter.
- ½ teaspoon salt. Balances all that sweetness. Don’t forget it!
- 1 ½ cups semi-sweet chocolate chips. Or dark, or milk. Your call, your cookie.
- Extra chocolate chips for sprinkling on top (because why not?).
Step-by-Step Instructions
- Preheat & Prep: First things first, get your oven to 375°F (190°C). Line a couple of baking sheets with parchment paper. Trust me, it makes cleanup a breeze.
- Cream it Up: In a large bowl, beat the softened butter, granulated sugar, and brown sugar until it’s light and fluffy. Use a stand mixer if you’re fancy, or just good old elbow grease.
- Wet Ingredients Join the Party: Add the eggs one at a time, mixing well after each. Stir in the vanilla extract, peppermint extract, and a few drops of green food coloring (if you’re going for that vibrant minty look). Mix until everything is beautifully combined and green!
- Dry Meets Wet: In a separate bowl, whisk together the flour, baking soda, and salt. Gradually add this dry mixture to your wet ingredients, mixing on low speed until *just* combined. Don’t overmix! That’s how you get tough cookies, and nobody wants a tough cookie.
- Chocolate Chip Shower: Fold in those glorious chocolate chips. Be gentle, you don’t want to squish them all.
- Scoop & Bake: Drop rounded tablespoons of dough onto your prepared baking sheets, leaving a couple of inches between each. Pop them in the preheated oven for 9-11 minutes, or until the edges are lightly golden and the centers look set but still soft.
- Cool Down: Let them cool on the baking sheet for a few minutes before transferring them to a wire rack to cool completely. Or, you know, eat one warm. I won’t tell.
Common Mistakes to Avoid
- Overmixing the dough: This is a cardinal sin, folks. It develops the gluten too much, leading to hockey pucks instead of soft, chewy cookies. Mix *just* until no dry streaks remain.
- Using cold butter: Your butter needs to be softened, not straight from the fridge. Cold butter won’t cream properly, and your cookies will suffer.
- Too much peppermint extract: Remember how I said a little goes a long way? Trust me. Too much, and your cookies will taste like toothpaste. Start with ½ tsp and add more only if you’re feeling adventurous (and brave).
- Not preheating the oven: Rookie mistake! A properly preheated oven ensures even baking and perfect cookies. Don’t rush it.
Alternatives & Substitutions
- Chocolate Types: Not a semi-sweet fan? Go wild! Use milk chocolate chips, dark chocolate chunks, or even white chocolate chips for a different vibe. Mini chocolate chips are also super cute.
- Mint Level: If you’re not a huge mint fan, reduce the peppermint extract to ¼ teaspoon. If you’re a mint fiend, maybe go up to ¾ teaspoon, but tread carefully!
- Green-Free Zone: Don’t want green cookies? Just skip the food coloring! They’ll still taste amazing, just less… festive.
- Butter Swap: Can you use margarine? Well, technically yes, but butter gives the best flavor and texture, IMO. For a dairy-free option, use a good quality plant-based butter stick.
FAQ (Frequently Asked Questions)
- “Can I chill the dough?” Absolutely! Chilling the dough for 30 minutes (or even overnight!) can deepen the flavors and result in slightly thicker, chewier cookies. It’s totally optional, but a pro move.
- “My cookies spread too much! What happened?” Could be a few things: your butter was too soft/melted, your oven wasn’t hot enough, or your flour measurement was off. Try chilling the dough next time!
- “How long do these magic cookies last?” In an airtight container at room temperature, they’re typically good for 3-5 days. If they last that long, you’re stronger than I am.
- “Can I freeze the dough?” Heck yes! Scoop the dough onto a parchment-lined tray, freeze until solid, then transfer to a freezer bag. Bake from frozen, adding a couple of minutes to the bake time. Fresh cookies anytime!
- “Can I use natural food coloring?” You bet! Matcha powder could give a subtle green (and a slightly different flavor profile), or look for natural green food dyes. Just know the color might be less vibrant.
Final Thoughts
And there you have it, future cookie champion! A batch of soft, minty, chocolatey goodness that’ll make your kitchen smell divine and your tastebuds sing. Now go impress someone—or yourself, which is arguably more important—with your new culinary skills. You’ve earned those bragging rights (and those cookies!). Enjoy, friend!


