Ever have those days where you just *need* a cookie? Not just any cookie, but one that’s soft, chewy, practically melts in your mouth, and screams ‘I love you, now eat me!’? Yeah, me too. And let’s be real, who has time for complicated recipes when the cookie craving hits? Exactly.
Good news, my friend! I’ve got your back. This isn’t just *another* chocolate chip cookie recipe; it’s *the* recipe. The one you’ll keep coming back to. The one that will make you a legend among your snack-loving circle. So, let’s get baking!
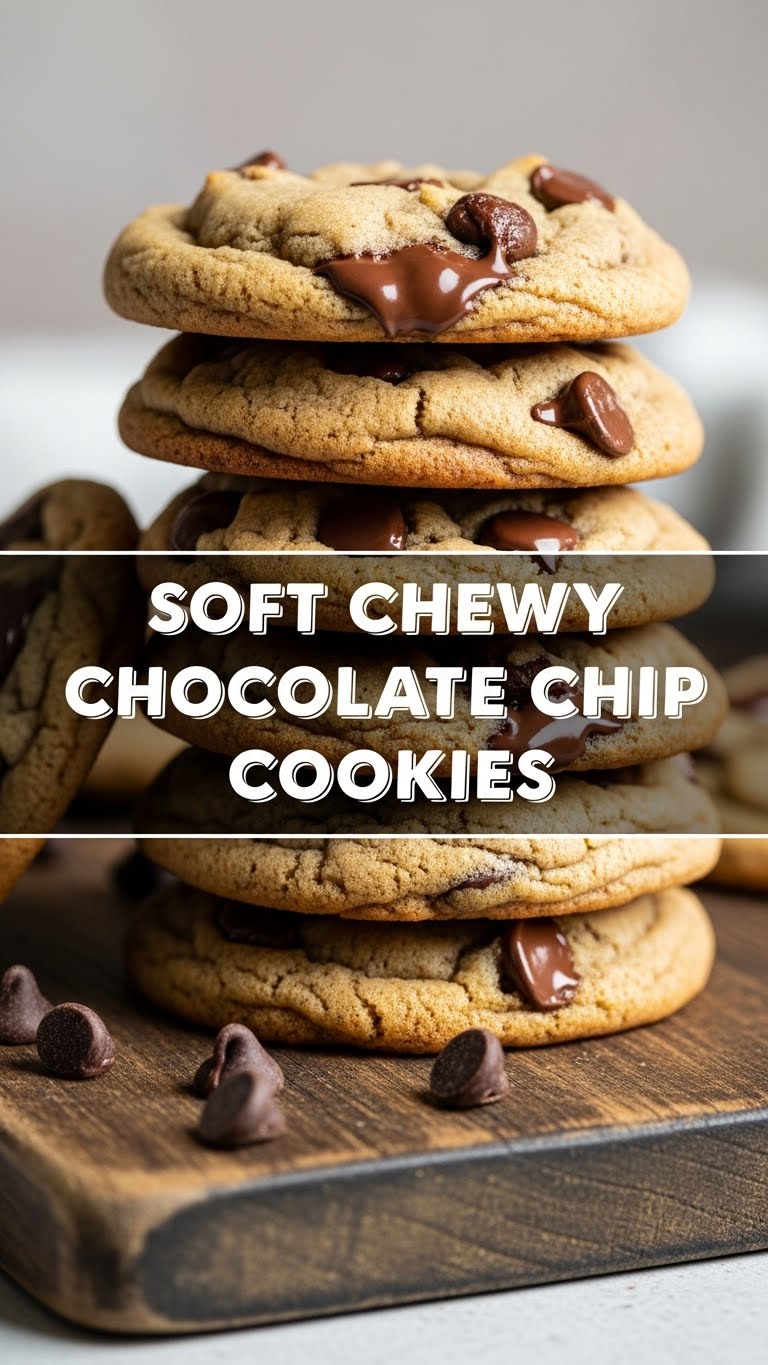
Why This Recipe is Awesome
Okay, so why bother with *this* recipe when the internet is overflowing with cookie guides? Simple: This one actually works. Like, **really works.** It’s so straightforward, I’m pretty sure my cat could follow it if she had opposable thumbs and an interest in baking. (She doesn’t, she just wants tuna.) We’re talking minimal fuss, maximum deliciousness, and a guaranteed pat on the back from anyone lucky enough to snag one. Plus, it’s pretty much **idiot-proof**, so even if your last baking attempt involved a smoke alarm and a burnt offering, you’re golden here.
Ingredients You’ll Need
Gather your troops! Here’s what you’ll need to conquer those cookie cravings:
- Unsalted Butter (1 cup / 2 sticks), softened: Because everything’s better with butter, and unsalted means *you* control the salt. Don’t melt it, just let it chill out on the counter for a bit.
- Granulated Sugar (1/2 cup): The classic sweet stuff.
- Packed Light Brown Sugar (1 1/2 cups): This is your secret weapon for chewiness. Don’t even *think* about skimping!
- Large Eggs (2), room temperature: Help bind everything together. If they’re cold, pop ’em in warm water for a few mins.
- Vanilla Extract (2 teaspoons): Don’t skip this! It’s like a hug for your taste buds.
- All-Purpose Flour (2 1/4 cups): The backbone of your cookies. Make sure to measure it correctly (more on that later!).
- Baking Soda (1 teaspoon): The lift, the fluff, the magic!
- Salt (1 teaspoon): Balances all that sweetness. Trust me, it makes a difference.
- Semi-Sweet Chocolate Chips (1 1/2 cups): Or milk chocolate, or dark, or a mix! You do you. **More chocolate is always a good idea, just saying.**
Step-by-Step Instructions
Ready to turn these humble ingredients into cookie heaven? Let’s do this!
- **Get Oven-Ready:** Preheat your oven to 375°F (190°C). Line a couple of baking sheets with parchment paper. This makes cleanup a breeze and prevents sticking.
- **Cream it Up:** In a large bowl (or stand mixer if you’re fancy), cream together the softened butter, granulated sugar, and brown sugar until light and fluffy. This usually takes about 2-3 minutes. Scrape down the sides of the bowl!
- **Egg-cellent Addition:** Beat in the eggs one at a time, making sure each is fully incorporated before adding the next. Then stir in that glorious vanilla extract.
- **Dry Mix Fun:** In a separate medium bowl, whisk together the flour, baking soda, and salt. Don’t skip this step – it ensures even distribution.
- **Combine Forces:** Gradually add the dry ingredients to the wet ingredients, mixing on low speed until *just* combined. **Don’t overmix!** Overmixing makes tough cookies, and nobody wants a tough cookie.
- **Chocolate Time!** Fold in the chocolate chips with a spatula. If you’re feeling extra, reserve a few to press on top of the dough balls later for that bakery-style look.
- **Scoop ‘Em Out:** Drop rounded tablespoons of dough onto your prepared baking sheets, leaving about 2 inches between them. These babies like their space.
- **Bake ‘Em Up:** Bake for 9-11 minutes, or until the edges are golden brown but the centers still look slightly soft. **This is key for chewiness!**
- **Cool Down:** Let the cookies cool on the baking sheets for about 5 minutes before transferring them to a wire rack to cool completely. Or, you know, eat one warm. I won’t tell.
Common Mistakes to Avoid
We all make mistakes, especially in the kitchen. But with these pointers, you’ll be a cookie pro in no time!
- **Melted Butter vs. Softened Butter:** Thinking they’re the same? **Rookie mistake!** Melted butter changes the cookie’s texture, making them flatter and greasy. Softened means it yields to a gentle poke, but isn’t liquid.
- **Overmixing the Dough:** Seriously, I can’t stress this enough. Once you add the flour, mix *just* until it comes together. Too much mixing develops gluten, leading to hard, dry cookies. Sad.
- **Not Preheating the Oven:** Your oven needs to be at the correct temperature from the get-go for even baking. Patience, young grasshopper!
- **Ignoring Baking Times:** Those 9-11 minutes are a guideline, but ovens vary. **Keep an eye on them!** Pull them out when they look slightly underdone in the middle for maximum chewiness. Overbaked = crunchy (unless that’s your thing, but not for *this* recipe!).
- **Not Using Parchment Paper:** You *can* grease a pan, but parchment paper is your best friend for non-stick results and easy cleanup. Why make life harder?
Alternatives & Substitutions
Feeling creative? Or maybe you’re just out of one ingredient? Here are some tweaks you can make:
- **Chocolate Chip Variety:** Feel free to swap semi-sweet for milk chocolate, dark chocolate, white chocolate, or even peanut butter chips. Or go wild and mix ’em! **IMO, a mix of semi-sweet and dark is divine.**
- **Butter:** Can you use margarine? Well, technically yes, but why hurt your soul like that? Butter just tastes better, period. But if you *must*, go for a high-quality stick.
- **No Brown Sugar?** You could technically use all white sugar, but your cookies won’t be as chewy or moist. Brown sugar is really important for the texture here.
- **Add-ins:** Feeling adventurous? Throw in some chopped nuts (pecans or walnuts), M&Ms, or even a sprinkle of sea salt on top before baking for a sophisticated touch. **Sea salt is a game-changer.**
- **Gluten-Free Flour:** I haven’t personally tested this recipe with GF flour, but a 1:1 gluten-free baking blend *might* work. Results may vary, so proceed with caution and maybe a prayer.
FAQ (Frequently Asked Questions)
- **My cookies spread too much! What happened?** Ah, the dreaded pancake cookie! Usually, this means your butter was too soft (or melted), your oven wasn’t hot enough, or your dough was too warm. Try chilling the dough for 30 minutes before baking next time!
- **Can I chill the dough overnight?** Absolutely, and it’s highly recommended if you have the patience! Chilling allows the flavors to meld and can lead to an even chewier cookie. **Totally worth it if you’re not in a rush.**
- **How do I store these masterpieces?** Keep them in an airtight container at room temperature for up to 3-4 days. If they last that long, you have more willpower than me!
- **Can I freeze the cookie dough?** Yes! Scoop the dough onto a parchment-lined baking sheet and freeze until firm, then transfer to a freezer-safe bag. Bake from frozen, adding a couple more minutes to the bake time. **FYI, this is perfect for future cookie emergencies.**
- **Why is room temperature important for eggs?** Room temp eggs incorporate better into the butter and sugar mixture, creating a smoother, more emulsified batter. This leads to a better texture in your final cookie. Science!
Final Thoughts
So there you have it, friend! Your new go-to recipe for Soft Chewy Chocolate Chip Cookies that are practically guaranteed to make you famous (at least in your own kitchen). Don’t be shy, get in there and make some magic happen. Remember, baking should be fun, so crank up some tunes, maybe pour yourself a little something, and enjoy the process. Now go impress someone—or yourself—with your new culinary skills. **You’ve earned it!** And hey, save me one, okay?


