Ever found yourself staring into the fridge, dreaming of something *chef’s kiss* but your energy levels are, let’s just say, “on vacation”? Yeah, me too. Especially when it comes to fancy desserts that sound like they require a culinary degree. Tiramisu usually falls into that category, right? All those layers, the delicate balance… Sounds like a project for someone with more patience than me on a Tuesday afternoon.
But what if I told you we could whip up a slice of that glorious Italian goodness, complete with a naughty chocolate hat, without breaking a sweat (or a single egg, for that matter)? Prepare yourself, friend, because your dessert game is about to get ridiculously easy and ridiculously delicious. We’re talking maximum impact, minimal effort. You ready for this no-bake marvel?
Why This Recipe is Awesome
Let’s be real, you’re here because you want something amazing without turning your kitchen into a disaster zone or spending your entire afternoon whisking. And guess what? This recipe delivers! First off, it’s **no-bake**. Yep, you heard that right. No oven, no fuss, just pure, chilled dessert magic. This automatically makes it idiot-proof; even I didn’t mess it up.
Secondly, it looks like you slaved away for hours, but you’ll be done in about 30 minutes of *active* time. The rest is just chilling (literally, for the tiramisu, and figuratively, for you). Thirdly, it’s Tiramisu! Who doesn’t love Tiramisu? It’s a classic for a reason. And finally, we’re adding a luscious chocolate topping because, well, why not? More chocolate is always the answer. It truly takes this already divine dessert to an “OMG, you made this?!” level. You’re welcome.
Ingredients You’ll Need
Gather your troops, folks! Here’s what you’ll need for this dessert adventure. Don’t worry, nothing too exotic.
- 1 ½ cups (360ml) Strong Brewed Coffee or Espresso, Cooled: This is your Tiramisu’s morning pick-me-up. Make it strong! Decaf is fine if you’re sensitive to caffeine, but let’s be honest, we’re here for the kick.
- ¼ cup (60ml) Coffee Liqueur (like Kahlua) or Dark Rum, Optional: Because sometimes your dessert needs a little party. If you’re skipping the booze, just add a bit more coffee.
- 16 ounces (450g) Mascarpone Cheese, Chilled: The creamy, dreamy heart of our Tiramisu. Don’t skimp on quality here; it makes a difference.
- 1 ½ cups (360ml) Cold Heavy Cream: For that cloud-like fluffiness. Keep it super cold until you’re ready to whip!
- ½ cup (60g) Powdered Sugar: Sweetness without the graininess. Sift it if you’re feeling fancy (or if it’s lumpy).
- Approximately 24-30 Ladyfingers: The MVP of no-bake desserts. Get the firm kind, not the super soft spongey ones.
- 2 tablespoons Unsweetened Cocoa Powder: For dusting. It’s the finishing touch!
- 4 ounces (115g) Dark or Milk Chocolate, Chopped: For our glorious chocolate topping. Whatever kind you love to melt!
Step-by-Step Instructions
Alright, apron on (or not, we’re friends here), let’s get this delicious show on the road!
- Prep Your Coffee Base: In a shallow bowl, combine your cooled coffee/espresso with the optional coffee liqueur or rum. Set it aside. We don’t want to rush this crucial step; hot coffee is a no-go!
- Whip the Creamy Dream: In a large bowl, combine the cold mascarpone cheese, cold heavy cream, and powdered sugar. Using an electric mixer (or a whisk if you want a serious arm workout), beat on medium-high speed until the mixture is thick and holds stiff peaks. **Be careful not to over-whip**; mascarpone can curdle easily.
- Dip & Layer – Round One: Quickly dip one ladyfinger at a time into the coffee mixture. We’re talking a super quick dip on each side—**don’t drown them!** Place a single layer of the dipped ladyfingers at the bottom of an 8×8 inch (or similar sized) serving dish. If you need to break them to fit, go for it. This isn’t rocket science.
- Creamy Goodness Layer: Spoon half of your whipped mascarpone mixture over the ladyfingers, spreading it evenly to the edges. Admire your handiwork.
- Dip & Layer – Round Two: Repeat the dipping process with the remaining ladyfingers and create a second layer over the cream. Top this with the remaining mascarpone mixture, spreading it smoothly.
- Chill Out: Cover the dish with plastic wrap and refrigerate for at least **4 hours**, but **overnight is best** for the flavors to really meld and for it to firm up perfectly. Patience, young grasshopper.
- Chocolate Drizzle Time: When your Tiramisu is thoroughly chilled, melt your chopped chocolate. You can do this in a microwave (in 30-second bursts, stirring in between) or over a double boiler. Drizzle or spread the melted chocolate over the top of your Tiramisu.
- The Grand Finale: Before serving, generously dust the top with cocoa powder using a small sieve. Now, slice into that glorious creation and prepare for applause!
Common Mistakes to Avoid
Nobody’s perfect, but we can avoid some common pitfalls that turn Tiramisu dreams into soggy nightmares. Learn from my errors, my friend:
- Over-soaking Ladyfingers: This is the cardinal sin of Tiramisu. They’re not sponges for your kitchen counter, people! A quick dip is all they need, like a flash mob, unless you’re aiming for a mushy, soupy disaster.
- Not Chilling Long Enough: “But I want it NOW!” I hear you. But seriously, **patience is key**. It needs time to firm up and for the flavors to mingle like old friends at a reunion. Trust the process.
- Using Hot Coffee: You’ll curdle your mascarpone cream, which is a tragedy. Always make sure your coffee is completely cool before dipping. This isn’t a coffee bath for your fingers, it’s flavor infusion!
- Over-whipping the Mascarpone Mix: While you want stiff peaks, mascarpone can turn grainy if you go too far. Stop when it’s thick and holds its shape. Think fluffy cloud, not cottage cheese.
- Forgetting the Cocoa Dust: It’s like leaving the house without your shoes! The cocoa powder adds that authentic touch and a lovely bitterness that balances the sweetness. Don’t skip it!
Alternatives & Substitutions
Life’s too short for rigid rules, especially in the kitchen! Here are some ways to shake things up:
- Coffee Swap: Not a coffee fan? No problem! You can use strong hot chocolate (cooled, of course) for a kid-friendly version, or even a berry juice (like raspberry or cherry) for a fruity twist.
- Booze-Free Zone: If you’re skipping the alcohol, simply use more coffee. Or, for a hint of flavor, a few drops of rum extract or vanilla extract in the coffee works too.
- Chocolate Topping Variations: Instead of melted chocolate, you can use chocolate shavings, a simple chocolate ganache, or just extra cocoa powder if you prefer a more classic look. Get creative, live a little!
- Ladyfinger Alternatives: While ladyfingers are traditional, you could *technically* use slices of sponge cake or even some thick digestive biscuits if you’re in a pinch. However, **IMO, ladyfingers are king here** for that perfect texture.
- Flavour Boosts: A tiny pinch of cinnamon in the cream or a splash of orange zest can add a delightful, unexpected twist!
FAQ (Frequently Asked Questions)
Got questions? I’ve got (casual) answers!
- Can I make this Tiramisu ahead of time? Absolutely! In fact, it’s one of those magical desserts that **tastes even better the next day** once all the flavors have had a good long chat.
- My mascarpone mix isn’t thickening. Help! Is your cream super cold? That’s key! Also, sometimes mascarpone can be finicky. Ensure you don’t over-whip (as mentioned above) or under-whip. If it’s still not firming, try chilling it for 15 minutes and then whipping again.
- What if I don’t like coffee at all? No worries! You can substitute the coffee with strong brewed decaf, hot chocolate, or even a fruit juice like orange or raspberry for a totally different but equally delicious dessert.
- Can I use regular granulated sugar instead of powdered sugar? Well, technically yes, but why hurt your soul like that? Powdered sugar dissolves seamlessly, giving you that super smooth, luxurious cream texture. Granulated sugar might leave a slightly gritty feel, and nobody wants crunchy cream.
- How long does homemade Tiramisu last in the fridge? If stored properly (covered!), it should last for about 3-4 days in the refrigerator. If it even lasts that long, you’re a stronger person than me.
- Do I *have* to chill it for 4 hours? That’s so long! You *can* technically eat it sooner, but it won’t be as firm, and the flavors won’t have fully developed. It’s like a good friendship; it needs time to develop. Trust me, it’s worth the wait!
Final Thoughts
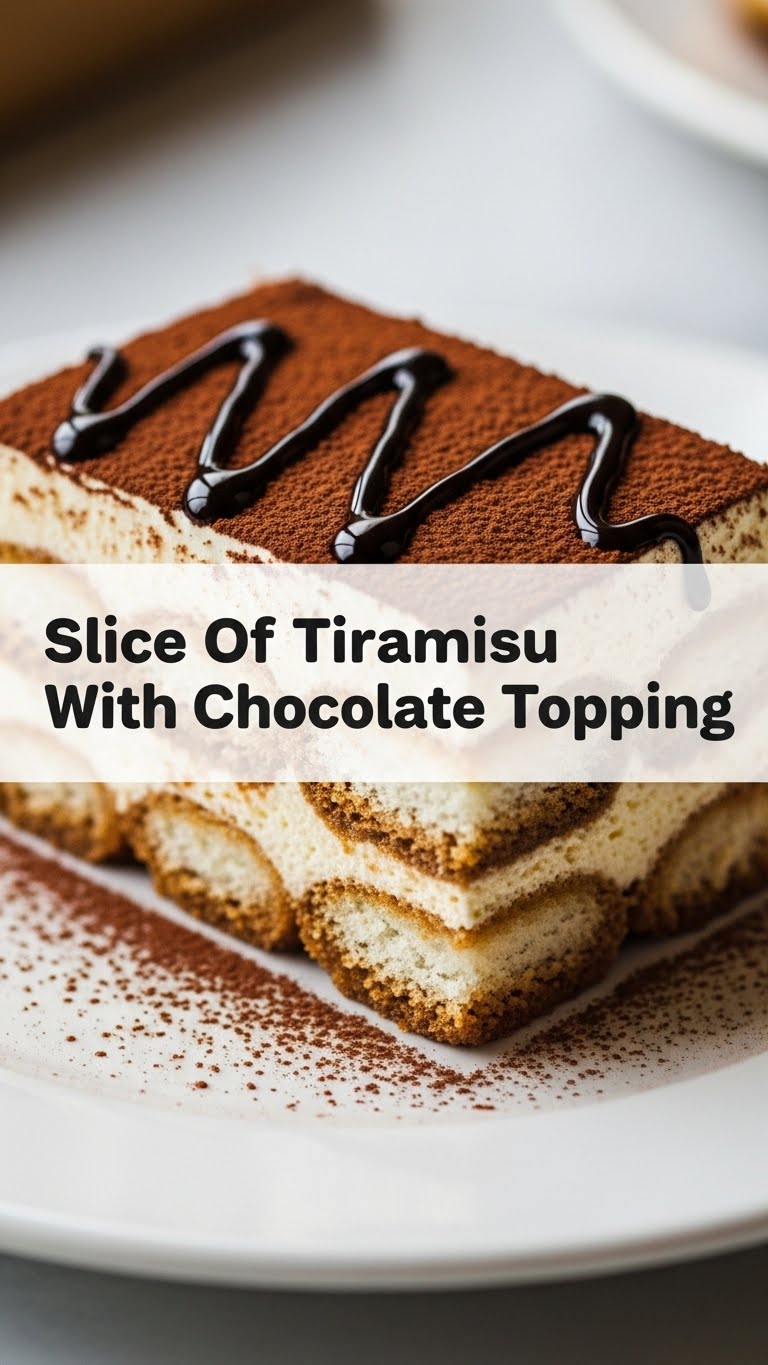
See? I told you it was easy! Now you’ve got a dessert that screams ‘I’m fancy!’ without actually yelling ‘I spent hours in the kitchen!’ You’ve conquered the mighty Tiramisu, and you didn’t even break a sweat. This glorious, chocolate-topped slice of heaven is ready for its close-up (and then its swift consumption).
Go forth and conquer your sweet tooth, my friend. Share it, hoard it, just enjoy every single, glorious bite. You deserve this moment of pure, unadulterated Tiramisu bliss. Now go impress someone—or yourself—with your new culinary skills. You’ve earned it!


