So you’re craving something tasty but too lazy to spend forever in the kitchen, huh? Same. High five! Today, we’re whipping up something that tastes like a warm hug from your grandma, but without the all-day effort. Think “slice of apple pie,” but like, the cool, laid-back cousin who shows up to the party with minimal fuss and maximum flavour. And bonus? We’re throwing in some jam for extra sparkle. Because why not?
Why This Recipe is Awesome
First off, it’s idiot-proof. Seriously, even I didn’t mess it up, and my kitchen adventures often involve smoke alarms. It’s quick, impressive, and uses ingredients you probably already have lurking in your pantry. Plus, it’s ridiculously customizable. You wanna feel like a baking wizard without actually doing any wizardry? This is your spell.
Ingredients You’ll Need
- Pre-made Puff Pastry or Shortcrust Pastry: (One sheet, defrosted) – Your shortcut to glory. Don’t judge, it’s efficient!
- Apples: (1-2 medium, any kind you like, sliced thin) – The star of our show! Honeycrisp, Gala, Granny Smith… whatever floats your apple-y boat.
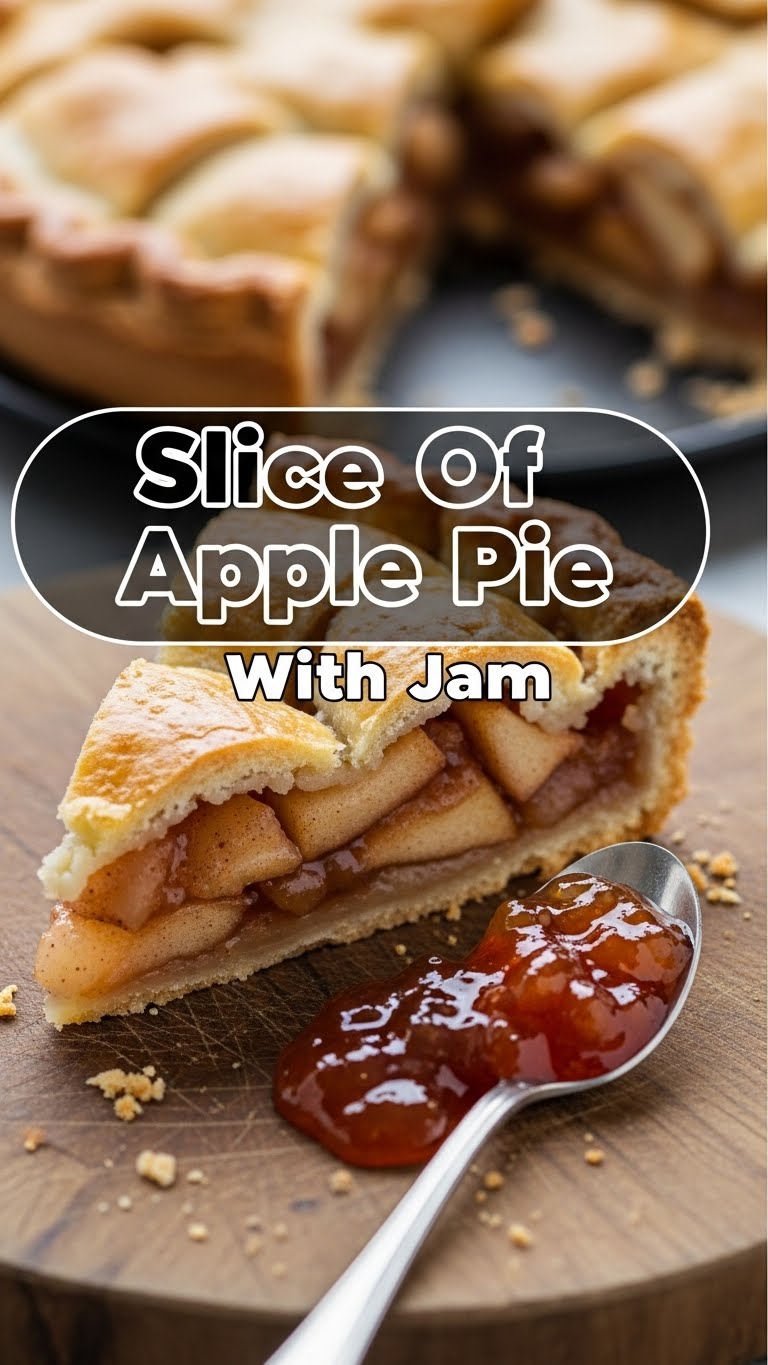
- Apple Jam or Apricot Jam: (2-3 tablespoons) – The secret weapon. Adds sweetness, shine, and that extra oomph.
- Sugar: (1-2 tablespoons, brown or white) – Just a sprinkle for extra sweetness. Because life’s too short for unsweetened desserts.
- Cinnamon: (1/2 teaspoon, or to taste) – Apple’s BFF. They just belong together.
- Butter: (1 tablespoon, melted) – For brushing, because everything is better with a little butter love.
- Optional: Egg Wash: (1 egg yolk + splash of milk, whisked) – For that fancy golden shine. Totally optional, but makes you feel pro.
Step-by-Step Instructions
- Preheat & Prep: Get your oven cranked up to 200°C (400°F). Line a baking tray with parchment paper. Trust me, future you will thank present you for this.
- Pastry Power: Unroll your pre-made pastry. If you’re using a sheet, cut it into squares or rectangles – think “individual serving” size. I usually go for about 4-5 inch squares.
- Apple A-peel: Core and thinly slice your apples. No need to peel unless you really want to – the skin adds a nice rustic touch and some nutrients, allegedly.
- Jam Session: Spread a generous tablespoon of your chosen jam onto the center of each pastry square, leaving about a half-inch border. Don’t go all the way to the edge, we need room for crimping!
- Apple Arrangement: Artfully arrange your apple slices on top of the jam. Overlap them slightly to make it look fancy. Sprinkle with a little sugar and cinnamon.
- Fold & Seal: Gently fold up the edges of the pastry over the apples, pinching the corners to create a kind of rustic border. You’re basically creating a little edible basket here.
- Butter Up (or Egg Wash): Brush the exposed pastry edges with melted butter or, for that truly golden-brown, bakery-style finish, use an egg wash.
- Bake It ‘Til You Make It: Pop your creations into the preheated oven for 15-20 minutes. Keep an eye on them! You’re looking for golden-brown pastry and tender, slightly caramelized apples.
- Cool Down (If You Can Wait): Let them cool slightly on the tray. Resist the urge to burn your tongue trying to eat one straight from the oven. It’s tough, I know.
Common Mistakes to Avoid
- Forgetting to Preheat the Oven: Rookie mistake! Your pastry won’t puff up right, and you’ll end up with a sad, soggy mess. Don’t do it.
- Overfilling Your Pastry: We all get excited, but too much filling means jammy explosions in your oven. Not fun to clean, IMO.
- Not Slicing Apples Thin Enough: Thick apple slices take forever to cook and can leave you with crunchy, un-pie-like bits. Get ’em thin, buttercup!
- Ignoring the Borders: If you spread the jam/apples too close to the edge, you won’t be able to fold and seal properly. Give your pastry some personal space.
Alternatives & Substitutions
- Pastry Power-Up: No puff pastry? Shortcrust pastry works great! You could even use phyllo dough for a super flaky, lighter version (just brush each layer with butter).
- Jam Swap: Not an apple jam fan? Apricot, peach, berry, or even cherry jam would be absolutely divine. Experiment! It’s your kitchen, not a science lab.
- Spice It Up: Beyond cinnamon, try a pinch of nutmeg, cardamom, or even ginger with your apples for a different flavour profile.
- Nutty Goodness: Sprinkle some chopped walnuts or pecans over the apples before baking for an added crunch and nutty flavour. You’re welcome.
FAQ (Frequently Asked Questions)
- Can I use frozen apple slices? Technically yes, but they can release a lot of water and make your pastry soggy. If you must, thaw them first and pat them really dry. But fresh is always best, pal.
- What if I don’t have parchment paper? Aluminum foil will work in a pinch, just make sure to grease it well so your delicious creation doesn’t stick. We don’t want any culinary tragedies today.
- Can I make these ahead of time? You can prep the apple slices and have your pastry ready, but assemble and bake them fresh for the best crispy, flaky results. Soggy pastry is a no-go!
- My pastry isn’t puffing! What gives? Did you defrost it properly? Was your oven hot enough? Cold pastry into a hot oven is key for that lovely puff. Also, check your pastry’s expiry date, just sayin’.
- Can I use any kind of jam? Absolutely! While apple or apricot jam gives that classic “pie” vibe, go wild! Strawberry, raspberry, blueberry… whatever makes your heart sing. It’s all about personal preference, my friend.
- How do I store leftovers? Pop ’em in an airtight container at room temp for a day, or in the fridge for up to 3 days. Reheat gently in the oven for a quick refresh, if they even last that long.
Final Thoughts
See? I told you it was easy! Now you’ve got a fancy-looking, ridiculously tasty treat that will fool everyone into thinking you slaved away for hours. Go on, pat yourself on the back! Now go impress someone—or yourself—with your new culinary skills. You’ve earned it! Maybe even pair it with a scoop of vanilla ice cream. Just sayin’. Enjoy, you superstar!


