So you’re staring at those skinless, boneless chicken breasts in the fridge, huh? Thinking, “What magic can I weave today without, you know, *actual* magic?” Same, friend, same. We’ve all been there: hungry, a little short on time, and definitely not in the mood for a culinary marathon. Good news! We’re about to turn those humble chicken breasts into something juicy, flavorful, and ridiculously easy, all thanks to the magic of your oven.
Why This Recipe is Awesome
Let’s be real, this isn’t just a recipe; it’s a life hack. First off, it’s pretty much **idiot-proof**. Even if your cooking adventures usually involve calling for takeout, you’ve got this. Seriously, it’s so straightforward, even your pet goldfish could probably guide you through it (if it had opposable thumbs and an oven mitt, obvs). Second, we’re talking about **minimal cleanup**, which, let’s be honest, is half the battle. One pan, a few simple ingredients, and boom – dinner is served. And the best part? No more dry, sad, cardboard chicken. We’re aiming for juicy, tender, “I totally made this myself and I’m a culinary genius” vibes.
Ingredients You’ll Need
Gather ’round, my fellow kitchen wizard! Here’s what you’ll need for our chicken breast masterpiece:
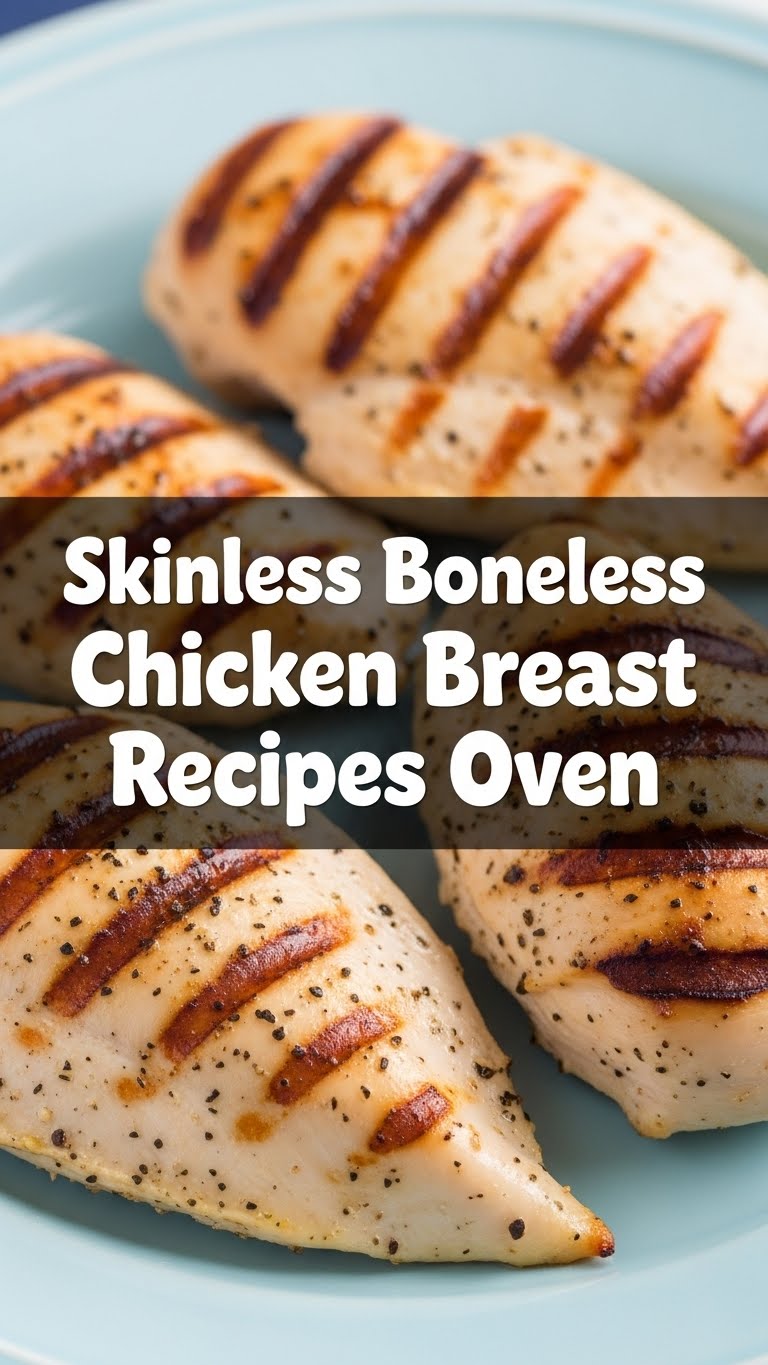
- Skinless, Boneless Chicken Breasts: The star of our show. Aim for 2-4 breasts, depending on how many hungry mouths you’re feeding (or how much you plan to hoard for leftovers). Get good ones, not the ones that look like they lost a fight with a lawnmower.
- Olive Oil (or Avocado Oil): Your chicken’s best friend for getting that golden glow and preventing sticking. About 1-2 tablespoons.
- Salt & Freshly Ground Black Pepper: The OG flavor duo. Don’t skip ’em. Like, ever. Season generously!
- Garlic Powder & Onion Powder: (Optional, but highly recommended) Because everything tastes better with garlic and onion, right? It’s a scientific fact, look it up. About 1/2 teaspoon of each.
- Paprika (or Smoked Paprika): (Optional) For a little razzle-dazzle, color, and a whisper of smoky flavor. About 1/2 teaspoon.
- Lemon Wedges & Fresh Parsley/Cilantro: (Optional, for serving) Because presentation matters, even if you’re just eating it in your PJs.
Step-by-Step Instructions
Alright, apron on (or not, we don’t judge!), let’s get cooking:
- Preheat Your Oven: Get that oven nice and toasty. We’re aiming for a solid 400°F (200°C). While it’s heating up, line a baking sheet with foil or parchment paper for easy cleanup. (You’re welcome!)
- Prep Your Chicken: Take your chicken breasts out of their packaging. **Pat them super dry** with paper towels. This is crucial for getting that lovely, golden-brown exterior. Trim any weird bits of fat if you’re feeling fancy.
- Season Like a Pro: Drizzle the chicken breasts with olive oil, making sure they’re lightly coated. Now, sprinkle generously with salt, black pepper, garlic powder, onion powder, and paprika. Rub that seasoning in like you’re giving each breast a spa treatment. Don’t be shy!
- Arrange for Success: Place the seasoned chicken breasts in a single layer on your prepared baking sheet. Make sure they’re not touching or crowding each other. Each breast deserves its personal space bubble for even cooking!
- Bake ‘Em Up: Pop that baking sheet into your preheated oven. Bake for approximately 18-25 minutes. The exact time will depend on the thickness of your chicken breasts.
- Check for Doneness: This is where the magic (and food safety) happens. The best way to know if your chicken is perfectly cooked is to use a meat thermometer. Insert it into the thickest part of the breast. We’re looking for an internal temperature of **165°F (74°C)**.
- Rest, You Deserve It: Once cooked, remove the chicken from the oven and transfer it to a cutting board. **Let it rest for 5-10 minutes.** Seriously, don’t skip this step! This is where all those glorious juices redistribute, ensuring your chicken stays tender and moist.
- Serve and Enjoy: Slice your chicken or serve it whole. A squeeze of fresh lemon juice and a sprinkle of fresh herbs can really elevate the flavors. Now, go forth and devour your perfectly cooked, oven-baked chicken breast!
Common Mistakes to Avoid
Even though this recipe is super easy, a few rookie blunders can turn your juicy dreams into dry realities. Learn from my past mistakes, my friend!
- Not Preheating the Oven: Thinking you don’t need to preheat? Rookie mistake! A cold oven means your chicken cooks unevenly and can dry out before it browns.
- Crowding the Pan: Shoving too many chicken breasts onto one sheet pan? Nope! They’ll steam instead of roast, leading to pale, sad chicken. Give them space!
- Skipping the Pat-Dry Step: Moisture is the enemy of browning. If your chicken isn’t dry, it won’t get that lovely golden crust.
- Overcooking: This is the biggest sin, IMO. Once it hits 165°F, it’s done. Every minute beyond that is an invitation to dry, rubbery chicken. Get a meat thermometer, trust me!
- Forgetting to Rest: “But I’m hungry NOW!” I hear you. But cutting into the chicken immediately after cooking lets all those delicious juices run out, leaving you with less flavorful, drier meat. Patience, grasshopper.
Alternatives & Substitutions
Feeling adventurous? Or maybe you’re just out of a particular ingredient? No worries, we can totally tweak this!
- Oil Swaps: No olive oil? Avocado oil, grapeseed oil, or even melted butter will work just fine.
- Spice It Up: Don’t have garlic powder? Fresh minced garlic works (though it might burn a bit if not mixed well). Italian seasoning, chili powder, curry powder, or even a taco seasoning packet can transform the flavor profile entirely. Go wild! Your kitchen, your rules.
- Marinate for Max Flavor: If you’ve got extra time, a quick marinade (even 30 minutes!) can inject even more flavor and tenderness. Think lemon-herb, balsamic, or soy-ginger marinades.
- Add Some Veggies: Want a one-pan meal? Toss some chopped broccoli florets, bell peppers, asparagus, or sliced onions with a little oil and seasoning, and roast them alongside your chicken. Just make sure they’re cut small enough to cook in the same timeframe.
FAQ (Frequently Asked Questions)
Got questions? I’ve got (casual and hopefully humorous) answers!
- How do I know my chicken is truly cooked without a thermometer? Well, technically, you should totally get a thermometer. But if you’re living dangerously, cut into the thickest part of the breast. The juices should run clear, and there should be absolutely no pink inside.
- Can I use frozen chicken breasts for this recipe? Please, for the love of all that is delicious, **thaw them completely first!** Frozen chicken will take forever to cook and will likely end up dry on the outside and still questionable on the inside.
- What if my chicken breasts are super thick? Good question! You can butterfly them (slice them horizontally almost all the way through and open them up like a book) or pound them to an even thickness. This ensures they cook evenly and don’t take an eternity. Alternatively, just increase your cooking time and keep an eye on that internal temp.
- Can I add sauce to this? Absolutely! Once your chicken has rested, you can drizzle it with your favorite sauce – a simple pan sauce, BBQ sauce, or even a pesto. If you want a glaze, brush it on during the last 5-10 minutes of baking.
- How do I ensure my chicken doesn’t dry out? The golden rules: don’t overcook it (that thermometer is your BFF!), make sure you pat it dry before seasoning, and **always let it rest** after baking. Seriously, resting is non-negotiable for juicy chicken.
- My oven takes forever to preheat. Can I just skip it? No! A properly preheated oven ensures your food starts cooking at the right temperature immediately, leading to even cooking and proper browning. Just chill out while it heats up.
Final Thoughts
See? Told you it was easy! You just transformed a humble chicken breast into a delicious, juicy meal without breaking a sweat (or a dish, hopefully). Now go impress someone—or yourself, because self-love is important—with your new culinary skills. You’ve earned it! Pat yourself on the back, you magnificent chef, you. Bon appétit, my friend!


