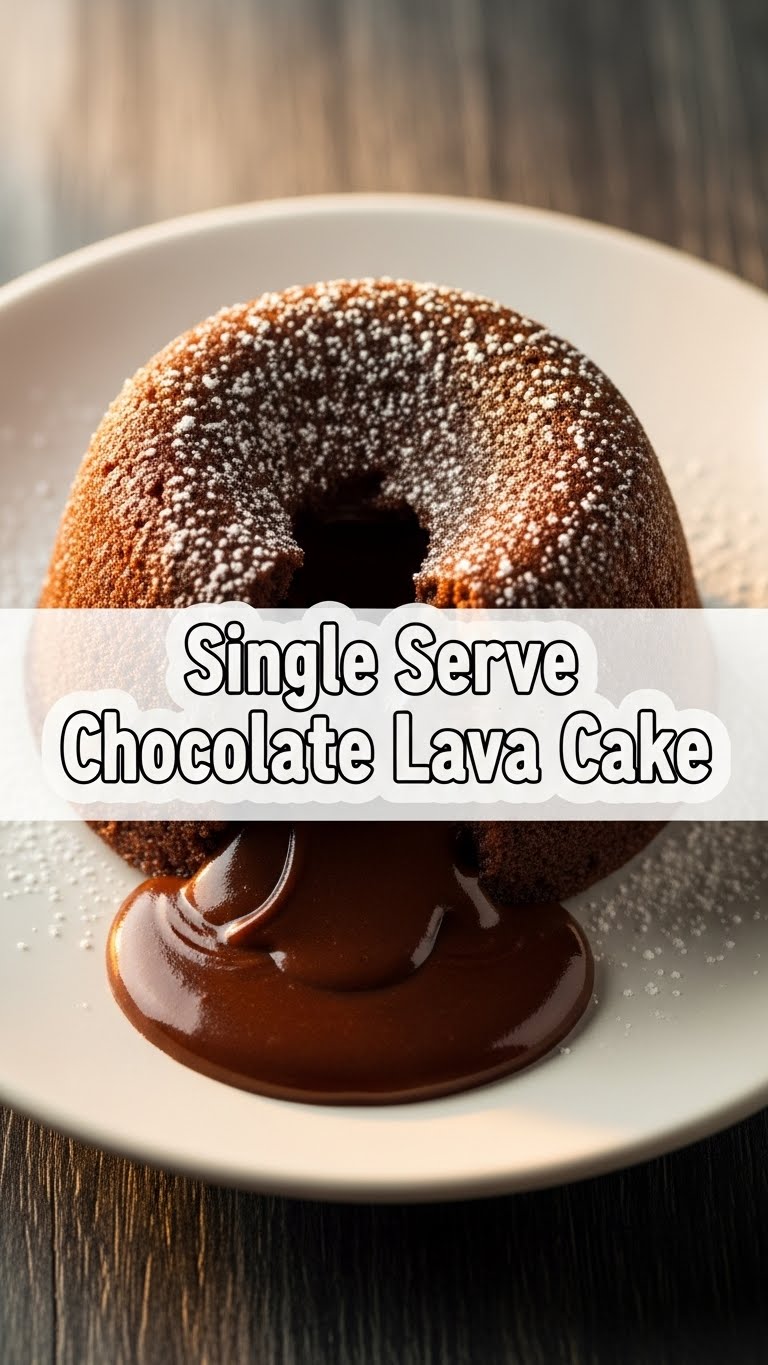
Ever get that *sudden*, urgent craving for something utterly decadent, but the thought of baking a whole cake feels like running a marathon? Yeah, me too. And that’s exactly why we’re here today, my friend. We’re diving headfirst into the glorious world of a **Single Serve Chocolate Lava Cake** that’s so easy, you’ll wonder if you’ve accidentally become a pastry chef overnight.
Why This Recipe is Awesome
Okay, let’s be real. This isn’t just *any* chocolate cake recipe. This is the superhero of desserts. Why? Because it’s literally designed for one (or maybe two if you’re feeling generous, but let’s not get ahead of ourselves). It’s super fast, whether you go the microwave route (hello, instant gratification!) or a quick bake in the oven. Plus, it delivers maximum “wow factor” with minimum effort. Seriously, it’s practically idiot-proof. Even I didn’t mess it up, and that’s saying something. You get that rich, gooey, molten chocolate center that just screams “fancy dessert” but only you need to know it took like, ten minutes. No leftovers to tempt you, no huge mess, just pure, unadulterated chocolate bliss. **It’s a culinary hug in a ramekin!**
Ingredients You’ll Need
Gather ’round, fellow sweet tooths! Here’s your tiny arsenal for lava cake domination. Quality matters here, especially for the chocolate, because your taste buds deserve the best.
- **2 tablespoons unsalted butter:** Just a tiny bit, don’t worry. Your diet starts tomorrow, right? 😉
- **1 ounce (about 28g) good quality dark chocolate:** We’re talking 60-70% cacao. Think Ghirardelli or Lindt, not the stuff you find in a kid’s Halloween bag. Life’s too short for bad chocolate, IMO.
- **1 ½ tablespoons granulated sugar:** A spoonful of sugar helps the lava go down… or something. Adjust to your sweetness preference, but don’t skip entirely!
- **1 large egg yolk:** Just the yellow part, don’t let any whites sneak in! This is key for that perfect texture.
- **1 tablespoon all-purpose flour:** The teeniest bit to hold it all together, like a delicious chocolatey glue.
- **Pinch of salt:** Because even chocolate needs a little sass to shine. Trust me on this.
- **¼ teaspoon vanilla extract (optional, but highly recommended):** For that “I know what I’m doing” vibe. It truly elevates the flavor.
Step-by-Step Instructions
Get ready for some magic! These steps are quick and easy, so you’ll be digging into molten goodness in no time.
- **Prep Your Ramekin:** Lightly grease a 4-ounce ramekin (or a small, oven-safe mug/bowl) with butter or cooking spray. A light dusting of cocoa powder or flour after greasing helps it release perfectly, but isn’t strictly necessary. If you’re using an oven, preheat it to **400°F (200°C)** now.
- **Melt the Good Stuff:** In a microwave-safe bowl, combine the butter and chopped dark chocolate. Microwave in 15-second intervals, stirring after each, until smooth and melted. Be careful not to scorch it! Alternatively, you can use a double boiler on the stovetop.
- **Whisk in the Sweetness:** Add the granulated sugar to the melted chocolate mixture and whisk until fully combined. It should be glossy and beautiful.
- **Bring in the Yolk:** Stir in the egg yolk until everything is uniform and smooth. This is where the magic really starts to happen for that lava-like center!
- **Fold in the Drys:** Gently fold in the flour and pinch of salt until just combined. Don’t overmix! If using, add your vanilla extract now.
- **Pour & Cook:** Pour the mixture into your prepared ramekin.
- **Oven Method:** Bake for **12-14 minutes**, or until the edges are set but the center still jiggles slightly when gently shaken. This is crucial for the lava!
- **Microwave Method:** Microwave on high for **45-75 seconds**. Keep a close eye on it! It’s done when the edges look set but the center still appears soft and wet.
- **Cool & Serve:** Let the cake cool in the ramekin for 1-2 minutes. You can carefully invert it onto a plate or just eat it straight from the ramekin (my personal preference, less dishes!). Dust with powdered sugar, add a scoop of ice cream, or some fresh berries if you’re feeling fancy. Dig in and prepare for pure joy!
Common Mistakes to Avoid
Nobody’s perfect, but we can learn from past chocolatey disasters! Here are a few things to watch out for:
- **Overbaking:** This is the #1 killer of lava cakes! It’s a lava cake, not a dry hockey puck. Keep a hawk eye on it, especially in the microwave. **When in doubt, underbake slightly.** A little gooier is better than dry!
- **Not Greasing the Ramekin:** Oh, the horror! Good luck getting that deliciousness out if you want to invert it. A quick spray or swipe of butter literally takes seconds. Don’t be lazy here.
- **Scorching the Chocolate:** Microwaving chocolate too long turns it into a sad, grainy mess. Use short bursts and stir, stir, stir!
- **Impatience:** I know, I know, it smells heavenly. But seriously, let it cool for a minute or two after cooking. It allows the molten center to stabilize a bit and prevents you from burning your face off with molten chocolate.
- **Using Cheap Chocolate:** We talked about this. It won’t taste nearly as good, and it might not melt as smoothly. Treat yourself!
Alternatives & Substitutions
Feeling adventurous? Here are some simple tweaks to make this lava cake truly yours:
- **Chocolate Type:** While dark chocolate gives that classic intense flavor, you can totally use semi-sweet chocolate chips if that’s what you have. Milk chocolate might be a bit too sweet and less “lava-y” in my opinion, but hey, you do you!
- **Add-ins:** Want to jazz it up? Stir in a tiny pinch of **espresso powder** with the flour for a deeper chocolate flavor. A dash of **orange zest** or even a tiny pinch of **cayenne pepper** for a spicy kick can be amazing!
- **Flour Alternatives:** For a gluten-free version, try using a 1:1 gluten-free baking flour blend. Almond flour might work, but you might need to adjust quantities slightly for texture.
- **No Vanilla? No Problem!** While it adds depth, the cake will still be delicious without it. Don’t let it stop you!
FAQ (Frequently Asked Questions)
- **Can I make this in a mug?** Absolutely! A standard coffee mug works perfectly, especially for the microwave method. The mug life chose you!
- **Can I make the batter ahead of time?** You *can* mix it up and keep it covered in the fridge for a few hours, but honestly, it takes so little time to whip up fresh that it’s hardly worth it. Plus, the magic is best right out of the oven/microwave! It’s a “now” cake. Live in the moment!
- **What if I don’t have a ramekin?** No stress! A small oven-safe bowl, a custard cup, or even a ceramic teacup will work. Improvise, chef!
- **Can I use cocoa powder instead of melting chocolate?** For *this* recipe and its glorious lava core, you really need actual melting chocolate. Cocoa powder alone won’t give you that rich, molten consistency.
- **How do I know when it’s done without overbaking?** Look for edges that are set and slightly puffed, but the very center should still look a bit soft and jiggly. It’s a delicate dance! **The key is a slightly wobbly center.**
- **Why did my cake not have a lava center?** Likely culprit? Overbaking! Or perhaps your chocolate wasn’t good quality. Try reducing your cooking time slightly next go-round.
Final Thoughts
So there you have it, your very own blueprint for single-serve chocolate euphoria. This isn’t just a recipe; it’s a testament to the fact that you can have extraordinary desserts with minimal fuss. Now go impress someone – or, more realistically, just yourself – with your new culinary skills. You’ve earned that molten goodness. Go forth and conquer your cravings, you magnificent dessert ninja! Enjoy every last spoonful!


