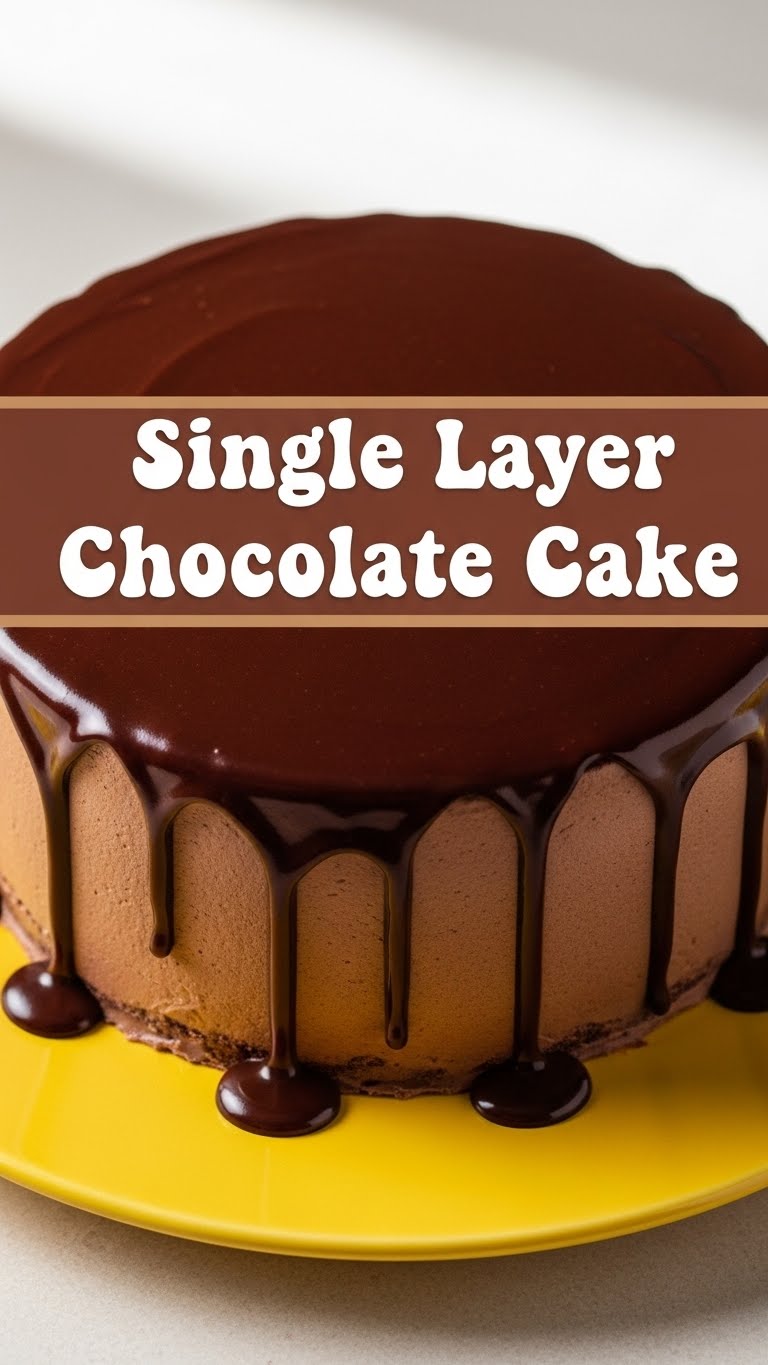
So you’re craving something tasty but too lazy to spend forever in the kitchen, huh? Same. Like, why make a whole *thing* when you just want a chocolate hug for your soul? Enter the single-layer chocolate cake, my friend. It’s the culinary equivalent of sweatpants – comfy, no fuss, and gets the job done gloriously.
Why This Recipe is Awesome
Okay, let’s be real. Most cake recipes are a commitment. They demand layers, fancy frosting skills, and a level of patience I personally reserve for waiting for my coffee to brew. This recipe? It’s the anti-commitment cake. It’s **idiot-proof**, I swear. Even *I* didn’t mess it up, and my kitchen has seen more disasters than a B-movie monster flick. Seriously, it’s quick, uses minimal dishes (score!), and delivers maximum chocolatey satisfaction without the drama. Think of it as instant gratification, but delicious.
Ingredients You’ll Need
- All-purpose flour: 1 ½ cups. The backbone of your cakey dreams. Don’t use self-rising, unless you *want* a science experiment.
- Granulated sugar: 1 ½ cups. Sweetness overload, in the best way. This isn’t diet food, people.
- Unsweetened cocoa powder: ½ cup. The star of the show! Make sure it’s good quality; your taste buds will thank you.
- Baking soda: 1 ½ teaspoons. Our little magic leavener. Don’t skip it!
- Salt: 1 teaspoon. Just a pinch to make all the other flavors sing. It’s like the bass line in a good song.
- Eggs: 2 large. Room temp if you’re feeling fancy, but straight from the fridge works in a pinch (don’t tell anyone I said that).
- Milk: 1 cup. Whole milk is great, but whatever you have on hand usually works.
- Vegetable oil: ½ cup. For that perfect moist crumb. No dry cakes allowed!
- Vanilla extract: 2 teaspoons. The cherry on top (figuratively, unless you add cherries). Real vanilla makes a difference.
- Boiling water: 1 cup. Sounds weird, but trust the process. It’s what makes this cake unbelievably moist and fudgy.
Step-by-Step Instructions
- Preheat & Prep: Get that oven preheating to **350°F (175°C)**. Grease and flour a 9×13 inch baking pan. Or, if you’re lazy like me, just use non-stick spray and a parchment liner. Easy peasy.
- Dry Mix Fun: In a large bowl, whisk together your flour, sugar, cocoa powder, baking soda, and salt. Make sure there are no lumpy bits. You want smooth sailing here.
- Wet Mix Wow: In a separate medium bowl, lightly beat the eggs, then whisk in the milk, oil, and vanilla extract. This is the liquid gold that will transform your dry ingredients.
- Combine the Squad: Pour the wet ingredients into the dry ingredients. Mix with a spatula or spoon until *just* combined. Don’t overmix! **Overmixing leads to tough cakes**, and nobody wants a tough cake.
- The Hot Secret: Carefully pour the boiling water into the batter. It’ll be super thin, don’t panic! Whisk gently until smooth. This step is key for that amazing texture.
- Bake It Up: Pour the super-liquid batter into your prepared pan. Pop it into the preheated oven and bake for **30-35 minutes**, or until a wooden skewer inserted into the center comes out clean.
- Cool Down: Let your masterpiece cool in the pan for about 10-15 minutes before transferring it to a wire rack to cool completely. Or, if you can’t wait (understandable), just dig in!
Common Mistakes to Avoid
- Thinking you don’t need to preheat the oven: Rookie mistake! Cold ovens mean uneven baking and sad cakes.
- Overmixing the batter: Seriously, I can’t stress this enough. Mix *just* until combined. Lumps are okay; tough cake is not.
- Not measuring properly: Baking is a science, not like that time you “eyeballed” spaghetti sauce. Use actual measuring cups and spoons!
- Opening the oven door constantly: Patience, young padawan! Every time you open that door, you drop the oven temperature and risk a sunken cake. Peeking is fine, full-on opening is not.
- Skipping the boiling water: No, really, don’t. It’s the secret sauce (or secret water) to this cake’s incredible moistness.
Alternatives & Substitutions
- Milk: You can totally use buttermilk for a slightly tangier, even more tender crumb. Almond milk or oat milk also work well if you’re going dairy-free; just make sure they’re unsweetened.
- Oil: Melted butter works beautifully here if you prefer that butter-y flavor, though the cake might be a *tad* less moist than with oil. Or, if you’re feeling adventurous, try applesauce (1:1 substitution) for a slightly healthier twist – but expect a denser cake.
- Frosting: No time for homemade? A can of store-bought chocolate frosting is your best friend. Or, for something lighter, a dusting of powdered sugar is elegant and simple. IMO, this cake is so good, it barely needs frosting.
- Add-ins: Want to jazz it up? Throw in a handful of chocolate chips (semisweet or dark!), chopped nuts, or even a dash of espresso powder (about 1-2 tsp) to really deepen that chocolate flavor. **Pro tip:** Espresso powder won’t make it taste like coffee, it just boosts the chocolate.
FAQ (Frequently Asked Questions)
- Can I make this in a different size pan? You *can*, but you’ll need to adjust baking time. A smaller pan might need more time and the cake will be thicker, a larger pan less time and thinner. Stick to 9×13 for best results, unless you’re feeling brave!
- My cake came out dry! What went wrong? Oh no! Most likely, you either overbaked it (keep an eye on that skewer!) or overmixed the batter. Also, double-check your dry ingredients to wet ingredients ratio – a common culprit!
- Can I use margarine instead of butter/oil? Well, technically yes, but why hurt your soul like that? Stick to oil for moisture or butter for flavor. Margarine just… exists.
- How long does this cake last? Covered tightly at room temperature, it’s usually good for 3-4 days. But let’s be honest, will it even *make* it that long? Doubtful.
- Is this recipe good for beginners? Absolutely! It’s practically designed for them. It’s forgiving, straightforward, and doesn’t require any fancy techniques. You got this!
- Can I add sprinkles? Is that even a question?! SPRINKLES ARE ALWAYS A YES.
Final Thoughts
See? That wasn’t so scary, was it? You just whipped up a genuinely delicious chocolate cake with minimal fuss and maximum fun (hopefully). Now go impress someone—or yourself—with your new culinary skills. You’ve earned it! Grab a slice, a fork, and maybe a giant glass of milk. You deserve this chocolatey goodness. Happy baking (and eating)!


