So, you’re looking for something yummy, healthy, and so ridiculously easy even your pet hamster could “help” make it? And ideally, something that gets your little humans eating fruit without a full-blown negotiation tactic? You’ve come to the right place, my friend. We’re about to whip up a Simple Fruit Salad for Kids that’s less a recipe and more a joyful assembly line of deliciousness. No complex techniques, no obscure ingredients, just pure, unadulterated fruit fun. Let’s do this!
Why This Recipe is Awesome
Okay, let’s be real. In the grand scheme of culinary adventures, a fruit salad isn’t exactly scaling Mount Everest. But that’s exactly why it’s a winner! This recipe is basically idiot-proof. Seriously, even if your previous kitchen exploits involved burning toast and setting off smoke detectors, you’re golden here. It’s fast, it’s fresh, and it’s a fantastic way to get kids involved in making their own snacks – which, FYI, often leads to them actually eating said snacks. Plus, it’s healthy without tasting “too healthy,” if you catch my drift. Win-win-win!
Ingredients You’ll Need
The beauty of fruit salad is its flexibility, but here’s a solid starting lineup for peak kid appeal:
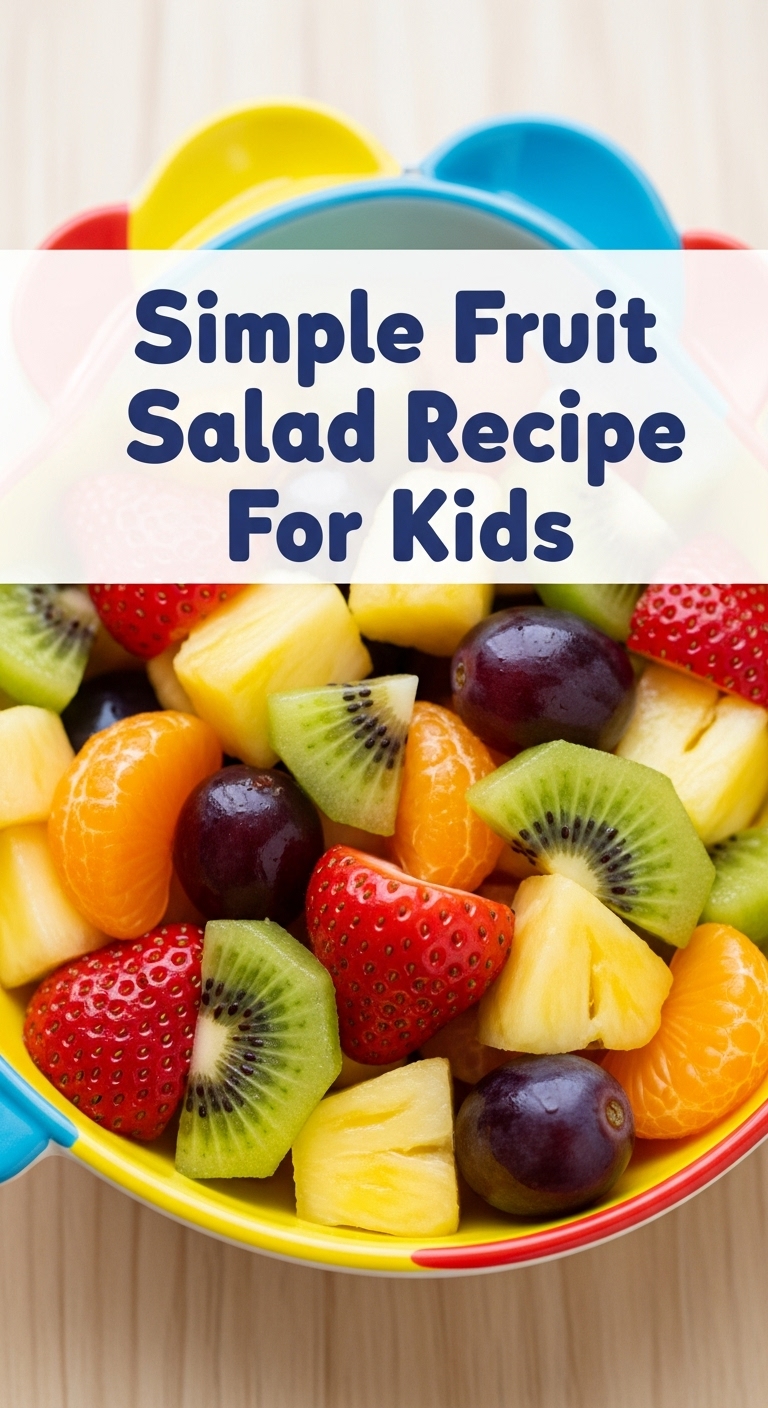
- Strawberries: The undisputed kings of kid-friendly berries. Sweet, red, and perfect for tiny hands.
- Blueberries: Little bursty gems of flavor. No chopping required!
- Grapes (seedless!): Green or red, your call. Just make sure they’re seedless and maybe halved for smaller tots to avoid choking hazards. Safety first, even in fun!
- Mandarin Oranges (canned in juice, drained): A secret weapon for when you’re feeling lazy and want instant citrusy goodness. Or fresh, if you’re feeling ambitious and enjoy peeling.
- Banana: Adds a creamy texture and is a universal crowd-pleaser. Pro tip: add this *last* to avoid it browning too fast.
- A squeeze of lemon or lime juice (optional, but highly recommended): Not for flavor, but to keep your fruit looking fresh and vibrant. Nobody likes a sad, brown banana.
- A tiny drizzle of honey or maple syrup (optional, for extra sweetness): If your fruit isn’t super sweet or you’re feeling extra indulgent.
Step-by-Step Instructions
- Gather Your Crew (and Fruit): Get all your chosen fruits out. Wash everything thoroughly, especially those berries and grapes. Think of it as a pre-salad spa treatment for your fruit.
- Chop, Chop, Little Chef: For any fruit that needs it (strawberries, grapes for younger kids), chop them into bite-sized pieces. We’re talking kid-friendly proportions here. Let your kids help with plastic knives if they’re old enough – it’s practically an activity!
- Into the Bowl They Go: Start adding your firmer fruits to a nice big mixing bowl. Think strawberries, blueberries, grapes, and mandarin oranges.
- The Banana Entry: Peel and slice your banana directly into the bowl. Do this step just before serving to keep it from turning mushy or brown. This is a key tip for a pretty salad!
- The Secret Sauce (Well, Juice): Drizzle that little bit of lemon or lime juice over everything. Give it a gentle toss. If you’re using honey or maple syrup, now’s the time to add a dash.
- Gentle Mix & Serve: Using a spoon or spatula, gently fold all the ingredients together. You want everything well combined but not mashed. Serve immediately and watch the fruit disappear!
Common Mistakes to Avoid
- Ignoring the Wash: Seriously, just wash the fruit. Dirt is not an ingredient.
- Pre-Chopping Bananas: I warned you! Brown bananas are a sad sight. Add them at the very last minute.
- Over-Mixing: Treat your fruit gently! We’re making a salad, not a smoothie. Too much enthusiastic mixing turns everything into a pulpy mess.
- Using Unripe Fruit: A hard, sour mango is nobody’s friend. Always pick ripe fruit for maximum sweetness and enjoyment.
- Forgetting the Citrus Spritz: That little bit of lemon or lime juice really does make a difference in keeping things fresh-looking. Don’t skip it!
Alternatives & Substitutions
This recipe is practically a blank canvas! Feeling experimental? Go for it!
- Other Fruits: Diced cantaloupe, honeydew, kiwi (peeled, obviously!), fresh pineapple chunks, raspberries, blackberries. Basically, if it’s a fruit and your kids like it, it belongs in the bowl.
- Add a Creamy Touch: A dollop of Greek yogurt or a swirl of whipped cream (dairy or coconut-based) can make it feel like an extra special treat. It’s totally not cheating.
- A Little Crunch: A sprinkle of granola or a few toasted coconut flakes can add a fun texture. Just sayin’.
- Different Sweeteners: Agave nectar, a pinch of sugar, or even just letting the natural sweetness of the fruit shine.
FAQ (Frequently Asked Questions)
- Can I make this ahead of time? Well, technically yes, but why hurt your beautiful fruit? It’s best made fresh, especially with bananas. If you *must* prep, chop everything except the banana, add the citrus, and store in an airtight container in the fridge. Add the banana just before serving.
- My kids hate [insert fruit here]! What do I do? Simple: don’t put it in! This is *your* fruit salad. Tailor it to their taste buds (and yours!). Less fuss, more eating.
- What if I don’t have fresh citrus? No worries! Bottled lemon or lime juice works in a pinch for that anti-browning effect. Or, if you’re serving immediately, you can totally skip it.
- How long does it last in the fridge? If you manage to have leftovers (a rare feat, IMO!), it’s best eaten within 1-2 days. The fruit will get softer and release more juices over time.
- Can I add nuts or seeds? Absolutely! For older kids, a sprinkle of chopped walnuts, pecans, or sunflower seeds adds healthy fats and a nice crunch. Just be mindful of allergies and choking hazards for younger children.
Final Thoughts
So there you have it! A fruit salad so simple, so delicious, and so incredibly easy to whip up, you’ll wonder why you ever bought those sad, pre-packaged cups. This isn’t just a snack; it’s an experience (especially if you let the kids get messy helping!). Now go impress someone—or yourself—with your new culinary “skills.” You’ve earned it!


