So you’ve baked a killer chocolate cake, or maybe you just bought one because, hey, adulting is hard, right? Now you’re staring at that naked beauty, wondering how to make it look less ‘straight out of the box’ and more ‘I actually put effort into this, promise!’ Don’t sweat it, buttercup, because we’re diving into the ridiculously easy world of simple chocolate cake decoration. Get ready to impress without the stress!
Why This Recipe is Awesome
Forget those Pinterest fails that make you want to throw your spatula across the room. This isn’t about perfectly piped rosettes or edible glitter you’ll find in your hair for weeks. This is about making your chocolate cake look *chef’s kiss* without needing a culinary degree or, frankly, much patience. **It’s basically foolproof**, even if your artistic skills peaked with stick figures. Plus, it’s fast. Because who wants to wait longer for cake? Not me, that’s for sure. This is your ticket to looking like a baking pro with minimal fuss.
Ingredients You’ll Need
Gather ’round, my lazy-but-luxe friends! Here’s what you’ll want on hand for your cake’s glow-up:
- Your Chocolate Cake: (Duh!) Baked, completely cooled, and ready for its moment in the spotlight. Store-bought or homemade, no judgment here!
- Chocolate Ganache or Store-bought Chocolate Frosting: Choose your fighter. Ganache sounds fancy but is super easy (melt equal parts chocolate chips and heavy cream, stir ’til smooth). Frosting is, well, frosting. Convenience is king!
- Powdered Sugar (Optional): For a dreamy, elegant dust-kissed look. Or just to make things playfully messy.
- Toppings (Pick one, two, or go wild!): This is where your inner artist (or sprinkle fanatic) comes out!
- Chocolate Shavings/Chips: Because more chocolate is *always* the answer.
- Sprinkles: The ultimate party animal of toppings.
- Fresh Berries (Raspberries, Strawberries): Adds a pop of color and makes it look super grown-up.
- Mini Chocolate Bars/Candies: For when you want to make it extra indulgent and fun.
- Nuts (Chopped Pecans, Walnuts, Hazelnuts): Adds texture and a sophisticated crunch.
- Crushed Oreos/Cookies: For a “dirt cake” vibe or just because they’re yummy.
Step-by-Step Instructions
Alright, let’s get this party started! Each step is short, sweet, and to the point. You got this!
- Prep Your Canvas: First things first, make sure your beautiful cake is **completely cool**. Like, chill. No one likes melted frosting running off the sides like a sad chocolate waterfall. Don’t rush this, IMO.
- Frosting Time (Choose Your Adventure):
- For Store-bought Frosting: Simply plop it on top of your cake and spread it evenly with an offset spatula or the back of a spoon. Don’t aim for perfection; rustic is totally in right now. Embrace the swirls!
- For Ganache: If you went the ganache route (you fancy pants!), let it cool for a few minutes until it’s thick enough to spread but still pourable. Gently pour it over the center of your cake.
- The Drip Effect (Optional but Super Cool): If you’re using ganache, tilt the cake ever so slightly to encourage some of that luscious chocolate to ooze elegantly down the sides. For frosting, you can create a similar, more subtle effect by gently pushing some frosting over the edge with your spatula. Instant “I know what I’m doing” vibes!
- Top It Off Like a Boss: This is where the real magic happens, and frankly, the fun part!
- Berry Bonanza: Artfully arrange fresh berries in a circle around the edge, or pile them in the center. A mix of red and black berries looks amazing!
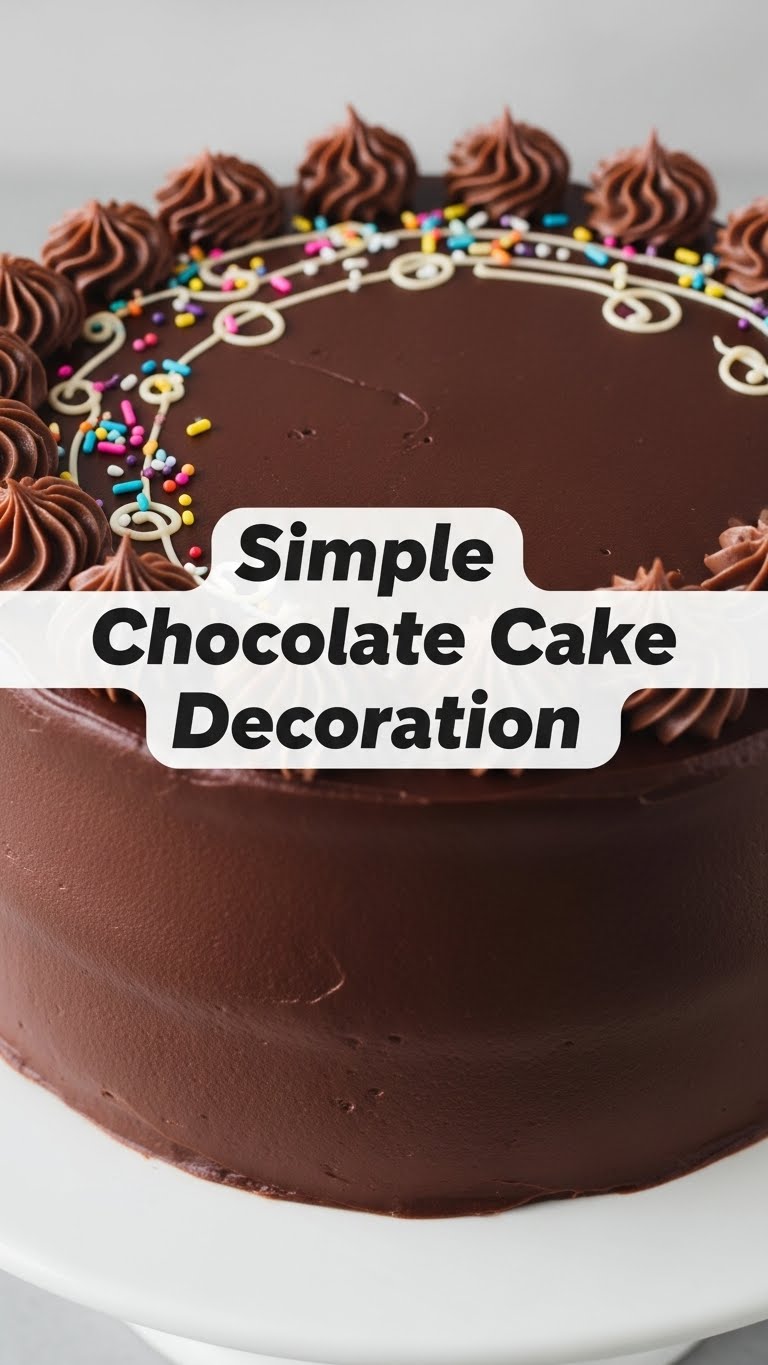
- Sprinkle Party: Go wild! Scatter sprinkles over the entire top, or just around the edge. More is usually more here!
- Chocolate Mountain: Pile on chocolate chips, shavings, or even some crushed chocolate bars. Because, chocolate.
- Mixed Medley: Combine berries with a few sprinkles, or some nuts with chocolate chips. **Don’t overthink it!** Just make it look appealing to *you*.
- The Powdered Sugar Dusting (Pro-ish Tip): For an extra touch of elegance, place a spoonful of powdered sugar in a fine-mesh sieve and gently tap it over your decorated cake. It’s like fairy dust for your dessert!
Common Mistakes to Avoid
Listen up, buttercup! Even in simple decorations, there are a few rookie mistakes we want to dodge. Don’t say I didn’t warn you!
- Decorating a Warm Cake: I know, I know, you’re excited. But seriously, **wait for your cake to be completely cool**. Otherwise, you’re just making chocolate soup. And while soup is great, it’s not cake.
- Overthinking It: This is *simple* decoration. It’s not a competition. Don’t stress about every berry being perfectly placed or every sprinkle having its own zip code.
- Using Too Many Toppings at Once (Sometimes): While mixing is fun, sometimes trying to put every single topping you own on one cake can look a bit… busy. Pick a theme, or stick to 2-3 complementary toppings.
- Trying to Make It Perfect: Imperfection is charming. Embrace the “rustic chic” vibe. Your cake will look like you made it with love, not like it came from a factory.
- Not Having Fun: If you’re stressed, you’re doing it wrong. Cake is joy! Put on some tunes, maybe have a dance break, and enjoy the process.
Alternatives & Substitutions
No problem if you’re missing an ingredient or just feeling experimental! Here are some simple swaps:
- No Ganache? No Problem! Use a good quality store-bought chocolate frosting, melted Nutella (warm it slightly in the microwave so it’s pourable!), or even just melted chocolate (be warned, it sets fast!).
- No Fresh Berries? Canned cherries (drained!), dried cranberries, sliced banana, or even just some colorful M&Ms work wonders. Get creative!
- No Sprinkles? Crush up some Oreos for a “dirt cake” vibe, use mini chocolate chips, or even some shredded coconut.
- Missing an Offset Spatula? A butter knife, the back of a spoon, or even a sturdy piece of cardboard (cleaned, obviously!) can work for spreading. **Creativity is key!**
- Want something extra? A sprinkle of sea salt flakes over your chocolate ganache is a game-changer. Trust me on this.
FAQ (Frequently Asked Questions)
Got questions? I’ve got answers. And probably some sarcasm.
- Can I decorate the cake right after baking? **Nope!** Unless you’re going for a chocolate fondue party and a hot mess. Wait until it’s completely, unequivocally cool. Seriously. Don’t melt your dreams.
- How do I make the ganache look super shiny? A tiny bit of corn syrup (glucose syrup) added while melting can help, but honestly, just getting it smooth and cool enough for a good pour usually does the trick. Don’t chase perfection too hard, it’ll still be delicious!
- What if my frosting is too stiff to spread? Add a tiny splash of milk (or cream if it’s buttercream) and mix it well. And I mean a *tiny* splash – you can always add more, but you can’t take it away!
- Can I use regular sugar instead of powdered sugar for dusting? Well, technically you *can*, but it’ll look like gritty snow, not elegant fairy dust. **Stick with powdered for the dust effect.** Your eyes (and taste buds) will thank you.
- How long will my decorated cake last? Depends on the toppings. Berries are best eaten within a day or two. Plain frosted cake can last 3-4 days in an airtight container at room temp (or fridge if it’s super hot). When in doubt, just eat it faster!
- My cake looks terrible. What now? Eat it. It’ll still taste amazing. **No cake left behind!** And next time, it’ll be even better. Practice makes… more cake!
Final Thoughts
See? I told you it was easy! Now you’re practically a pastry chef without all the early mornings and burnt fingers. You’ve transformed a plain ol’ cake into a masterpiece of minimal effort and maximum deliciousness. Go on, slice into that beautiful creation, snap a pic (or ten!), and enjoy the fruits of your *minimal* labor. You’ve earned it, you chocolate-loving genius. Now, who’s bringing the milk?


