So, you’ve decided to unleash your inner baking mogul and turn those heavenly homemade cinnamon rolls into cold, hard cash (or at least enough for more flour and sprinkles)? Excellent! You’re not just baking; you’re creating edible joy, one swirl at a time. And trust me, the world needs your cinnamon rolls. So grab your apron, butter up your ambitions, and let’s get those sweet, sweet sales rolling!
Why This Recipe is Awesome
Okay, first off, this isn’t some fussy, “you need a pastry degree” kind of recipe. This is the “I made this at 2 AM after watching too many baking shows” kind of recipe. It’s basically idiot-proof. Seriously, if I can nail it without setting off the smoke detector, you’re golden. Plus, these rolls aren’t just delicious; they look like they came straight out of a fancy bakery, making them perfect for those “insta-worthy” photos that scream ‘BUY ME!’ They’re fluffy, they’re gooey, and they smell like pure happiness. What more could you want? World peace? Maybe after a few of these, you’ll be too chill to argue.
Ingredients You’ll Need
- Warm Milk: About 1 cup. Not hot, not cold. Think “perfect bathwater” for your yeast. Don’t scald it unless you’re trying to commit yeast murder.
- Active Dry Yeast: 2 ¼ teaspoons (that’s one packet, FYI). This is where the magic happens, folks.
- Granulated Sugar: ¼ cup for the dough, plus another 1 cup for the filling. Because sugar makes everything better, duh.
- Unsalted Butter: ½ cup (1 stick) melted for the dough, another ½ cup softened for the filling, and 4 tablespoons (¼ cup) softened for the frosting. Yes, that’s a lot of butter. No regrets.
- Large Egg: 1, at room temperature. Give it a gentle crack, don’t just smash it in there.
- All-Purpose Flour: About 3-3 ½ cups. Start with 3, add more if your dough is being a sticky menace.
- Salt: 1 teaspoon. Don’t skip it; it balances out all that sweetness. It’s like the quiet superhero of flavors.
- Ground Cinnamon: 2 tablespoons. The star of the show! Don’t skimp, unless you want “just rolls” instead of “CINNAMON rolls.”
- Powdered Sugar (Confectioners’ Sugar): 2 cups, for the frosting. Get ready for that dreamy glaze.
- Cream Cheese: 4 oz, softened, for the frosting. Because cream cheese frosting is life.
- Vanilla Extract: 1 teaspoon, for the frosting. A little extra somethin’ somethin’.
Step-by-Step Instructions
- Wake Up the Yeast: In a large bowl, whisk together the warm milk, ¼ cup sugar, and yeast. Let it hang out for about 5-10 minutes until it gets foamy and bubbly. This means your yeast is alive and ready to party!
- Mix the Wet Stuff: Add the melted butter and egg to the yeast mixture. Give it a good whisk until everything is combined.
- Add the Dry Stuff: Gradually mix in 3 cups of flour and the salt. Stir until a shaggy dough forms. If it’s super sticky, add the remaining flour a little at a time until it’s manageable.
- Knead It Out: Turn the dough onto a lightly floured surface. Knead for 5-7 minutes until it’s smooth and elastic. It should spring back when you poke it. Consider this your arm workout for the day.
- Let It Rise: Lightly grease a clean bowl, place the dough in it, and turn to coat. Cover with plastic wrap or a clean kitchen towel. Let it rise in a warm place for 1-1.5 hours, or until doubled in size. This is where patience pays off, big time.
- Roll it Out: Once risen, gently punch down the dough to release the air. On a lightly floured surface, roll it into a large rectangle, about 18×12 inches. Aim for an even thickness, folks!
- Butter Up: Spread the softened ½ cup butter evenly over the dough rectangle, leaving a small border on one long edge.
- Sprinkle the Sweetness: In a small bowl, mix the 1 cup sugar and 2 tablespoons cinnamon. Sprinkle this glorious mixture generously over the buttered dough.
- Roll ’em Up! Starting from the long edge, tightly roll the dough into a log. Pinch the seam closed to seal.
- Slice and Dice: Using a sharp knife or, even better, unflavored dental floss (seriously, try it!), cut the log into 12 equal slices, about 1.5 inches thick.
- Second Rise: Arrange the rolls in a lightly greased 9×13 inch baking pan. Cover and let them rise again for another 30-45 minutes, or until puffy. They’re getting ready for their big debut!
- Bake ’em! Preheat your oven to 375°F (190°C). Bake for 20-25 minutes, or until golden brown and cooked through. Don’t overbake, or they’ll be dry—and no one wants dry rolls.
- Whip Up the Frosting: While the rolls are baking, beat together the softened cream cheese, 4 tablespoons softened butter, powdered sugar, and vanilla extract until smooth and creamy.
- Frost and Devour (or Sell!): Once the rolls are out of the oven, let them cool for just 5-10 minutes (warm frosting is the best!). Spread that luscious cream cheese frosting generously over the warm rolls. Now, try not to eat them all before you start selling!
Common Mistakes to Avoid
- Using cold ingredients: Especially the milk and egg. Cold stuff slows down yeast, which means your rolls won’t rise properly. Think of it as waking up a grumpy teenager – it takes effort!
- Over-kneading or under-kneading: Too much kneading makes them tough; too little makes them dense. You want smooth and elastic, not rock hard or sticky slime. Aim for that “springy when poked” perfection.
- Killing the yeast: Water that’s too hot will kill your yeast. Too cold, and it won’t activate. Perfect bathwater temperature is key! (Around 105-115°F or 40-46°C).
- Over-baking: Dry cinnamon rolls are a travesty. Pull them out when they’re golden brown and slightly jiggly in the middle. They’ll firm up as they cool.
- Not sealing the roll: If you don’t pinch that seam closed after rolling, your beautiful spirals might unravel into sad, flat-ish dough. Don’t let that happen!
- Skipping the second rise: This is crucial for that light, fluffy texture. Don’t rush it, unless you enjoy brick-like pastries.
Alternatives & Substitutions
- Milk: Ran out of whole milk? You can totally use 2% or even unsweetened almond milk in a pinch. The fat content might change the richness slightly, but honestly, people are usually too busy marveling at your baking skills to notice the difference.
- Butter: Unsalted butter is usually preferred for baking so you can control the salt. But if all you have is salted, just reduce the added salt in the dough by half a teaspoon. Don’t worry, the cinnamon will still shine!
- Yeast: If you only have instant yeast, you can mix it directly with the dry ingredients. No need for the “wake up” step, you rebel! Just know the rise time might be a tiny bit faster.
- Frosting Fun: Want to mix it up? Add a sprinkle of orange zest to your cream cheese frosting for a bright, citrusy kick. Or, for a simpler glaze, just whisk powdered sugar with a splash of milk and vanilla. It won’t be cream cheese, but it’s still sweet and tasty, IMO.
- Spices: Feeling adventurous? A tiny pinch of nutmeg or cardamom in the filling can really elevate the flavor profile. Just don’t go overboard; we’re making cinnamon rolls, not a spice rack.
FAQ (Frequently Asked Questions)
- Can I make the dough ahead of time? Absolutely! After the first rise, you can punch it down, cover it tightly, and pop it in the fridge overnight. Just let it come to room temperature for about 30-60 minutes before rolling it out and continuing with the recipe. Time-saver alert!
- My rolls aren’t rising. What gives? Most likely, your yeast wasn’t active (too old, water too hot/cold) or your rising spot isn’t warm enough. A warm, draft-free spot is key! You can also try proofing your yeast in slightly warmer water next time.
- How do I store homemade cinnamon rolls? Once frosted, store them in an airtight container at room temperature for up to 2 days, or in the fridge for up to 5 days. For longer storage, freeze unfrosted baked rolls, then thaw and frost when ready to serve/sell.
- Can I use margarine instead of butter? Well, technically yes, but why hurt your soul like that? Butter just tastes better, plain and simple. Margarine might work, but your rolls won’t have the same rich flavor and tenderness. Don’t compromise on deliciousness!
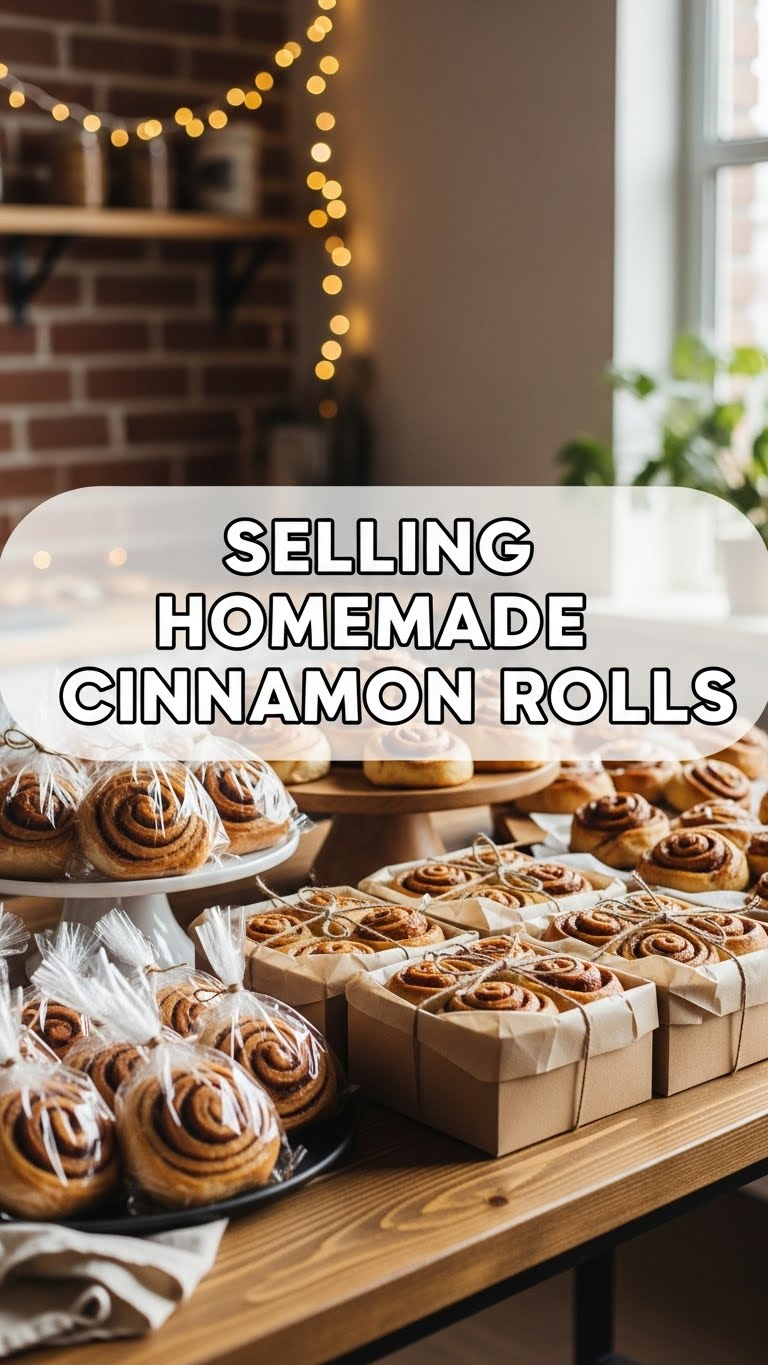
- What’s the best way to package them for selling? Individual clear boxes or cellophane bags look super professional. You can tie them with twine and add a cute custom sticker. Presentation is half the battle, people!
- How do I make them extra gooey? Don’t overbake them! Pull them out when they’re just set. Also, making sure your butter and cinnamon-sugar mixture is spread edge-to-edge helps create that sticky, sweet goodness.
Final Thoughts
So there you have it, future cinnamon roll mogul! You’re now equipped with the knowledge (and hopefully the motivation) to bake up a storm and get those glorious rolls into the hands of eager customers. Remember, practice makes perfect, but even your “oopsie” batches will probably still taste amazing. Now go impress someone—or yourself—with your new culinary skills and entrepreneurial spirit. You’ve earned it!


