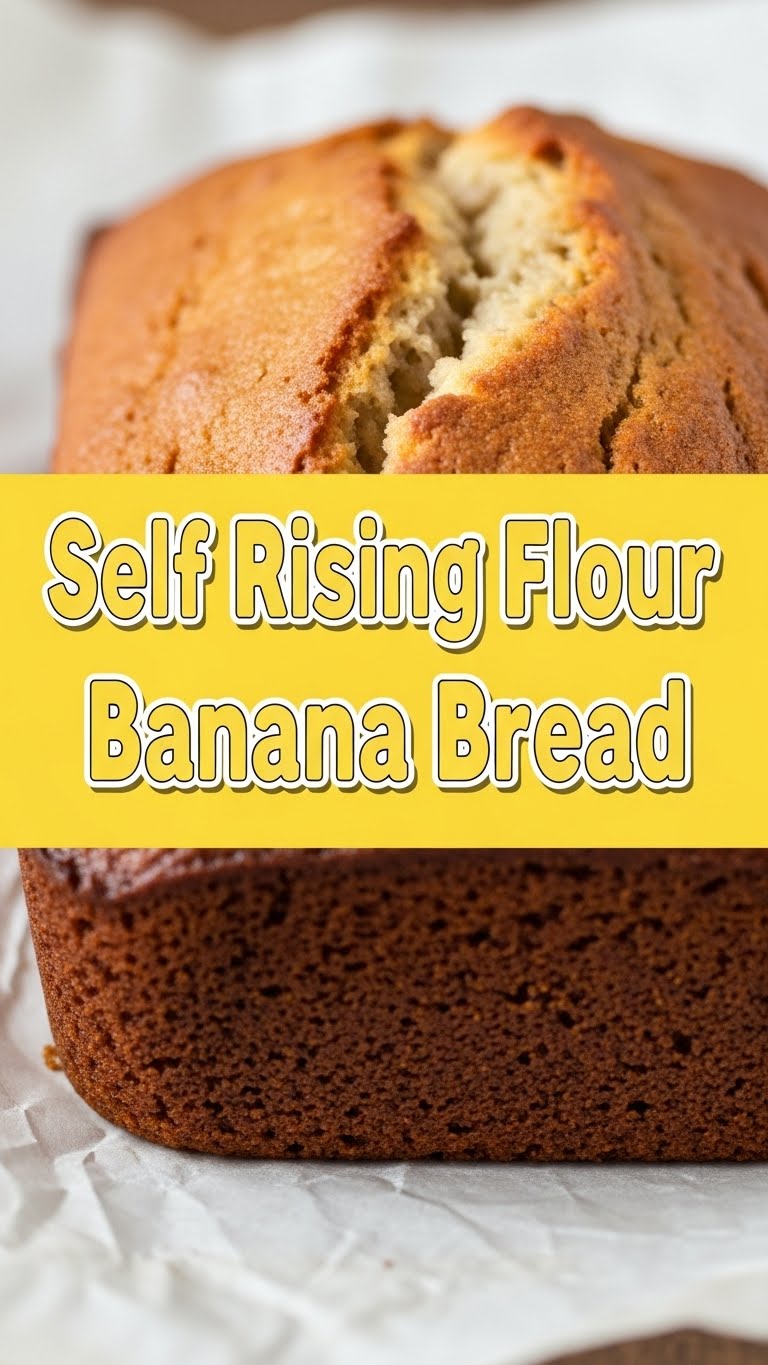
So you’re staring at those spotty bananas on your counter, feeling a mix of guilt and potential, huh? And simultaneously, you’re craving something warm, sweet, and comforting, but the thought of a super-complicated recipe makes you want to curl up in a ball and cry? Same, friend, same. Good news: I’ve got your back with a recipe so easy, it practically bakes itself. We’re talking Self-Rising Flour Banana Bread – your new lazy-baker BFF.
Why This Recipe is Awesome
Listen, I’m not saying I’m a culinary genius, but I *can* follow directions, and this recipe delivers every single time. It’s truly idiot-proof – even I didn’t mess it up, and my kitchen once caught fire trying to make toast. (Okay, slight exaggeration, but you get the point.)
The self-rising flour is the real MVP here, cutting down steps and making it almost impossible to get dense, sad banana bread. Plus, it’s quick! From ‘meh, bananas’ to ‘mmm, banana bread’ in under an hour and a half (including bake time). Minimal effort, maximum deliciousness. You’re welcome.
Ingredients You’ll Need
- Self-Rising Flour: 1½ cups. The superstar! No need for separate baking powder and salt. We love efficiency, right?
- Super Ripe Bananas: 3 medium (about 1 cup mashed). Brown, spotty, gooey – the better! Embrace the mush.
- Unsalted Butter: ½ cup (1 stick), melted. Because everything’s better with butter. Duh.
- Granulated Sugar: ¾ cup. The regular stuff. Sweetens things up without overthinking.
- Large Egg: 1. To bind it all together. The glue of our banana-y dreams.
- Vanilla Extract: 1 teaspoon. Adds that ‘je ne sais quoi’ – makes it fancy without trying too hard.
- Optional Add-ins: ½ cup chocolate chips (because why not?), ½ cup chopped walnuts/pecans (for crunch), ½ teaspoon cinnamon (for a hug in a loaf).
Step-by-Step Instructions
- Preheat & Prep: Get that oven to 350°F (175°C) and grease a 9×5 inch loaf pan. Don’t skip this, unless you enjoy prying baked goods out with a chisel.
- Mash ‘Em Up: In a medium bowl, mash those ripe bananas with a fork. Lumps are totally fine, even desirable for texture.
- Wet Ingredients Party: Add the melted butter, sugar, egg, and vanilla to your mashed bananas. Stir until just combined. Don’t overmix! We’re not making meringue.
- Flour Power: Gently fold in the self-rising flour. Stir *just* until no dry streaks remain. Seriously, stop as soon as it looks like a batter. Overmixing here leads to tough bread, and nobody wants that.
- Stir in the Goodies (Optional): If you’re feeling fancy, now’s the time for chocolate chips, nuts, or cinnamon. Fold them in lightly.
- Pour & Bake: Pour the glorious batter into your prepared loaf pan. Bake for 50-65 minutes, or until a toothpick inserted into the center comes out clean. Keep an eye on it after 45 mins! Ovens vary wildly.
- Cool Down: Let it cool in the pan for about 10-15 minutes before transferring it to a wire rack to cool completely. Patience, grasshopper. It’s worth it.
Common Mistakes to Avoid
- Using under-ripe bananas: Rookie mistake! They won’t mash well, and your bread won’t have that deep banana flavor. Wait for the spots!
- Overmixing the batter: This is the arch-nemesis of tender banana bread. Seriously, just fold until combined. Lumps of flour are better than tough bread.
- Not preheating your oven: Thinking you can just throw it in and it’ll work out? Nah, you’ll end up with unevenly baked sadness.
- Not greasing your pan: Unless you enjoy a battle of wills with your loaf pan, grease it. Liberally.
- Cutting it too soon: I know, the smell is intoxicating. But let it cool a bit, or it might crumble. It’ll still taste good, but it won’t be pretty.
Alternatives & Substitutions
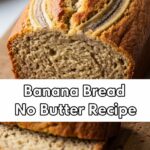
- Butter: Can you use oil? Yes, vegetable or canola oil works (same quantity). It makes it a bit more moist, but IMO, butter adds that irreplaceable richness. Your call, though!
- Sugar: Brown sugar can totally sub for granulated for a deeper, molasses-y flavor. Or a mix! Experiment, you rebel.
- Add-ins: Feeling adventurous? Shredded coconut, dried cranberries, a swirl of Nutella before baking… the world is your oyster! Or, you know, your banana bread.
- Dairy-Free: Use a plant-based butter and make sure your chocolate chips are dairy-free if using. Easy peasy.
FAQ (Frequently Asked Questions)
- My bananas aren’t ripe enough! What do I do? Pop ’em on a baking sheet at 300°F (150°C) for 15-30 minutes until they’re black and shiny. Instant ripeness!
- Can I use all-purpose flour instead? Technically yes, but you’ll need to add about 1.5 teaspoons of baking powder and 1/2 teaspoon of salt per cup of flour. Self-rising is just easier, trust me.
- How do I know when it’s done? A toothpick or skewer inserted into the center should come out clean, maybe with a few moist crumbs clinging to it, but no wet batter.
- Can I make muffins instead of a loaf? Absolutely! Divide the batter into a greased muffin tin and bake for about 20-25 minutes. Quick tip: Fill muffin cups about 2/3 full.
- How long does it keep? Stored at room temp in an airtight container, it’s usually good for 3-4 days. In the fridge, maybe a week. It also freezes beautifully for up to 3 months!
- Can I use margarine instead of butter? Well, technically yes, but why hurt your soul like that? Butter just tastes better, let’s be real.
- My banana bread is too dry! What did I do wrong? You probably overbaked it (ovens vary!) or overmixed the batter. Less mixing, watchful baking next time!
Final Thoughts
So there you have it! Your super easy, ridiculously delicious self-rising flour banana bread recipe. You’ve officially conquered those sad, spotty bananas and turned them into something truly magical. Now go impress someone – or just yourself, because you totally deserve it – with your new culinary skills. Maybe make another batch? Just sayin’. Happy baking, friend!
