Alright, cake commander! You’ve conquered the oven, wrestled flour into submission, and now you’ve got a perfectly round, gloriously chocolatey cake cooling on the counter. But hold up – we’re not just plonking it on a plate and calling it a day, are we? Nope! We’re about to turn that delicious brown disc into a showstopper, even if your artistic skills peak at stick figures. Get ready to unleash your inner cake Picasso, no fine arts degree required!
Why This “Recipe” (for Decorating) is Awesome
Because let’s be real, baking a cake is only half the fun. The other half is making it look so good that people almost feel bad eating it (almost!). This isn’t just about frosting; it’s about crafting an edible masterpiece that screams, “Yes, I did this, and yes, you’re jealous.” It’s idiot-proof, even I didn’t mess it up, and trust me, I’ve had some kitchen disasters that could win awards. Plus, it’s a fantastic way to destress. Seriously, what’s more therapeutic than slathering chocolate on more chocolate?
Ingredients You’ll Need for Your Masterpiece
Think of these as your art supplies. Don’t worry, no fancy paints, just yummy stuff!
- Your perfectly baked round chocolate cake: The canvas for your edible art. Make sure it’s completely, utterly, absolutely cool. This is super important, like, life-or-death important.
- Your favorite frosting: About 2-3 cups. Chocolate ganache, buttercream, cream cheese frosting – whatever floats your boat. Pro tip: make a little extra, because tasting is essential quality control.
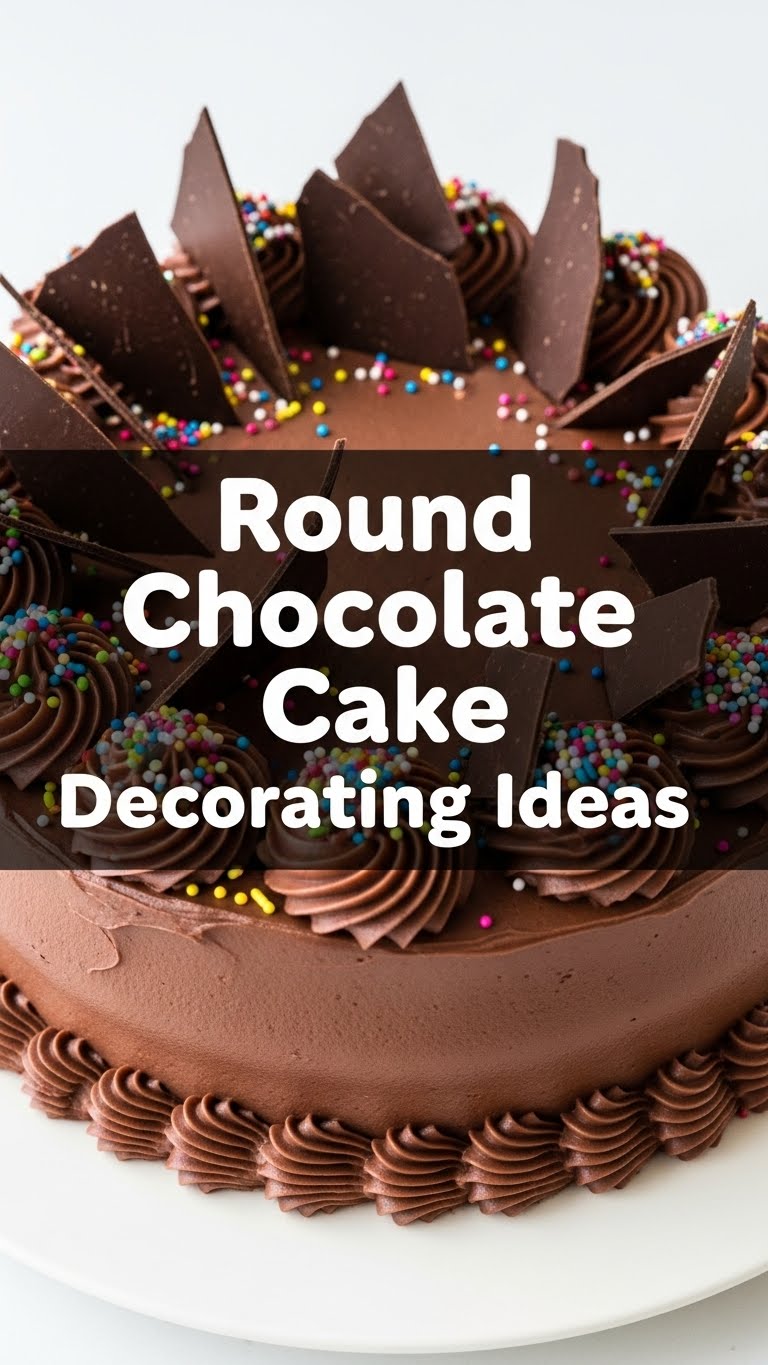
- Sprinkles, chocolate shavings, or edible glitter: Your sparkly bits. Go wild! Or don’t. It’s your cake.
- Fresh fruit: Strawberries, raspberries, cherries. They add a pop of color and a touch of “I’m fancy now.”
- Cookies or candies: Oreos, Kit Kats, M&Ms, whatever your sweet tooth desires. Break ’em up, pile ’em on.
- Piping bags and tips (optional, but fun!): If you want to get all swirly and fancy, these are your friends. Otherwise, a good old spatula works wonders.
Step-by-Step Instructions to Dazzle
Let’s get this edible party started!
- Prep Your Canvas: First things first, if your cake has a domed top, gently level it with a serrated knife. This creates a flat surface, making frosting way easier. Nobody wants a lopsided cake, right?
- Crumb Coat Magic: Apply a very thin layer of frosting all over your cool cake. This is called a crumb coat. It traps any pesky crumbs, so your final frosting layer looks smooth and pristine. Chill the cake in the fridge for 15-20 minutes after the crumb coat – this step is non-negotiable!
- The Grand Frosting Event: Once chilled, apply the main layer of frosting. Use an offset spatula or a butter knife to spread it evenly over the top and sides. For a rustic look, don’t worry about perfection; embrace the swirls. For smooth, dip your spatula in hot water, wipe it clean, and smooth away!
- Sprinkle Time! (Idea 1 – The Party Animal): Grab those sprinkles! You can coat the entire cake, just the sides, or make a colorful border on top. For the sides, gently press a handful of sprinkles against the cake.
- Chocolatey Heaven (Idea 2 – The Chocoholic’s Dream): If you’re using chocolate shavings, gently press them onto the sides or pile them high on top. You can also create a ring of chocolate chips around the edge.
- Fruity Freshness (Idea 3 – The Elegant Touch): Arrange fresh berries artfully on top. A simple circle of raspberries or a scattering of sliced strawberries can elevate your cake instantly.
- Cookie Monster Mania (Idea 4 – The Playful Palate): Break up some Oreos or other cookies and scatter them over the top. Or stand whole Kit Kat bars around the perimeter – super easy and impressive!
- Piping Pizazz (Idea 5 – The Fancy Pants): If you’re feeling ambitious, load some frosting into a piping bag with your favorite tip. Pipe elegant swirls, stars, or borders around the top or base of the cake. This adds a professional touch without being super hard.
Common Mistakes to Avoid (Seriously, Don’t Do These!)
- Decorating a warm cake: Oh, honey, no. This is a recipe for a sliding, melting, crumbly mess. Patience, grasshopper. Let that cake cool completely.
- Skipping the crumb coat: You’ll regret it. Those crumbs will mix into your final frosting, making it look… rustic, in a bad way.
- Over-mixing your frosting: Especially buttercream. You can incorporate too much air, making it difficult to spread smoothly. Keep it light, but don’t go full-on mixer marathon.
- Trying to be too perfect: Unless you’re a professional pastry chef, don’t sweat the small stuff. Imperfections add character! Embrace the homemade charm.
- Using stale decorations: Old sprinkles are just sad. Fresh fruit that looks sad? Also sad. Use fresh stuff, FYI.
Alternatives & Substitutions
Feeling creative? Here are some ways to shake things up!
- Frosting Flavors: Not a fan of chocolate on chocolate? (Gasp! But okay.) Try a vanilla buttercream, peanut butter frosting, or even a mint chocolate chip frosting. The world is your oyster!
- Natural Colors: Want some color without artificial dyes? Use a tiny bit of beet juice for pink, turmeric for yellow, or spirulina for green in your vanilla frosting.
- Nutty Additions: Toasted chopped nuts (pecans, walnuts, almonds) add a great texture and sophisticated flavor. Press them onto the sides or sprinkle them on top.
- Edible Flowers: For a truly elegant and whimsical look, garnish with a few food-safe edible flowers like pansies or violas. Just make sure they’re not sprayed with pesticides!
- Cookie Crumbles: Don’t have chocolate shavings? Crush some chocolate cookies for a similar effect. Works like a charm and tastes amazing.
FAQ (Frequently Asked Questions)
Got questions? I’ve got (casual) answers!
- Q: My frosting is too stiff! What do I do? A: Add a tiny bit of milk or cream, a teaspoon at a time, and mix until it reaches your desired consistency. Don’t drown it!
- Q: Can I decorate the cake a day ahead? A: Absolutely! Most frosted cakes (especially those with buttercream or ganache) do great overnight at room temperature (if it’s not too hot) or in the fridge. Just make sure it’s covered!
- Q: How do I get super smooth sides? A: A good crumb coat, chilled cake, and then a hot, clean offset spatula or bench scraper. Heat the tool under hot water, wipe it dry, and then smooth. Repeat as needed. It takes practice, but you’ll get there!
- Q: What if I mess up a section? Can I fix it? A: Yes! This is cake, not surgery. Gently scrape off the offending frosting, smooth the area, and reapply. Or, strategically place a giant strawberry over it. No one will ever know, IMO.
- Q: Can I use whipped cream for decorating? A: You can, but whipped cream is less stable than buttercream or ganache and doesn’t hold its shape as well, especially for piping. It’s best used right before serving.
- Q: Do I need special tools? A: Nah, not really. A butter knife, a spatula, and your own two hands can work wonders. But an offset spatula does make life a little easier for spreading frosting.
Final Thoughts
So there you have it! Your guide to transforming a delicious chocolate cake into a showstopper with minimal fuss and maximum fun. Remember, baking and decorating should be enjoyable, not stressful. So crank up some tunes, get your hands a little messy, and create something beautiful (and delicious!). Now go impress someone—or yourself—with your new culinary art skills. You’ve earned it!


