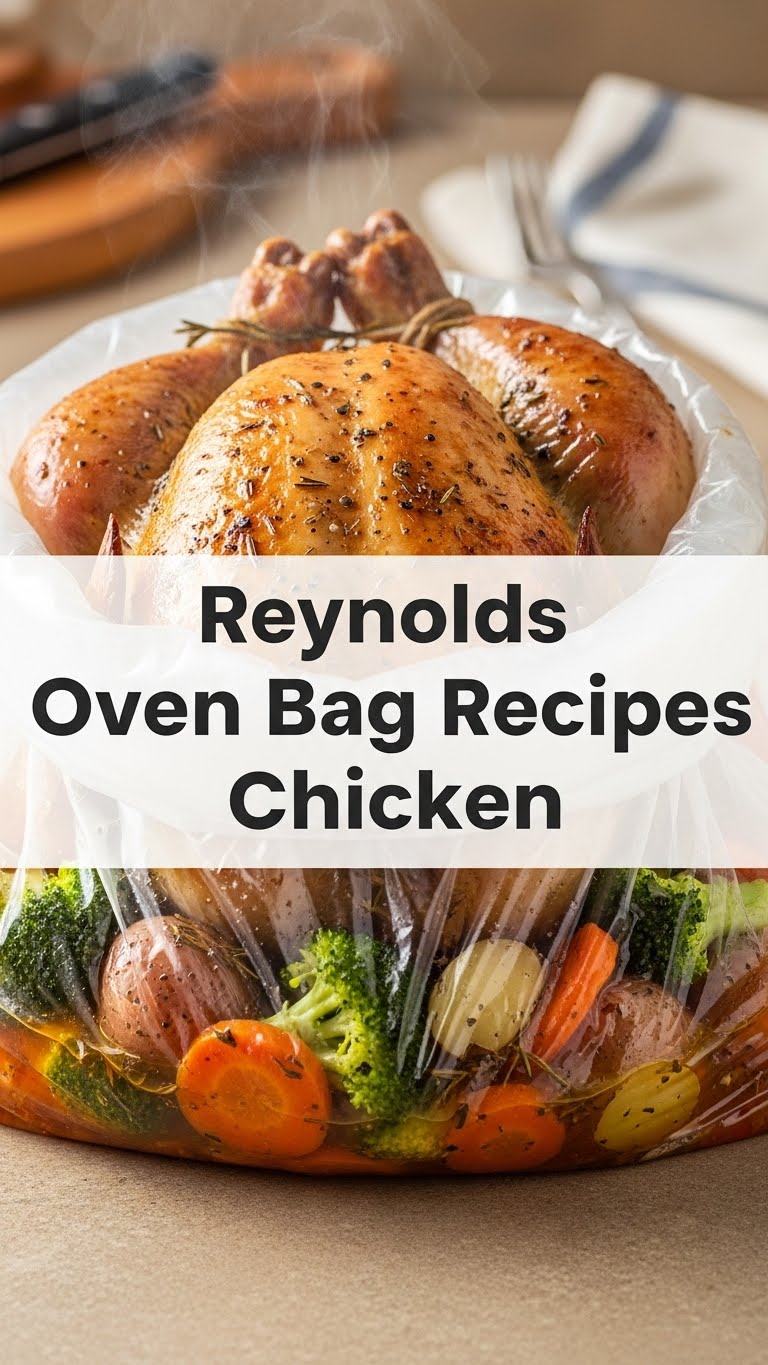
So you’re craving something tasty but too lazy to spend forever in the kitchen, huh? Same. We’ve all been there: staring into the fridge, dreaming of a delicious, home-cooked meal that magically appears without a sink full of dishes or an hour of chopping. Well, my friend, have I got a secret weapon for you: the humble (yet mighty!) Reynolds Oven Bag. Get ready for some ridiculously easy, unbelievably juicy chicken, with cleanup so minimal you’ll wonder if you actually cooked anything at all. Let’s do this!
Why This Recipe is Awesome
Okay, buckle up, buttercup, because this isn’t just a recipe; it’s a life hack disguised as dinner. Why is it awesome? First off, it’s pretty much **idiot-proof**. Seriously, even I didn’t mess it up, and my kitchen adventures sometimes end with a smoke detector concert. You literally toss stuff in a bag, pop it in the oven, and walk away. That’s it.
Secondly, the cleanup? Practically non-existent. That magical Reynolds bag contains all the delicious mess, meaning your roasting pan (if you even bother using one) stays sparkling clean. It’s like having a sous-chef who also does the dishes. Thirdly, and perhaps most importantly, the chicken comes out **insanely juicy and tender** every single time. The bag traps all that moisture and flavor, essentially steaming and roasting your chicken to perfection. No dry, sad chicken here, folks!
Ingredients You’ll Need
Gather ’round, culinary wizards! Here’s what you’ll need for your effortless masterpiece. Don’t worry, nothing too fancy, unless you count that oven bag as “fancy” (which, let’s be honest, it kinda is).
- **1 Reynolds Oven Bag** (Large size, because who wants small chicken?)
- **1 whole chicken (3-4 lbs)** or **4-6 chicken pieces** (thighs, drumsticks, breasts – your call!). This is the star of our show, after all!
- **1 tbsp all-purpose flour** (Yep, just a tiny bit. It’s a secret weapon for the bag!)
- **1 lb small potatoes**, quartered or halved (baby reds or Yukon Golds work wonders)
- **3-4 medium carrots**, peeled and chopped into chunky pieces (don’t go too small, we don’t want them mushy!)
- **1 large onion**, roughly chopped or wedged (for flavor and general good vibes)
- **2-3 tbsp olive oil** (or melted butter, if you’re feeling extra decadent)
- **1 tsp garlic powder** (because garlic makes everything better)
- **1 tsp onion powder** (its partner in crime!)
- **1/2 tsp paprika** (for a little color and warmth)
- **1/2 tsp dried thyme or rosemary** (or your favorite herb blend)
- **Salt and freshly ground black pepper**, to taste (be generous!)
Step-by-Step Instructions
Alright, let’s get cooking! This is so easy, you could probably do it with your eyes closed (but please don’t, safety first, okay?).
- **Preheat Power:** Get that oven fired up to **375°F (190°C)**. While it’s warming, grab your oven bag and **add 1 tablespoon of flour** to it. Shake it up gently to coat the inside. This little trick prevents the bag from bursting and helps thicken the juices later. Smart, right?
- **Prep the Stars:** If using a whole chicken, pat it dry with paper towels. This helps the seasoning stick. Now, in a large bowl, toss your chopped potatoes, carrots, and onion. Give them a good mix!
- **Season Everything:** Drizzle your chicken (and the veggies in the bowl) with olive oil or melted butter. Then, sprinkle generously with garlic powder, onion powder, paprika, dried herbs, salt, and pepper. Use your hands to really get in there and rub the seasoning all over the chicken and veggies. Don’t be shy!
- **Bag It Up:** Carefully open your flour-coated oven bag and place the seasoned chicken inside. Arrange the seasoned veggies around the chicken. Try to keep them in a single layer if possible, so they cook evenly.
- **Seal the Deal:** Use the provided tie to securely close the oven bag. **Important:** Leave a little slack in the bag, don’t tie it super tight. Now, grab a sharp knife or scissors and **cut 4-6 small slits (about 1/2 inch each)** in the top of the bag. This lets steam escape, preventing the bag from puffing up too much.
- **Bake Away:** Place the sealed bag in a roasting pan or on a baking sheet. Pop it into your preheated oven. Bake for **60-90 minutes** for chicken pieces, or **1.5 to 2 hours** for a whole chicken, or until a meat thermometer inserted into the thickest part (without touching bone) reads **165°F (74°C)**.
- **Rest and Serve:** Carefully remove the pan from the oven. **Warning: STEAM ALERT!** Let the bag rest in the pan for 5-10 minutes before opening. This helps the juices redistribute, keeping the chicken super moist. Then, carefully snip open the bag with scissors (away from your face!). Spoon out the chicken and veggies, pour any delicious pan juices over top, and boom! Dinner is served.
Common Mistakes to Avoid
Look, we all make mistakes. It’s part of the human condition, especially when hunger is involved. But with these tips, you’ll be a oven-bag pro in no time!
- **Thinking you don’t need to preheat the oven:** Rookie mistake! A properly preheated oven ensures even cooking and prevents your dinner from taking an extra hour.
- **Forgetting the flour:** That tablespoon of flour isn’t just for show. It helps prevent the bag from bursting by absorbing some of the moisture, and it gives you a lovely gravy base later. **Don’t skip it!**
- **Not poking holes in the bag:** Remember those 4-6 small slits? They’re crucial for steam release. Without them, your bag might puff up like a balloon and, well, *pop*!
- **Overfilling the bag:** While it’s tempting to cram in all the veggies in the world, don’t overstuff the bag. Give everything a little breathing room so it can cook properly.
- **Opening the bag too soon:** Patience, young grasshopper! That 5-10 minute resting period isn’t just for you to admire your work. It allows the chicken to reabsorb its juices, making it incredibly tender and flavorful.
Alternatives & Substitutions
Feel free to get wild and crazy with this recipe! (Or just swap out a couple things, no pressure.) This is your dinner, after all.
- **Different Meats:** Not feeling chicken? No problem! This method works great for **pork tenderloin**, a small **turkey breast**, or even **sausages** (though cooking times will vary, FYI).
- **Veggie Power-Up:** The world is your oyster! Try adding chopped bell peppers, zucchini, mushrooms, sweet potatoes, green beans, or even corn on the cob (cut into smaller pieces). Just ensure denser veggies like sweet potatoes are cut smaller to cook through.
- **Seasoning Swap-Outs:** Ditch the Italian herbs and go for a **lemon-pepper blend**, **taco seasoning** (hello, chicken fajitas!), or a fiery **Cajun spice mix**. The bag loves to capture all those bold flavors.
- **Sauce It Up:** Towards the end of cooking (about 15-20 minutes before it’s done), you can carefully snip open the bag and pour in a bit of **BBQ sauce**, **teriyaki sauce**, or even a splash of **white wine** for an extra layer of flavor. Just reseal it as best you can and finish baking.
FAQ (Frequently Asked Questions)
Got questions? I’ve got (casual and witty) answers!
**Q: Can I use a smaller or larger oven bag?**
A: Well, technically yes, but make sure it’s appropriate for the size of your bird or pieces. A large bag is usually best for a whole chicken or a decent amount of pieces and veggies. Too small, and things won’t cook evenly; too big, and it’s just… floppy.
**Q: Do I need to add any liquid to the bag?**
A: Nope! That’s the beauty of it. The chicken and veggies release their own delicious juices, which get trapped in the bag, creating a self-basting environment. No extra liquid needed, unless you want to add a splash of wine for extra flavor, as mentioned above.
**Q: How do I get crispy skin on my chicken?**
A: Ah, the age-old dilemma! The bag keeps things moist, not crispy. If you crave crispy skin, after baking, carefully cut open the bag and spread it open, then pop the chicken under the broiler for 5-7 minutes, watching it like a hawk so it doesn’t burn. That’ll crisp things right up!
**Q: Can I put frozen chicken in the oven bag?**
A: Please don’t! For food safety reasons and to ensure even cooking, always use thawed chicken. Raw, frozen meat takes longer to cook and can lead to uneven temperatures, which is a no-go.
**Q: What if I don’t have a meat thermometer?**
A: While a thermometer is always best for accuracy, you can check for doneness by piercing the thickest part of the chicken with a fork. If the juices run clear, it’s generally done. But, IMO, a thermometer is a small investment for peace of mind!
**Q: Can I prep this ahead of time?**
A: You sure can! You can chop all your veggies and season your chicken, then place everything in the bag (without tying or poking holes) and keep it in the fridge for up to 24 hours. When you’re ready, just tie, poke, and bake!
Final Thoughts
And there you have it, superstar! You’ve just mastered the art of ridiculously easy (and delicious!) Reynolds Oven Bag Chicken. Look at you, making magic happen in the kitchen with minimal effort and even less cleanup. You’re basically a culinary genius, or at least a very smart cook who knows how to work smarter, not harder. Now go impress someone—or yourself—with your new culinary skills. You’ve earned it!


