So you’re craving something tasty, something that screams “fancy” but only took you like, 30 minutes of actual effort? And let’s be real, you want to impress someone (even if that someone is just your couch and a Netflix binge). I hear you, friend. We’ve all been there. Forget those basic chocolate chip cookies; today, we’re leveling up with something that looks like it walked straight out of a bakery window: **Red Velvet White Chocolate Chip Cookies!** Get ready to feel like a culinary genius with minimal fuss.
Why This Recipe is Awesome
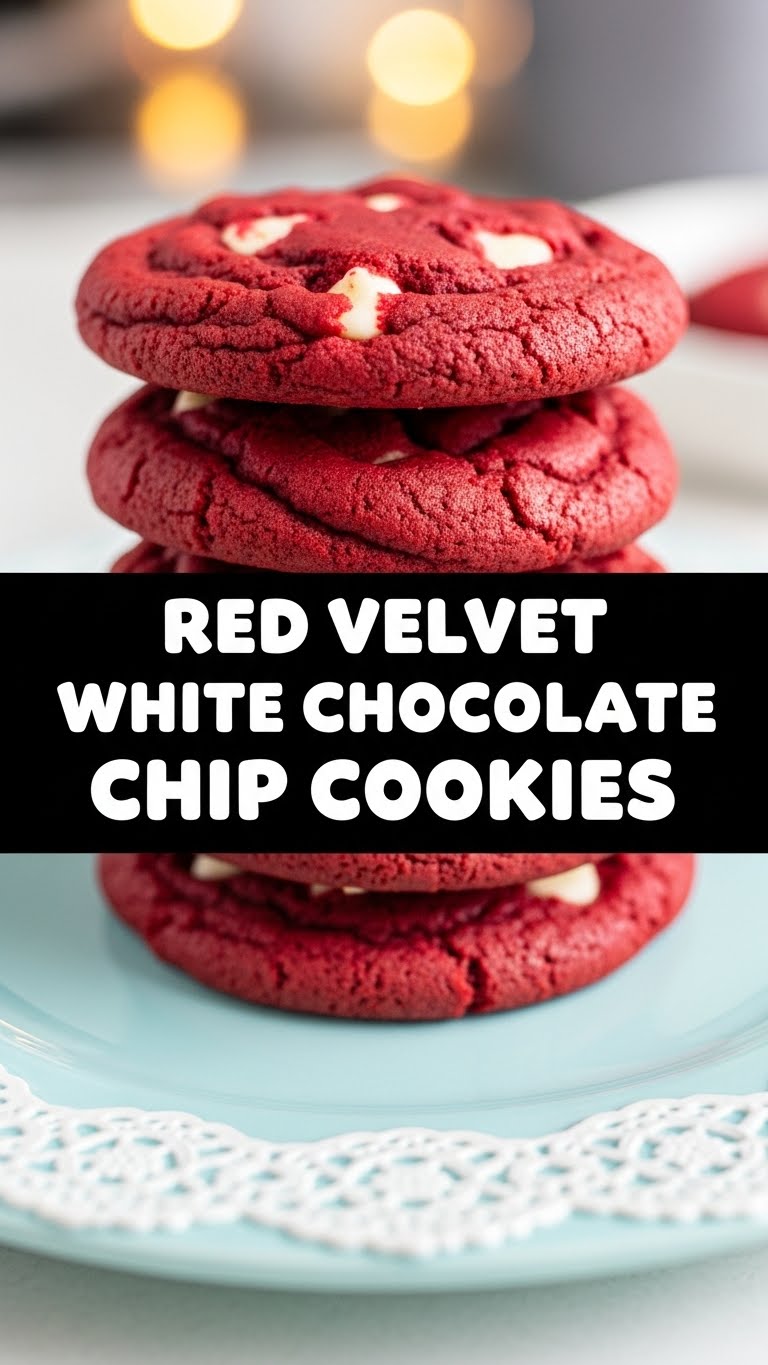
Okay, let’s cut to the chase. Why *these* cookies? First off, they’re red. Like, vibrant, glorious red. Who doesn’t want a cookie that looks like a party on a plate? Seriously, they pop. Secondly, they’re soft, chewy, and those little pockets of melted white chocolate? Pure bliss. But the best part? **This recipe is practically idiot-proof.** Even if your baking skills usually stop at “toast,” you can nail these. They come together super fast, don’t require a gazillion fancy ingredients, and the payout in compliments (and deliciousness) is huge. Trust me, I didn’t mess them up, so you definitely won’t!
Ingredients You’ll Need
Gather your troops! Here’s what you’ll need to make these beauties:
- **1 ½ cups All-Purpose Flour:** The backbone of our cookie empire.
- **¼ cup Unsweetened Cocoa Powder:** The secret to that subtle chocolatey red velvet flavor. Don’t skip it!
- **1 teaspoon Baking Soda:** Our fluffy friend, making sure these aren’t flat disks.
- **¼ teaspoon Salt:** Balances all that sweetness. Think of it as the unsung hero.
- **½ cup (1 stick) Unsalted Butter, softened:** Room temp, please! No cold, hard butter unless you want lumpy dough and a workout.
- **¾ cup Granulated Sugar:** Just enough sweetness.
- **¼ cup Packed Light Brown Sugar:** For that extra chewiness and a hint of molasses flavor.
- **1 large Egg:** Our binder. Make sure it’s also room temp!
- **1 tablespoon Milk:** Any kind works. Whole, 2%, almond… whatever you have.
- **1 teaspoon Vanilla Extract:** Because everything is better with vanilla.
- **1-2 teaspoons Red Gel Food Coloring:** This is where the magic happens! Gel gives you that intense red. Liquid works too, but you might need more.
- **1 cup White Chocolate Chips:** The star of the show! Go for good quality; it makes a difference.
Step-by-Step Instructions
Alright, apron on, let’s get baking! This is going to be quick and easy, I promise.
- **Preheat & Prep:** First things first, get your oven to **350°F (175°C)**. Line a couple of baking sheets with parchment paper. This makes cleanup a breeze and prevents sticking.
- **Whisk the Dry Stuff:** In a medium bowl, whisk together your flour, cocoa powder, baking soda, and salt. Set it aside.
- **Cream the Wet Stuff (Part 1):** In a large bowl (or stand mixer), beat your softened butter, granulated sugar, and brown sugar together until it’s light and fluffy. This usually takes about 2-3 minutes.
- **Add the Other Wet Stuff:** Beat in the egg, milk, and vanilla extract until everything is well combined. Now for the fun part: add the red gel food coloring. Start with a teaspoon, mix, and if you want it more vibrant, add another. Make it as red as your heart desires!
- **Combine Wet & Dry:** Gradually add your dry ingredient mixture to the wet mixture, mixing on low speed until *just* combined. **Do NOT overmix!** Overmixing leads to tough cookies, and nobody wants that.
- **Fold in the Chips:** Gently fold in the white chocolate chips using a spatula. We want them evenly distributed, but still, no aggressive stirring!
- **Scoop ’em Out:** Use a cookie scoop or two spoons to drop rounded tablespoons of dough onto your prepared baking sheets, leaving about 2 inches between each cookie. They will spread!
- **Bake Away!** Pop them into the preheated oven for **9-11 minutes**. They should look set around the edges but still be slightly soft in the middle.
- **Cool Down:** Let them cool on the baking sheet for a few minutes before transferring them to a wire rack to cool completely. Patience, young grasshopper!
Common Mistakes to Avoid
Look, we all make mistakes. But with these tips, you’ll avoid the usual cookie catastrophes. You’re welcome.
- **Using Cold Butter/Eggs:** Rookie mistake! Cold ingredients don’t cream together properly, leading to uneven mixing and denser cookies. **Room temperature is key!**
- **Overmixing the Dough:** Seriously, I cannot stress this enough. Once you add the flour, mix *just* until no dry streaks remain. Overmixing develops gluten, making your cookies tough instead of tender and chewy.
- **Not Preheating Your Oven:** This isn’t a suggestion, it’s a command! An oven that isn’t at the right temperature will mess with your baking time and how your cookies spread.
- **Crowding the Baking Sheet:** Give those cookies some personal space! If they’re too close, they’ll spread into each other and become one giant, sad cookie blob.
- **Baking Too Long:** Keep an eye on them! If you bake them until they’re firm all over, they’ll be hard and crunchy when cool. We want soft centers!
Alternatives & Substitutions
Feeling adventurous? Or just missing an ingredient? Here are a few simple swaps and ideas:
- **Chocolate Chips:** Not a fan of white chocolate? Gasp! But fine, you do you. Swap them for milk chocolate chips, dark chocolate chunks, or even a mix of milk and white. Semi-sweet also works great.
- **Food Coloring:** If you’re out of red gel and only have liquid, you might need to use a bit more to get that vibrant color. Or, if you don’t care about the red, just skip it! You’ll have delicious chocolate cookies.
- **Extracts:** Want a different vibe? A few drops of peppermint extract for a festive twist, or even almond extract for a subtle, nutty note would be delicious.
- **Gluten-Free:** I haven’t personally tested this recipe with GF flour, but typically a 1:1 gluten-free baking flour blend (the kind with xanthan gum) should work. Just be mindful of the dough consistency.
FAQ (Frequently Asked Questions)
Got questions? I’ve got answers, mostly. Probably.
- **”My cookies are flat! What happened?”** Oh no! Could be a few things: your butter was too soft (melted, practically), your baking soda is old (check the date!), or your oven wasn’t at the right temperature. Also, sometimes just chilling the dough for 20-30 minutes can help prevent spreading.
- **”Can I use margarine instead of butter?”** Well, technically yes, you *can*, but why hurt your soul like that? Butter just tastes better, and often margarine has a higher water content which can affect texture. Stick to butter for best results, IMO.
- **”How do I store these cookies?”** Once cooled, keep them in an airtight container at room temperature for up to 3-5 days. If they last that long, you’re a stronger person than I am.
- **”Can I freeze the dough?”** Absolutely! Scoop the dough balls onto a parchment-lined tray and freeze until solid, then transfer them to a freezer-safe bag or container for up to 2-3 months. When you want a fresh cookie, just bake from frozen, adding a few extra minutes to the bake time.
- **”Why aren’t my cookies chewy enough?”** A common culprit here is overbaking. Remember, you want them slightly soft in the middle when you pull them out. Also, ensure you’re using brown sugar, as it contributes to that lovely chew!
Final Thoughts
And there you have it! You’re now equipped to bake a batch of absolutely stunning and incredibly delicious Red Velvet White Chocolate Chip Cookies. They’re pretty, they’re tasty, and honestly, they’re just fun. Go ahead, make a batch (or three). Share them with friends, bring them to a party, or just hoard them all for yourself. No judgment here. Now go impress someone—or yourself—with your new culinary skills. You’ve earned it!


