So, you’re craving something that screams “I tried hard!” but secretly took minimal effort, right? And it absolutely *must* involve that dreamy red velvet goodness, those sweet summer strawberries, and enough creamy frosting to make you question all your life choices (in a good way, obvi). My friend, you’ve come to the right place. We’re diving headfirst into a Red Velvet Strawberry Shortcake Cake that’s so good, it should be illegal. Or at least require a permit. Because who needs boring desserts when you can have this?
Why This Recipe is Awesome
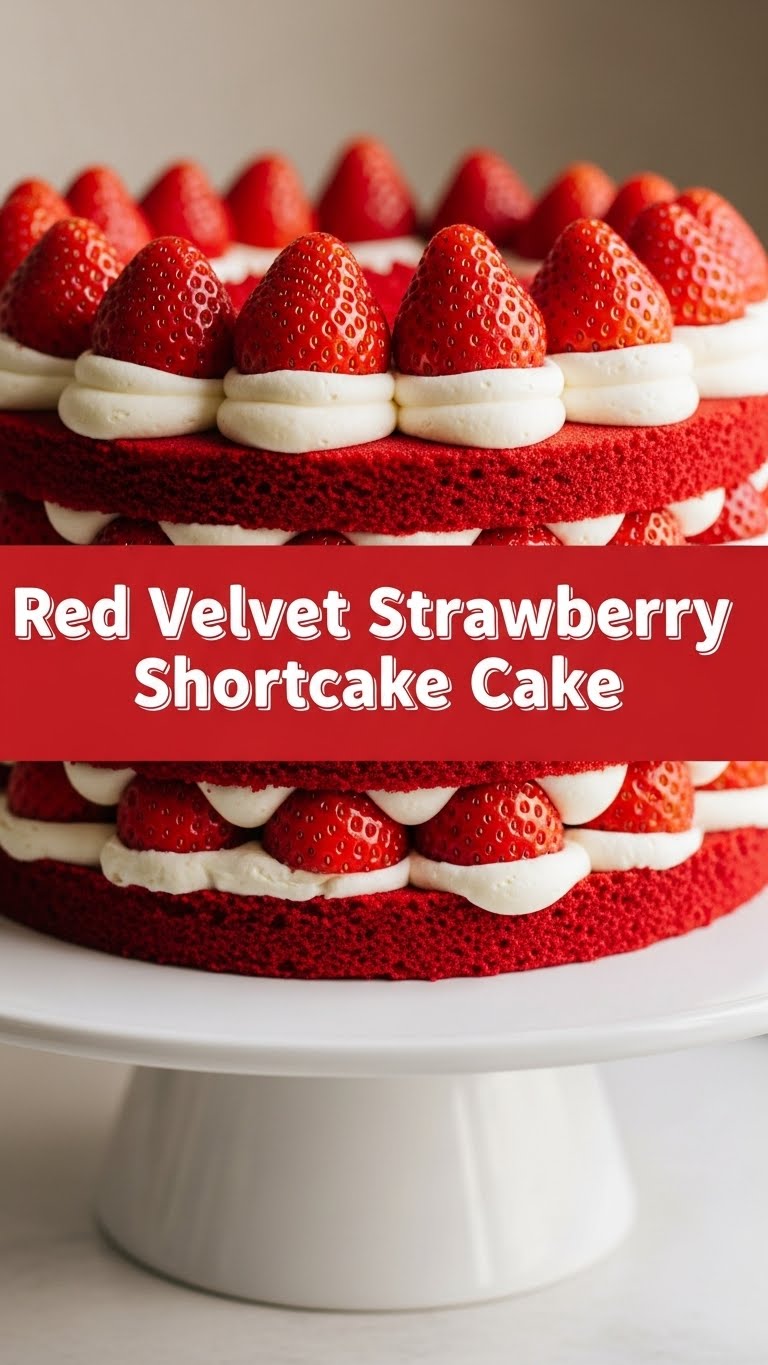
Let’s be real, most fancy cakes look like a science project gone right and taste like… well, cake. But this beauty? It’s the Beyoncé of cakes – beautiful, show-stopping, and surprisingly accessible. It combines the velvety richness of red velvet with the fresh, tangy sweetness of strawberries and a whipped, dreamy shortcake-style frosting. It’s like a party in your mouth, and everyone’s invited. Plus, it’s a total illusionist. It *looks* super complicated, but **spoiler alert: it’s shockingly simple**. Even if your baking skills are usually limited to pressing “start” on the microwave, you can absolutely nail this. Trust me, I’m practically a professional cake-eater, and I didn’t mess it up.
Ingredients You’ll Need
Get ready to gather your culinary arsenal! No need for fancy, obscure stuff here. We’re keeping it real.
- **For the Red Velvet Cake:**
- 1 box (around 15.25 oz) Red Velvet cake mix (Yes, a box! Don’t judge, we’re going for delicious, not pretentious.)
- Ingredients called for on the cake mix box (usually eggs, oil, and water/milk)
- **Pro-tip:** Add 1 extra egg yolk for extra richness and moisture. Thank me later.
- **For the Strawberry Filling:**
- 2 lbs fresh strawberries, hulled and sliced (the juicier, the better!)
- 1/4 cup granulated sugar (or more, if your strawberries are feeling shy)
- 1 tbsp lemon juice (brightens everything up like sunshine on a cloudy day)
- **For the Dreamy Shortcake Cream Frosting:**
- 8 oz cream cheese, softened (Philadelphia is my go-to, but you do you)
- 1/2 cup powdered sugar (sifted, if you’re feeling extra fancy and lump-averse)
- 1 tsp vanilla extract (don’t skip this, it’s the soul of the frosting)
- 2 cups heavy whipping cream, **very cold** (this is key for stiff peaks, folks!)
Step-by-Step Instructions
Alright, let’s get down to business. Follow these steps, and you’ll be a cake boss in no time!
- **Bake Your Red Velvet Magic:** Prepare the cake mix according to package directions, but remember that extra egg yolk if you’re feeling adventurous. Divide the batter evenly between two greased and floured 8 or 9-inch round cake pans. Bake as directed until a toothpick inserted into the center comes out clean. **Let them cool completely on a wire rack.** This is super important, or your frosting will melt into a sad, sad puddle. Nobody wants that.
- **Strawberry Maceration Station:** While the cakes are cooling, gently toss your sliced strawberries with the granulated sugar and lemon juice in a medium bowl. Let them sit for at least 30 minutes, giving them time to get all juicy and delicious. Stir occasionally.
- **Whip Up the Dream Frosting:** In a large mixing bowl, beat the softened cream cheese with the powdered sugar until smooth and creamy. Add the vanilla extract and beat to combine. In a separate (or very clean) cold bowl, whip the heavy cream until **stiff peaks form**. This means when you lift the beaters, the cream stands up straight.
- **Fold It In, Fold It In!:** Gently, oh so gently, fold the whipped cream into the cream cheese mixture until just combined. Don’t overmix, or it’ll lose its fluffy charm. You’re aiming for light and airy, like a cloud.
- **Time for Assembly!:** Place one cooled cake layer on your serving plate or cake stand. Spread about a third of the cream cheese whipped cream over the top. Spoon about half of your macerated strawberries (drained slightly if they’re super juicy) over the frosting.
- **Layer Up!:** Carefully place the second cake layer on top. Spread another third of the frosting over this layer, followed by the remaining strawberries. Finish off with the last of the frosting spread artistically over the top and down the sides. Go wild! It’s supposed to look a little rustic and charming.
- **Chill Out:** For best results (and easier slicing!), pop your masterpiece in the fridge for at least 1-2 hours. This lets the cake firm up and the flavors meld into pure bliss.
Common Mistakes to Avoid
Nobody’s perfect, but we can learn from past culinary blunders. Don’t be “that guy” who makes these common errors:
- **Skipping the Cool-Down:** Trying to frost a warm cake is a recipe for a molten, gooey mess. **Always let your cakes cool completely.** I mean it.
- **Over-Whipping the Cream:** Whipped cream can turn into butter if you beat it for too long. Keep an eye on it! Stop as soon as those stiff peaks appear.
- **Forgetting to Drain the Strawberries:** If your macerated strawberries are swimming in juice, drain off a little liquid before adding them to the cake. Otherwise, you risk a soggy bottom, and no one wants that in their shortcake!
- **Not Softening the Cream Cheese:** Trying to beat cold cream cheese is like trying to reason with a toddler – it won’t end well. It’ll be lumpy and sad. **Room temperature cream cheese is your friend.**
Alternatives & Substitutions
Feeling rebellious? Here are some ways to switch things up:
- **Cake Flavor Swap:** Not a red velvet fan (gasp!)? You could totally use a vanilla or even chocolate cake mix for a different vibe. It’ll still be delicious, IMO.
- **Berry Bonanza:** No strawberries? No problem! Raspberries, blueberries, or a mixed berry blend would be equally divine. Just make sure to macerate them.
- **Cream Cheese Frosting OG:** If you want a denser, more traditional cream cheese frosting, just skip the heavy cream and make a standard cream cheese frosting. But honestly, the whipped cream version is lighter and really nails that “shortcake” feel.
- **Gluten-Free Goodness:** Many brands offer gluten-free cake mixes now! Go for it if that’s your jam.
FAQ (Frequently Asked Questions)
Got questions? I’ve got (casual) answers!
- **Can I make the cake layers ahead of time?** Absolutely! You can bake them a day or two in advance, wrap them tightly in plastic wrap, and store them at room temp or even freeze them. Just thaw before frosting.
- **My whipped cream isn’t getting stiff! What gives?** Are your cream and bowl super cold? If not, chill them longer. A little cream of tartar (1/4 tsp per cup of cream) can also act as a stabilizer if you’re really struggling.
- **How long does this cake last?** It’s best enjoyed within 3-4 days when stored in the fridge. The strawberries can get a little watery over time, but it’ll still taste great.
- **Can I use frozen strawberries?** You can, but make sure to thaw them completely and drain them *really* well to avoid excess moisture. They might not be quite as firm as fresh ones, but the flavor will still be there.
- **Is this suitable for a beginner baker?** Yes, a thousand times yes! Using a cake mix makes it incredibly forgiving. It’s an impressive cake without the stress.
- **Can I add chocolate chips or other mix-ins to the cake?** If you’re using a red velvet mix, it’s already got a lot going on, but who am I to stop you? Mini white chocolate chips could be a fun addition to the frosting, though!
Final Thoughts
And there you have it, folks! Your very own Red Velvet Strawberry Shortcake Cake. It’s a showstopper, a crowd-pleaser, and a testament to the fact that delicious doesn’t have to mean difficult. Now go impress someone—or yourself—with your new culinary skills. You’ve earned it! Seriously, pour yourself a cuppa (or something stronger) and enjoy every single delightful bite. You totally crushed it!


