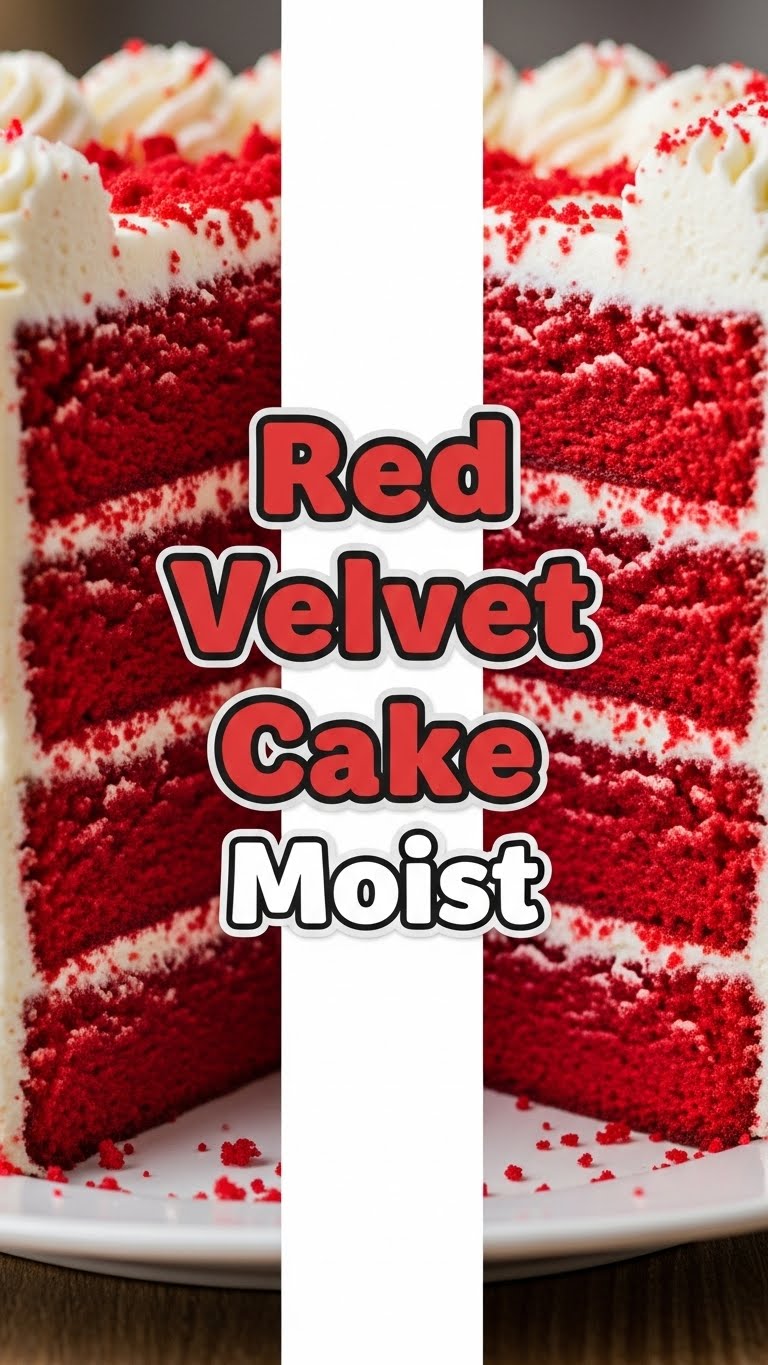
So you’re craving something luscious, velvety, and yes, *red*, but too lazy to spend forever in the kitchen, huh? Same, friend, same. Good news: I’ve got your back with a Red Velvet cake recipe so unbelievably moist, it practically melts in your mouth. Get ready to impress yourself (and maybe your significant other/pet/plant) without breaking a sweat.
Why This Recipe is Awesome
Forget those dry, crumbly imposters you’ve endured in the past. This isn’t just a recipe; it’s a **moisture miracle**! It’s practically idiot-proof – seriously, if I can bake this without setting off the smoke alarm, you’re golden. We’re talking a tender crumb, a subtle tang, and that signature vibrant red that screams “fancy bakery, but I totally made this.”
Plus, that classic tangy cream cheese frosting? Oh. My. Goodness. It’s the kind of cake that makes people ask for the recipe, then secretly wonder if you bought it from a high-end patisserie. You’ll be basking in compliments, all while knowing you whipped up this masterpiece in your pajamas. That’s a win in my book.
Ingredients You’ll Need
Time to gather your edible arsenal! Don’t worry, nothing too exotic here.
For the Cake:
- 2 ½ cups All-purpose flour: The unsung hero. Sift it if you’re feeling fancy (and want extra light cake).
- 1 ½ cups Granulated sugar: Because sweetness is life.
- 1 tbsp Unsweetened cocoa powder: Just a touch, for that mysterious “red-ish” flavor, not chocolate cake flavor.
- 1 tsp Baking soda: The lift-off specialist.
- 1 tsp Salt: For balance, because even cakes need balance.
- 1 cup Buttermilk: The secret to extreme moistness and that signature tangy depth. **Don’t skip this one!**
- ½ cup Vegetable oil: Keeps things super tender and ensures maximum moistness.
- 2 Large eggs: Room temperature, please! They mix better and make for a smoother batter.
- 1 tbsp White vinegar: Reacts with the baking soda for extra lift and tenderness. Science, baby!
- 2-3 tbsp Red food coloring: The star of the show! Gel food coloring is your best friend for vibrant color without messing up the texture.
- 1 tsp Vanilla extract: Because everything is better with vanilla.
For the Cream Cheese Frosting:
- 8 oz (1 block) Full-fat cream cheese: Room temperature. No low-fat imposters if you want real deal frosting!
- ½ cup (1 stick) Unsalted butter: Also room temperature. They’re best friends.
- 4 cups Powdered sugar: Sifted, unless you enjoy lumpy frosting. Trust me on this.
- 1 tsp Vanilla extract: A little more never hurt anyone.
Step-by-Step Instructions
Alright, apron on (or don’t, I won’t tell), let’s get baking!
- **Get Ready, Bake!** Preheat your oven to 350°F (175°C). Grease and flour two 9-inch round cake pans. Or, line with parchment circles. Your call, but **don’t skip the pan prep!** Nobody wants a stuck cake.
- **Dry Mix Fun:** In a large bowl, whisk together your flour, sugar, cocoa powder, baking soda, and salt. Make sure there are no lumpy bits, unless you’re into that rustic texture.
- **Wet Mix Magic:** In another medium-sized bowl, combine the buttermilk, oil, eggs, vinegar, red food coloring, and vanilla extract. Whisk ’em good until everything’s a glorious, vibrant red.
- **Combine Forces:** Slowly add the wet ingredients to the dry ingredients. Mix on low speed (or by hand) **just until combined**. Overmixing is the enemy of moist cake! Seriously, stop as soon as it’s blended and you see no more dry streaks.
- **Pan It Up:** Divide the batter evenly between your two prepared pans. Give them a gentle tap on the counter to release any sneaky air bubbles.
- **Bake Time!** Pop those beauties in the oven for about 25-30 minutes. You’ll know they’re done when a toothpick inserted into the center comes out clean.
- **Cool Down:** Let the cakes cool in their pans for about 10-15 minutes, then carefully invert them onto a wire rack to cool completely. **Patience, young grasshopper!** Don’t even *think* about frosting a warm cake unless you’re aiming for a melted, sliding mess.
Now for the Frosting!
- **Creamy Dreamy:** In a large bowl, beat the softened cream cheese and butter together until smooth and creamy. No lumps allowed, we’re going for silky perfection.
- **Sweeten It Up:** Gradually add the sifted powdered sugar, beating until fluffy. Start on low speed to avoid a powdered sugar explosion (trust me, it’s not fun), then increase to medium.
- **Vanilla Finish:** Stir in the vanilla extract. Taste and adjust if needed – maybe a tiny bit more vanilla? You’re the chef now!
- **Assemble Your Masterpiece:** Once the cakes are completely cool, frost away! Layer, spread, decorate. **Go wild, or keep it perfectly rustic.**
Common Mistakes to Avoid
We all make ’em, but here are some common cake blunders you can totally skip:
- **Overmixing the batter:** This is cake suicide. You’ll end up with a tough, dry cake that’s sadder than a Monday morning. Mix until *just* combined, then back away from the mixer.
- **Not using room temperature ingredients:** Your butter, cream cheese, and eggs need to be cozy and soft to blend smoothly. Cold ingredients mean lumps, an uneven bake, and a grumpy baker. Rookie mistake!
- **Eyeballing the food coloring:** Unless you want a sad, brownish-red cake, don’t skimp on the red food coloring. Gel is your best friend here for a vibrant hue that screams “Red Velvet!”
- **Frosting a warm cake:** This isn’t a “warm cake, warm frosting” situation. That’s a “melted frosting, sliding cake, existential crisis” situation. Wait for it to be **completely cool**. Seriously.
- **Ignoring the sifting for powdered sugar:** Want lumpy frosting? Then don’t sift. Otherwise, grab that sieve and save yourself some lumps.
Alternatives & Substitutions
Life happens, ingredients run out. Here are some quick fixes:
- **Buttermilk Battle?** No buttermilk? No problem! Mix 1 tablespoon of white vinegar or lemon juice into regular milk (dairy or non-dairy works!) and let it sit for 5-10 minutes until it curdles slightly. Voila, instant buttermilk!
- **Red Food Coloring Renegade?** If you’re really against artificial colors, you *could* try beet powder, but honestly, the color won’t be as vibrant, and it might add a subtle earthy flavor. This is Red Velvet, so **go bold or go home** with that red!
- **Oil vs. Butter:** This recipe uses oil for that super moist crumb. If you’re a butter purist, you can substitute, but be aware your cake might be a tad denser. IMO, stick with the oil for this one for that ultimate moistness.
- **Cake Pan Predicament?** Don’t have two 9-inch pans? You can use three 8-inch pans (just adjust baking time slightly, they’ll bake faster) or even make cupcakes! Just reduce baking time to 18-22 minutes for cupcakes.
FAQ (Frequently Asked Questions)
- **Q: Can I make this cake ahead of time?**
- A: Absolutely! The unfrosted cake layers can be wrapped tightly in plastic wrap and then foil, then frozen for up to a month. Thaw in the fridge overnight. Frosted, it’ll last 3-4 days in the fridge. So, yes, plan ahead, you culinary genius!
- **Q: Why is my cake not as red as I expected?**
- A: Did you use liquid food coloring? Or maybe not enough? Gel food coloring is your best bet for that intense, classic Red Velvet color. Don’t be shy with it!
- **Q: My cream cheese frosting is too runny! Help!**
- A: Oh no! This usually means your butter or cream cheese was too soft, or you didn’t sift your powdered sugar, or you added too much liquid. Pop it in the fridge for 20-30 minutes to firm up, then give it another beat.
- **Q: Can I use margarine instead of butter in the frosting?**
- A: Well, technically yes, but why hurt your soul like that? For that rich, authentic cream cheese frosting taste, **real butter is non-negotiable**. Seriously.
- **Q: How do I store leftover Red Velvet Cake?**
- A: Because of the cream cheese frosting, it needs to be stored in an airtight container in the refrigerator. Bring it to room temperature for about 30 minutes before serving for the best flavor and texture. If there *are* leftovers, that is!
- **Q: Is Red Velvet just chocolate cake with food coloring?**
- A: Sacrilege! While it contains cocoa powder, it’s a very small amount, giving it a subtle depth, not a chocolatey flavor. The tang from buttermilk and vinegar, plus that distinctive red, sets it apart. It’s its own special thing, FYI.
Final Thoughts
See? That wasn’t so scary, was it? You just conquered the legend that is Red Velvet Cake! Now go impress someone—or yourself—with your new culinary skills. You’ve earned that slice (or three). Enjoy every glorious, moist, tangy bite. You’re basically a baking superstar now. Don’t forget to send me a slice… or at least a picture!

