Okay, friend, let’s be real. You’ve got that craving. That ‘something sweet, something comforting, but also I don’t want to spend my entire weekend making it’ craving. Sound familiar? Good, because I’ve got your back with a recipe so outrageously simple and delicious, it feels like cheating. Forget complicated yeast doughs and endless proofing. We’re talking Red Velvet Cake Mix Cinnamon Rolls, and yes, they’re as mind-blowingly good as they sound. Get ready to impress everyone (mostly yourself) with minimal effort!
Why This Recipe is Awesome
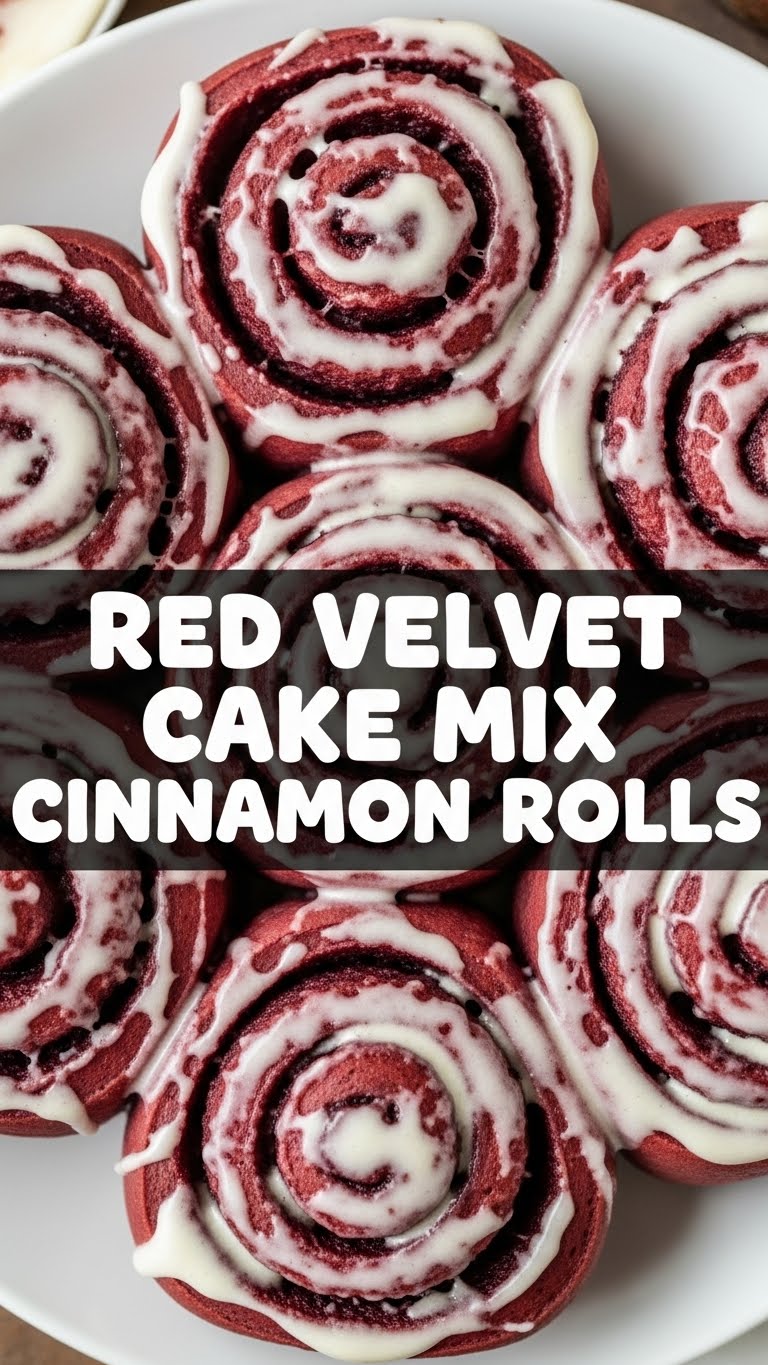
Because who has time for a culinary Everest when you just want a warm, gooey hug in roll form? This recipe is the ultimate cheat code for cinnamon roll nirvana. Seriously, it’s pretty much **idiot-proof** – even I, a notorious baker of questionable patience, didn’t mess it up. We’re talking **fluffy, vibrant red rolls** with that signature cocoa tang, swirled with classic cinnamon-sugar, and topped with a dreamy cream cheese glaze. Plus, using a cake mix means less measuring, a guaranteed tender crumb, and a shorter rise time. It’s basically all the good parts of baking with none of the usual fuss. You’re welcome.
Ingredients You’ll Need
Gather your weapons, chef! Here’s what you’ll need to conjure up these beauties:
- For the Dough:
- 1 box (15.25 oz) Red Velvet Cake Mix (the star of our show!)
- 2 ¼ teaspoons Active Dry Yeast (one packet, basically. Don’t fear the yeast!)
- 1 cup Warm Water (around 105-115°F – think bathwater, not lava)
- 2 ½ cups All-Purpose Flour (give or take, for perfect dough consistency)
- ¼ cup Granulated Sugar (just a little extra sweetness)
- ½ teaspoon Salt (balances all that yumminess)
- 4 tablespoons Unsalted Butter, melted (because everything’s better with butter)
- For the Filling:
- ½ cup Unsalted Butter, melted (more butter, hooray!)
- 1 cup Brown Sugar, packed (that deep, molasses-y goodness)
- 2 tablespoons Ground Cinnamon (don’t skimp!)
- For the Cream Cheese Glaze:
- 4 ounces Cream Cheese, softened (the essential tang!)
- ½ cup Unsalted Butter, softened (told you, butter makes it better)
- 2 cups Powdered Sugar (get ready to sift, or live dangerously)
- 1 teaspoon Vanilla Extract (a splash of pure happiness)
- 1-3 tablespoons Milk or Heavy Cream (for perfect drizzly consistency)
Step-by-Step Instructions
- Wake Up the Yeast: In a large bowl, combine your warm water and yeast. Give it a gentle stir and let it sit for about 5-10 minutes. It should get nice and foamy – that means your yeast is alive and ready to party! If not, your water was probably too hot or too cold. Start over.
- Mix the Dry: In a separate bowl, whisk together the red velvet cake mix, 2 cups of the all-purpose flour, granulated sugar, and salt.
- Combine Forces: Pour the melted butter into your foamy yeast mixture. Then, gradually add the dry ingredients to the wet, mixing until just combined.
- Knead (Gently!): Turn the dough out onto a lightly floured surface (using the remaining ½ cup flour as needed). Knead for about 5 minutes until the dough is smooth and elastic. It should be slightly sticky, but manageable. Don’t overdo it!
- First Rest: Place the dough in a lightly oiled bowl, turning it once to coat. Cover with plastic wrap and let it rise in a warm spot for about 45-60 minutes, or until doubled in size. This isn’t your grandma’s all-day rise, so keep an eye on it!
- Prep for Rolling: While the dough rises, prepare your filling by whisking together the melted butter, brown sugar, and cinnamon in a small bowl. Also, lightly grease a 9×13 inch baking pan.
- Roll It Out: Once risen, punch down the dough and turn it onto a lightly floured surface. Roll it into a large rectangle, roughly 12×18 inches. **Aim for an even thickness!**
- Spread the Love: Generously spread your cinnamon-sugar filling all over the dough, leaving about a ½-inch border on one of the long edges.
- Roll ‘Em Up: Starting from the long edge opposite the border, carefully roll the dough into a tight log. **Tight is key here** for beautiful swirls.
- Slice and Arrange: Using a sharp knife or unflavored dental floss (seriously, it works wonders!), cut the log into 12 equal-sized rolls. Arrange them in your prepared baking pan, leaving a little space between each.
- Second Rise: Cover the pan loosely with plastic wrap and let the rolls rise again in a warm spot for another 20-30 minutes, or until puffed up. Meanwhile, preheat your oven to 375°F (190°C).
- Bake Time: Bake for 20-25 minutes, or until the tops are lightly golden and the rolls are cooked through. **Don’t overbake!**
- Whip Up the Glaze: While the rolls are baking or cooling slightly, beat together the softened cream cheese and butter in a medium bowl until smooth. Gradually add the powdered sugar, mixing until creamy. Stir in the vanilla extract, then add milk or cream one tablespoon at a time until you reach your desired drizzly consistency.
- Glaze and Devour: As soon as the rolls come out of the oven, slather them with that luscious cream cheese glaze. The warmth helps it melt beautifully. Now, try to wait 5 minutes before you demolish them. Good luck.
Common Mistakes to Avoid
Nobody’s perfect, but we can avoid some classic blunders:
- Nuking the Yeast: Your water was too hot, wasn’t it? Yeast is delicate! Treat it like a baby; if it’s too hot for your finger, it’s too hot for the yeast. Rookie mistake.
- Not Rolling Tight Enough: If your log isn’t snug, your rolls will unroll and flatten out in the pan. We want spirals, not slinkies.
- Overbaking: Dry cinnamon rolls are a culinary crime. Pull them out when they’re just set and lightly golden. They’ll continue to cook slightly from residual heat.
- Skimping on Glaze: A skimpy glaze is just sad. Embrace the creamy goodness.
- Forgetting to Preheat: Thinking you don’t need to preheat the oven? Another classic. Your rolls will bake unevenly and take forever.
Alternatives & Substitutions
Feeling adventurous? Or just out of an ingredient? Here are some ideas:
- Cake Mix Flavors: While red velvet is divine, you could totally try this with a chocolate cake mix for double chocolate rolls, or even a yellow cake mix for a more classic taste. Get creative!
- Glaze Variations: If you’re not a cream cheese fan (gasp!), a simple powdered sugar glaze (powdered sugar, milk, vanilla) works too. Or, for a truly decadent treat, brown butter cream cheese glaze is a game-changer.
- Filling Add-ins: Want some crunch? Add finely chopped pecans or walnuts to your cinnamon filling. Chocolate chips would also be *chef’s kiss*.
- Dairy-Free: For your dairy-averse pals, use plant-based milk, dairy-free butter, and dairy-free cream cheese alternatives. They work surprisingly well!
FAQ (Frequently Asked Questions)
- Can I make these ahead of time? Absolutely! After slicing and placing the rolls in the pan (Step 10), cover them tightly and pop them in the fridge overnight. In the morning, pull them out and let them come to room temperature and rise for about 60-90 minutes before baking.
- My dough isn’t rising, what gives? Uh oh. Your yeast might have been old or the water temperature was off. **FYI:** Yeast is a living thing, treat it right!
- Can I freeze these? Yes! You can freeze unbaked rolls (after the second rise) for up to a month. Thaw in the fridge overnight, then let rise at room temp before baking. Or, freeze baked rolls (unglazed) for up to 2 months. Reheat gently and then glaze.
- Do I really need to use dental floss to cut them? No, but it makes for super clean cuts without squishing the dough, which can happen with a knife. If you don’t have floss, a very sharp, un-serrated knife works best.
- Can I use margarine instead of butter? Well, technically yes, but why hurt your soul like that? Butter just tastes better, IMO. Go for the real deal if you can!
Final Thoughts
See? I told you it was easy. You just whipped up a batch of glorious, bakery-worthy Red Velvet Cinnamon Rolls with a cake mix! Take a bow, you culinary genius. These are perfect for a cozy weekend breakfast, a decadent brunch, or just because you deserve something ridiculously delicious. Now go impress someone—or yourself—with your new culinary skills. You’ve earned it!


