So, you’ve just binged three seasons of that baking show, you’re utterly convinced you could totally make a croquembouche, but also… it’s Tuesday, and you just want something ridiculously delicious without having to call in a vacation day to bake it. Sound familiar? Because, same. That’s why we’re diving headfirst into something truly magical today: **Red Velvet Cake Cinnamon Rolls.**
Why This Recipe is Awesome
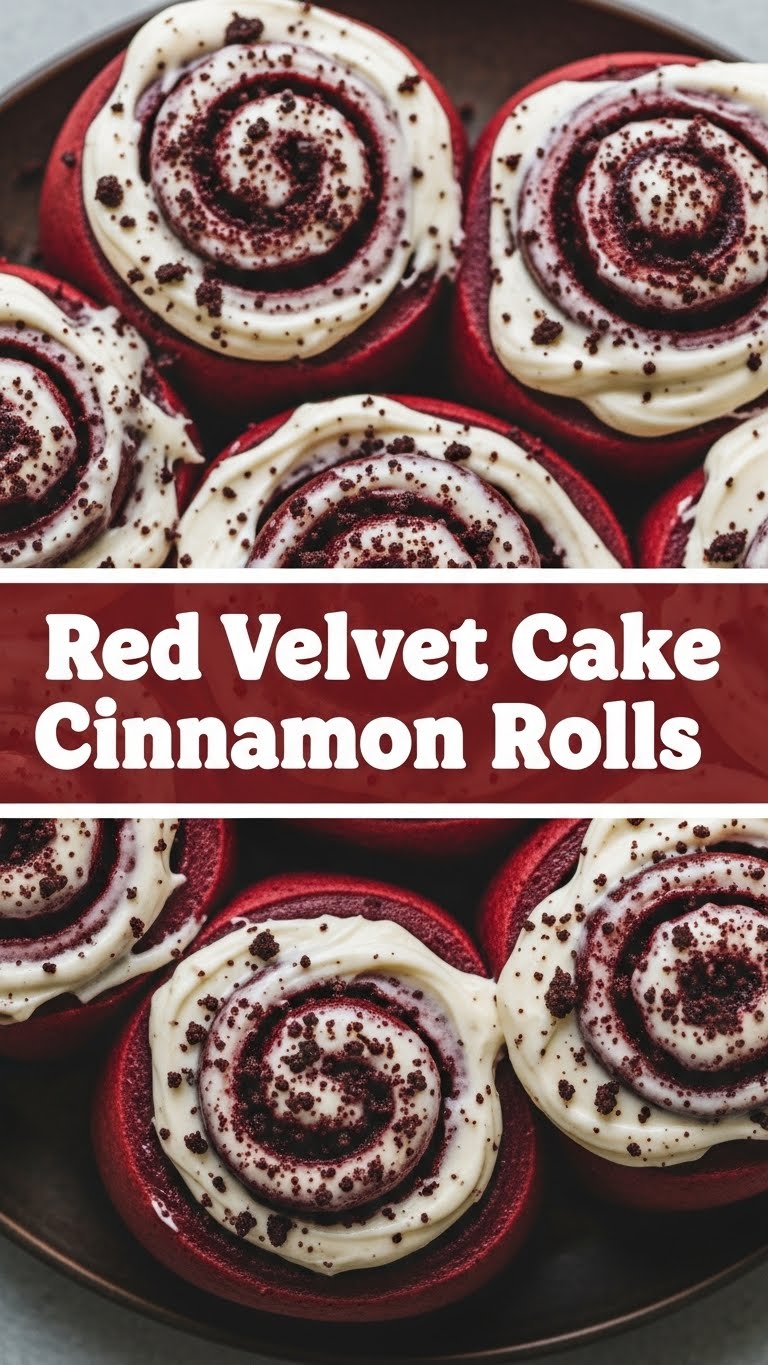
Okay, let’s be real. Red Velvet cake is a whole mood, right? Rich, tangy, that gorgeous color, and always with that heavenly cream cheese frosting. And cinnamon rolls? They’re basically a hug in pastry form. So, what happens when these two legends meet? Pure, unadulterated bliss, my friend. This isn’t just a cinnamon roll; it’s a cinnamon roll that went to finishing school, got a glow-up, and now tastes like your favorite cake decided to become breakfast. **It’s impressive, relatively simple, and trust me, it’s idiot-proof** – even I managed to nail it without setting off the smoke detector. Plus, think of the Instagram potential!
Ingredients You’ll Need
Get ready to wrangle these culinary champions. No need for obscure spices, just good, honest ingredients that want to party in your kitchen.
For the Dough:
- **1 cup (240ml) warm milk** (around 105-115°F / 40-46°C) – not too hot, unless you want to murder your yeast.
- **2 ¼ teaspoons active dry yeast** (one standard packet) – the little guys who make the magic happen.
- **¼ cup (50g) granulated sugar** – because even yeast likes a treat.
- **½ cup (113g) unsalted butter, melted and cooled** – don’t add hot butter to the yeast, see previous warning!
- **1 large egg** – a binder, a lifter, a star.
- **2 tablespoons unsweetened cocoa powder** – for that subtle chocolatey depth.
- **1-2 tablespoons red food coloring** (gel works best for vibrant color) – this is where the *Red* in Red Velvet comes from, obviously.
- **½ teaspoon salt** – don’t skip it! It balances everything.
- **3-3 ½ cups (360-420g) all-purpose flour** – the main character.
For the Filling:
- **½ cup (113g) unsalted butter, softened** – room temp, not melted!
- **½ cup (100g) packed light brown sugar** – sticky sweetness.
- **1 tablespoon ground cinnamon** – the heart and soul of any good roll.
- **1 teaspoon unsweetened cocoa powder** – a little extra red velvet whisper.
For the Cream Cheese Frosting:
- **4 oz (113g) cream cheese, softened** – the essential tangy counterpoint.
- **¼ cup (57g) unsalted butter, softened** – teamwork makes the dream work.
- **1 ½ cups (180g) powdered sugar** (confectioners’ sugar) – for that sweet, smooth finish.
- **½ teaspoon vanilla extract** – pure bliss.
- **1-2 tablespoons milk or cream** (as needed for consistency) – to make it perfectly drizzly.
Step-by-Step Instructions
Alright, let’s get our hands (and probably our kitchen counter) a little messy. It’s part of the fun!
- **Wake up the Yeast:** In a large bowl, combine the warm milk and sugar. Sprinkle the yeast over top. Give it a gentle stir and let it sit for about 5-10 minutes until it gets foamy. This means your yeast is alive and ready to party!
- **Mix the Dough Magic:** Add the melted butter, egg, cocoa powder, red food coloring, and salt to the yeast mixture. Stir until well combined. Gradually add the flour, about a cup at a time, mixing until a shaggy dough forms.
- **Knead It Out:** Turn the dough out onto a lightly floured surface. Knead for 5-8 minutes until it’s smooth and elastic. If you have a stand mixer with a dough hook, let it do the work for you for about 5 minutes.
- **First Rise:** Lightly grease a clean bowl, place the dough in it, and turn once to coat. Cover the bowl with plastic wrap or a damp towel. Let it rise in a warm place for 1-1.5 hours, or until doubled in size. This is where patience is a virtue, my friend.
- **Prep the Filling:** While the dough is rising, combine the softened butter, brown sugar, cinnamon, and cocoa powder in a small bowl. Mix until well combined and paste-like.
- **Roll ‘Em Out:** Once the dough has doubled, punch it down gently to release the air. On a lightly floured surface, roll the dough into a large rectangle, roughly 12×18 inches (30×45 cm).
- **Spread the Goodness:** Evenly spread the filling mixture over the entire surface of the dough, leaving a small border on one of the long edges.
- **Roll & Slice:** Starting from the long edge *opposite* the border, carefully roll the dough into a tight log. Use a sharp knife or unscented dental floss (yes, really!) to cut the log into 12 equal slices, about 1 ½ inches thick.
- **Second Rise & Bake:** Arrange the rolls in a lightly greased 9×13 inch baking dish. Cover again and let them rise for another 30-45 minutes, or until puffy. While they’re puffing up, preheat your oven to 375°F (190°C). Bake for 20-25 minutes, or until lightly golden brown and cooked through.
- **Whip Up the Frosting:** While the rolls are cooling slightly, beat the cream cheese and butter together in a medium bowl until smooth and creamy. Gradually add the powdered sugar, then the vanilla extract. Add milk or cream, one tablespoon at a time, until you reach your desired drizzly consistency.
- **Frost and Feast:** As soon as the rolls come out of the oven, slather them with that glorious cream cheese frosting. Don’t be shy! Serve warm and watch them disappear faster than your weekend plans.
Common Mistakes to Avoid
Listen, we’ve all been there. Baking can feel like a science experiment sometimes, but a few simple tips can save you from a tragic fate:
- **Killing the Yeast:** Hot milk is a no-go. If it’s too hot, you’ll kill the yeast, and your dough won’t rise. Aim for bathwater warm, not lava hot.
- **Over-flouring:** Resist the urge to add too much flour! A sticky dough is usually a good sign. Too much flour makes dry, tough rolls. **Trust the recipe, even if the dough feels a bit tacky.**
- **Skipping the Rises:** Patience is key. Rushing the rising process means dense, sad rolls. Let them take their time. A good rise equals a fluffy, happy roll.
- **Over-baking:** Dry rolls are the worst. Keep an eye on them. Once they’re lightly golden and smell divine, they’re probably done.
- **Cold Cream Cheese:** Trying to beat cold cream cheese into frosting is like trying to reason with a toddler – it won’t end well. **Make sure both your cream cheese and butter are properly softened!**
Alternatives & Substitutions
Life’s too short for rigid rules, right? Here are a few ways to tweak this recipe to suit your mood or pantry:
- **Food Coloring:** If you’re not into artificial colors, you *can* omit the red food coloring. They’ll still taste amazing, just be “chocolate cinnamon rolls” instead of “red velvet.” You could also try a natural red food coloring, but the vibrancy might vary.
- **Dairy-Free:** You can absolutely make these dairy-free! Use a plant-based milk (almond or oat work great), vegan butter sticks for the dough and filling, and a dairy-free cream cheese alternative for the frosting.
- **Spice It Up (or Down):** Not a huge cinnamon fan? You could reduce it slightly or add a pinch of nutmeg or cardamom to the filling for a different flavor profile.
- **Add-ins:** Feeling fancy? Sprinkle some chopped pecans or white chocolate chips into the filling before rolling. Just a thought!
FAQ (Frequently Asked Questions)
Got questions? I’ve got answers! (Mostly.)
- **Can I make these ahead of time?** Absolutely! You can assemble the rolls and do the second rise in the fridge overnight. Just pull them out about an hour before baking to come to room temp, then bake as usual. **This is a great party trick, FYI!**
- **How do I store leftover Red Velvet Cinnamon Rolls?** If there are any leftovers (a big if!), store them in an airtight container at room temperature for a day or two, or in the fridge for up to 5 days. Reheat briefly in the microwave for maximum ooey-gooeyness.
- **My dough isn’t rising, what gives?** Likely culprit: your yeast is either dead (milk too hot/cold, expired yeast) or the environment isn’t warm enough. Try a warmer spot, like a slightly warm oven (turned off!) or near a sunny window.
- **Can I use instant yeast instead of active dry?** Yes, you can! You don’t need to “bloom” instant yeast; just mix it directly with the dry ingredients. The rise times might be slightly faster, too.
- **What if I don’t have a 9×13-inch pan?** You can use an 8×8 or 9×9-inch square pan for thicker, more tightly packed rolls, or divide them between two smaller round cake pans. Just ensure they’re snug!
- **Is the red food coloring really necessary?** Well, technically yes, if you want them to be *Red* Velvet. But as mentioned, they’ll still taste divine without it, just be more of a chocolate cinnamon roll. It’s about aesthetics, IMO.
Final Thoughts
So there you have it, folks! Your new favorite reason to wake up in the morning (or have a dessert for dinner, no judgment here). These Red Velvet Cake Cinnamon Rolls are a showstopper, a comfort food, and frankly, just plain delicious. They might seem a little daunting if you’re new to yeast baking, but trust the process, follow these steps, and you’ll be a pro in no time. Now go impress someone—or yourself—with your new culinary skills. You’ve earned it!


