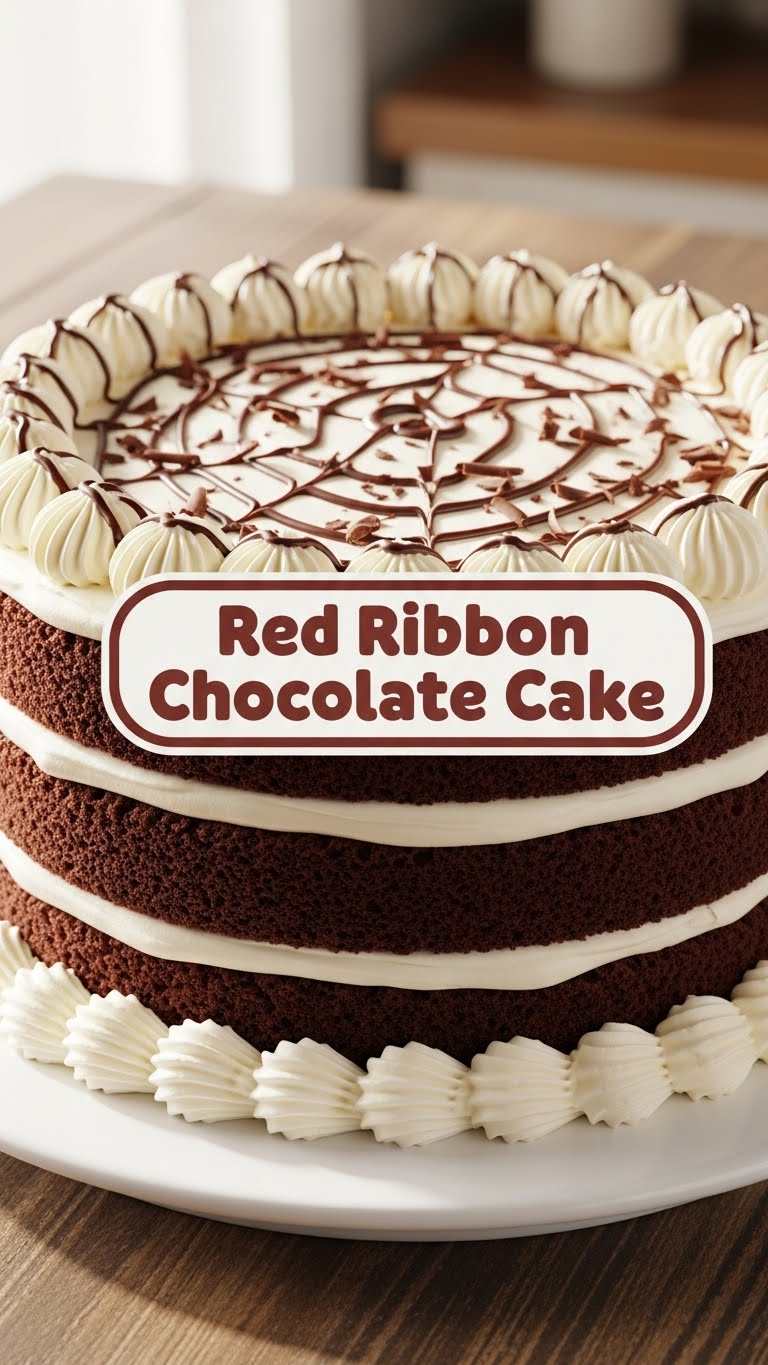
So, you’ve been scrolling through your feed, minding your own business, and then BAM! A picture of that glorious Red Ribbon Chocolate Cake pops up. Suddenly, you’re in a full-blown existential crisis because you *need* that moist, chocolatey goodness, but leaving the house? Ugh. Been there, friend. And guess what? We’re about to make that iconic cake right in your own kitchen without the drama.
Why This Recipe is Awesome
Okay, let’s be real. This isn’t just *any* chocolate cake recipe. This is *the* recipe for when you want to channel your inner Red Ribbon pastry chef without, you know, going to culinary school. It’s **stupid simple**, surprisingly quick, and delivers that exact moist, chocolatey dream you’ve been craving. Plus, it’s basically idiot-proof. Seriously, if I can do it without setting off the smoke alarm (most days), you absolutely can too. Consider it your secret weapon for impressing guests or just, you know, yourself. No judgment here!
Ingredients You’ll Need
Time to gather your edible arsenal. Don’t worry, nothing too fancy, just the good stuff.
- All-Purpose Flour: About 2 cups. The unsung hero that holds everything together.
- Granulated Sugar: 2 cups. Because sweetness makes the world go ’round, especially chocolate cake world.
- Unsweetened Cocoa Powder: ¾ cup. Get the good stuff if you can; it makes a difference! This is where the chocolate magic happens.
- Baking Soda: 2 teaspoons. Our little leavening fairy dust.
- Baking Powder: 1 teaspoon. Because sometimes, one leavening fairy isn’t enough.
- Salt: 1 teaspoon. Don’t skip it! It actually makes the chocolate taste *more* chocolatey. Mind blown, right?
- Eggs: 2 large. Your binding agents. Happy eggs, happy cake.
- Milk: 1 cup (whole milk works best, but any kind is fine). Adds moisture and richness.
- Vegetable Oil: ½ cup. For that signature Red Ribbon moistness. You won’t regret it.
- Vanilla Extract: 2 teaspoons. A dash of elegance. Don’t be shy!
- Hot Water or Hot Coffee: 1 cup. **This is the secret weapon!** It truly deepens the chocolate flavor. Coffee doesn’t make it taste like coffee, promise.
- For the Frosting (Optional, but highly recommended): Grab your favorite fudgy chocolate frosting ingredients, or just snag a tub of store-bought if you’re feeling extra lazy. We’re talking about a classic Red Ribbon, so a simple chocolate buttercream or ganache-like frosting is key!
Step-by-Step Instructions
- Prep Your Battle Station: First things first, preheat your oven to 350°F (175°C). Then, grease and flour two 8 or 9-inch round cake pans. Don’t be a hero, use parchment paper circles if you have them. Your future self will thank you.
- Dry Mix Mania: In a large bowl, whisk together the flour, sugar, cocoa powder, baking soda, baking powder, and salt. Make sure there are no lumps. We’re aiming for smooth sailing here.
- Wet Wonders: In another bowl (or a really big measuring cup), combine the eggs, milk, vegetable oil, and vanilla extract. Give it a good whisk until everything is friendly.
- Combine Forces: Pour the wet ingredients into the dry ingredients. Mix on low speed with an electric mixer, or by hand with a whisk, until *just* combined. Do not overmix! Overmixing is the enemy of a tender cake.
- The Hot Liquid Magic: Carefully pour in the hot water or hot coffee. The batter will be thin, and that’s totally normal! Stir until just combined. Again, gentle is the name of the game.
- Bake It Up: Divide the batter evenly between your prepared cake pans. Pop them into the preheated oven. Bake for 30-35 minutes, or until a wooden skewer inserted into the center comes out clean.
- Cool Down: Let the cakes cool in their pans for about 10-15 minutes. Then, gently invert them onto a wire rack to cool completely. Patience, young grasshopper. Trying to frost a warm cake is a recipe for disaster (and melty frosting).
- Frosting Fun: Once your cakes are completely cool (and I mean *completely*), it’s frosting time! Spread your fudgy chocolate frosting between the layers and all over the cake. Make it pretty, make it rustic, make it yours!
Common Mistakes to Avoid
We’ve all been there. Here’s how not to mess up this masterpiece (speaking from personal experience, of course):
- Not Preheating the Oven: Rookie mistake! Your oven needs to be at the correct temperature from the get-go for even baking. Think of it as giving your cake a proper warm-up.
- Overmixing the Batter: This is probably the biggest no-no. Overmixing develops the gluten too much, leading to a tough, dry cake. Mix until *just* combined, then stop! Seriously, put the whisk down.
- Opening the Oven Door Too Soon: Curiosity killed the cake. Opening the door lets cold air in, which can make your cake sink in the middle. Wait until at least ¾ of the way through baking.
- Not Cooling Completely Before Frosting: You want to frost a warm cake? Fine, if you’re into chocolate soup. But if you want a beautiful, stable cake, **wait until it’s completely, utterly cool.** This might be the hardest part, IMO.
- Skipping the Hot Water/Coffee: Don’t you dare! This ingredient is a game-changer for the chocolate flavor. It makes it richer and more profound. Trust the process!
Alternatives & Substitutions
Feeling adventurous or just out of one particular item? No stress, we can totally tweak this. It’s your kitchen, your rules!
- Milk: Ran out of whole milk? Skim milk works, almond milk, oat milk… whatever you have on hand. The cake might be *slightly* less rich, but still delicious.
- Vegetable Oil: Canola oil, sunflower oil, or any neutral-flavored oil will do the trick. Don’t use olive oil unless you want a cake that tastes like a salad dressing – definitely not Red Ribbon vibes.
- Hot Water vs. Hot Coffee: If coffee isn’t your jam (or you’re just out), hot water is perfectly fine. The coffee just gives that extra depth without tasting like coffee. But don’t let it stop you!
- Frosting: Listen, if making frosting from scratch feels like too much effort today, grab a good quality store-bought fudgy chocolate frosting. No shame in that game! You could also do a simple ganache (equal parts chocolate and hot cream, melted together).
FAQ (Frequently Asked Questions)
Got questions? I’ve got (hopefully) witty answers!
- Can I make this cake gluten-free? Absolutely! Just swap out the all-purpose flour for a good 1:1 gluten-free baking blend that contains xanthan gum. Easy peasy!
- How long does this cake last? If you can resist eating it all in one go, this cake typically stays fresh at room temperature for 2-3 days, or up to a week in the fridge. But honestly, it rarely lasts that long!
- Can I bake this as cupcakes? You betcha! Reduce the baking time to about 18-22 minutes. Keep an eye on them, though, as ovens vary.
- My cake sank in the middle! What went wrong? Ah, the dreaded sinkhole! Usually, this means the cake wasn’t fully baked, or you opened the oven door too early. Sometimes it’s overmixing too. Learn from your mistakes, bake on!
- Do I *really* need hot water/coffee? Yes, my friend, you *really* do. It blooms the cocoa powder, intensifying that chocolate flavor. It’s like magic. Seriously, don’t skip it unless you want a less flavorful cake.
- What’s the best way to store leftovers? In an airtight container, either at room temp or in the fridge. Just make sure it’s sealed tightly to keep that moisture locked in. Nobody likes dry cake.
Final Thoughts
So there you have it! Your very own Red Ribbon-inspired chocolate cake. You just conquered the kitchen and probably made your tastebuds incredibly happy. Now go forth and share your masterpiece, or hoard it all for yourself (I won’t tell). You’ve earned every single bite. Go on, pat yourself on the back, you culinary genius!


