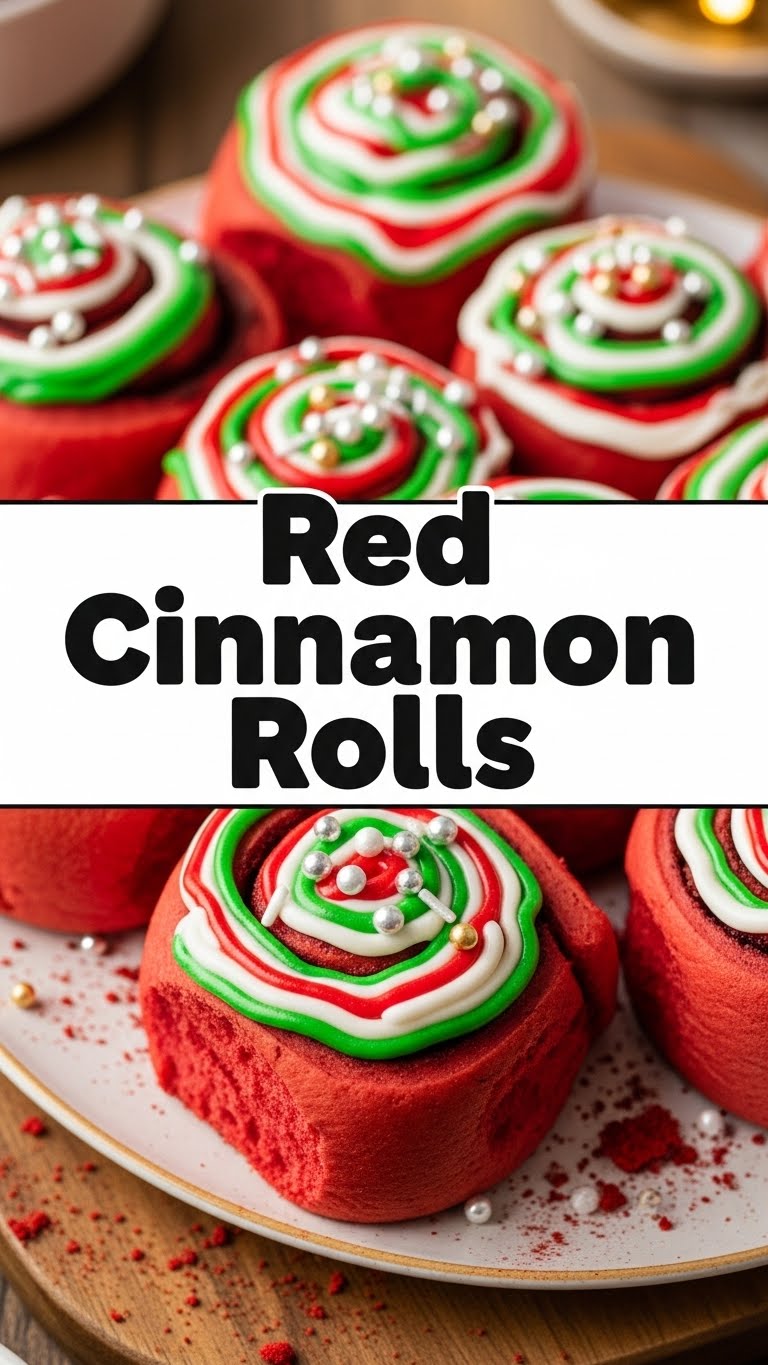
Ever wake up craving something ridiculously delicious, warm, and kinda fancy, but then remember it’s Tuesday and you’re still in your PJs? Same. But what if I told you we could whip up something magical without sacrificing your Netflix binge? Enter: Red Cinnamon Rolls. Yeah, you heard me. RED. Get ready to impress everyone (mostly yourself) with minimal effort and maximum deliciousness.
Why This Recipe is Awesome
Okay, let’s be real. Most cinnamon roll recipes make you feel like you need a culinary degree and a time machine. Not this one! This recipe is so idiot-proof, I swear it practically bakes itself. No lie, even *I* didn’t mess it up, and my kitchen adventures often involve smoke detectors.
Plus, they’re RED. Instantly cooler, right? Perfect for impressing friends, tricking your family into thinking you’re a baking genius, or just eating all by yourself at 2 AM. No judgment here, promise. This recipe is your ticket to fluffy, gooey, vibrant success, with just enough sass to make it fun.
Ingredients You’ll Need
Gather your troops! Here’s what you’ll need to make these show-stopping beauties:
For the Dough:
- 1 cup Warm Milk (like a cozy bath, not scalding hot!)
- 2 ¼ teaspoons Active Dry Yeast (one packet, the magical poof-maker)
- ¼ cup Granulated Sugar (just enough to make the yeast happy)
- ½ teaspoon Salt (don’t skip it, trust me; it brings out the flavor)
- 1 large Egg (room temp, for fluffy goodness)
- ¼ cup Unsalted Butter, melted (because everything’s better with butter)
- 3-3 ½ cups All-Purpose Flour (the main event, give or take a sprinkle)
- 1-2 teaspoons Red Gel Food Coloring (gel works best for that vibrant pop!)
For the Filling:
- ½ cup Unsalted Butter, softened (spreadable joy)
- ½ cup Brown Sugar (dark or light, your call, rebel!)
- 1 tablespoon Ground Cinnamon (the star of the show, obviously)
For the Cream Cheese Glaze:
- 4 ounces Cream Cheese, softened (the tangy hug your rolls need)
- ¼ cup Unsalted Butter, softened (again, butter makes it better)
- 1 ½ cups Powdered Sugar (for that dreamy sweetness)
- ½ teaspoon Vanilla Extract (a little extra *oomph*)
- 1-2 tablespoons Milk or Cream (to make it perfectly drippy)
Step-by-Step Instructions
- **Activate the Yeast:** In a large bowl, whisk warm milk, one tablespoon of the granulated sugar, and yeast. Let it hang out for 5-10 minutes until it gets nice and foamy. This means your yeast is alive and ready to party!
- **Mix the Dough:** Add the remaining granulated sugar, salt, egg, melted butter, and the red food coloring to the yeast mixture. Stir until combined. Gradually add the flour, mixing until a shaggy dough forms.
- **Knead It Out:** Turn the dough onto a lightly floured surface. Knead for 5-8 minutes until smooth and elastic. It should bounce back slightly when poked.
- **First Rise:** Place the dough in a lightly greased bowl, flip it once to coat, then cover with plastic wrap. Let it rise in a warm place for 1-1.5 hours, or until doubled in size. This is where the magic happens!
- **Make the Filling:** While the dough rises, combine brown sugar and cinnamon in a small bowl. Set aside.
- **Roll ‘Em Out:** Once risen, gently punch down the dough. Roll it into a large rectangle, roughly 12×18 inches, on a lightly floured surface. Spread the softened butter evenly over the dough, leaving a small border on one long edge.
- **Sprinkle & Roll:** Generously sprinkle the cinnamon-sugar mixture over the buttered dough. Tightly roll the dough from the long side with butter to the unbuttered edge. Pinch the seam to seal.
- **Slice ‘Em Up:** Using a sharp knife or unflavored dental floss (pro tip!), slice the log into 12 equal rolls.
- **Second Rise:** Arrange the rolls in a lightly greased 9×13 inch baking pan. Cover and let them rise again for 30-45 minutes, or until puffy. Don’t skip this part! It’s crucial for fluffy rolls.
- **Bake to Perfection:** Preheat your oven to 375°F (190°C). Bake the rolls for 20-25 minutes, or until lightly golden and cooked through. They should look irresistible!
- **Whip up the Glaze:** While rolls cool slightly, beat softened cream cheese, butter, powdered sugar, and vanilla extract until smooth. Add milk or cream, one tablespoon at a time, until you reach your desired drizzly consistency.
- **Glaze & Devour:** Drizzle or slather that glorious glaze all over the warm (but not piping hot) cinnamon rolls. Serve immediately and bask in the glory!
Common Mistakes to Avoid
Nobody’s perfect, but we can avoid some common pitfalls, right? Here’s what NOT to do:
- Using cold ingredients: Trying to rush things by using cold milk or eggs? Rookie mistake! Room temp is your friend for a happy, fluffy dough.
- Killing your yeast: Water too hot? You’ve just boiled your yeast’s little heart out. Too cold? It’s snoozing. Aim for lukewarm water, around 105-115°F (40-46°C).
- Over-flouring: Adding too much flour turns your dough into a tough, unyielding brick. Start with the suggested amount and add only as much as needed for kneading.
- Skipping the second rise: Think you can rush perfection? Nope! That second rise is crucial for those light, airy rolls.
- Overbaking: Dry rolls are sad rolls. Keep an eye on them! They should be lightly golden, not deeply brown.
- Thinking you don’t need to preheat the oven: Classic rookie move. Always preheat for even baking, unless you enjoy sad, unevenly cooked pastries.
Alternatives & Substitutions
Feeling a little rebellious? Here are some simple swaps to keep things interesting:
- No red food coloring? No worries! They’ll still be delicious, just… regular colored. Maybe call them ‘Classic Cinnamon Rolls, but better because you made them.’ FYI, the color is purely for visual flair.
- Dairy-free? You *can* swap milk for a plant-based alternative (almond, soy, oat). Use a good dairy-free butter substitute for both the dough and filling. The texture might be slightly different, but still tasty, IMO. For the glaze, use dairy-free cream cheese and butter, and plant milk.
- Not a fan of cream cheese glaze? Whaaat? Kidding! You could do a simple powdered sugar glaze (powdered sugar + milk/water + vanilla) or even a maple glaze (powdered sugar + maple syrup + a splash of milk). Live your best life!
- Want more spice? Add a pinch of nutmeg or cardamom to your filling mix for an extra layer of warmth. Fancy pants!
FAQ (Frequently Asked Questions)
- Can I make these ahead of time? Heck yes, you clever planner! You can make the rolls, get them into the pan after shaping, cover tightly, and stick ’em in the fridge overnight. Let them come to room temp for an hour or so, then bake as usual. Best. Morning. Ever.
- What if my dough isn’t rising? Oh no! Is your yeast expired? Was your liquid too hot or too cold? Is your kitchen an icebox? Dough needs a warm, cozy spot to rise. Give it a pep talk, or move it to a warmer location!
- Can I use regular butter instead of unsalted? Technically yes, but then you’re playing with the salt balance, which is a science. If you must, reduce the added salt in the dough by about half.
- How long do they last? Fresh is best, obviously, but they’ll keep in an airtight container at room temp for 2-3 days. Pop ’em in the microwave for a few seconds to revive them. You’re welcome.
- Is the red food coloring really necessary? Necessary for the *wow factor*? Absolutely! For taste? Nope. It’s purely for the ‘Oh my gosh, those are amazing AND red!’ effect.
- Can I freeze the baked rolls? You betcha! Once baked and cooled (unglazed is best for freezing), wrap them individually and freeze for up to a month. Thaw, warm, glaze, and enjoy your future self’s gratitude.
Final Thoughts
Alright, my friend, you’ve officially conquered the Red Cinnamon Roll. Go ahead, take a bow! Share ’em, hoard ’em, whatever your heart desires. Just know you’ve created something truly delicious and visually stunning. Now go impress someone—or yourself—with your new culinary skills. You’ve earned it! Happy baking!


