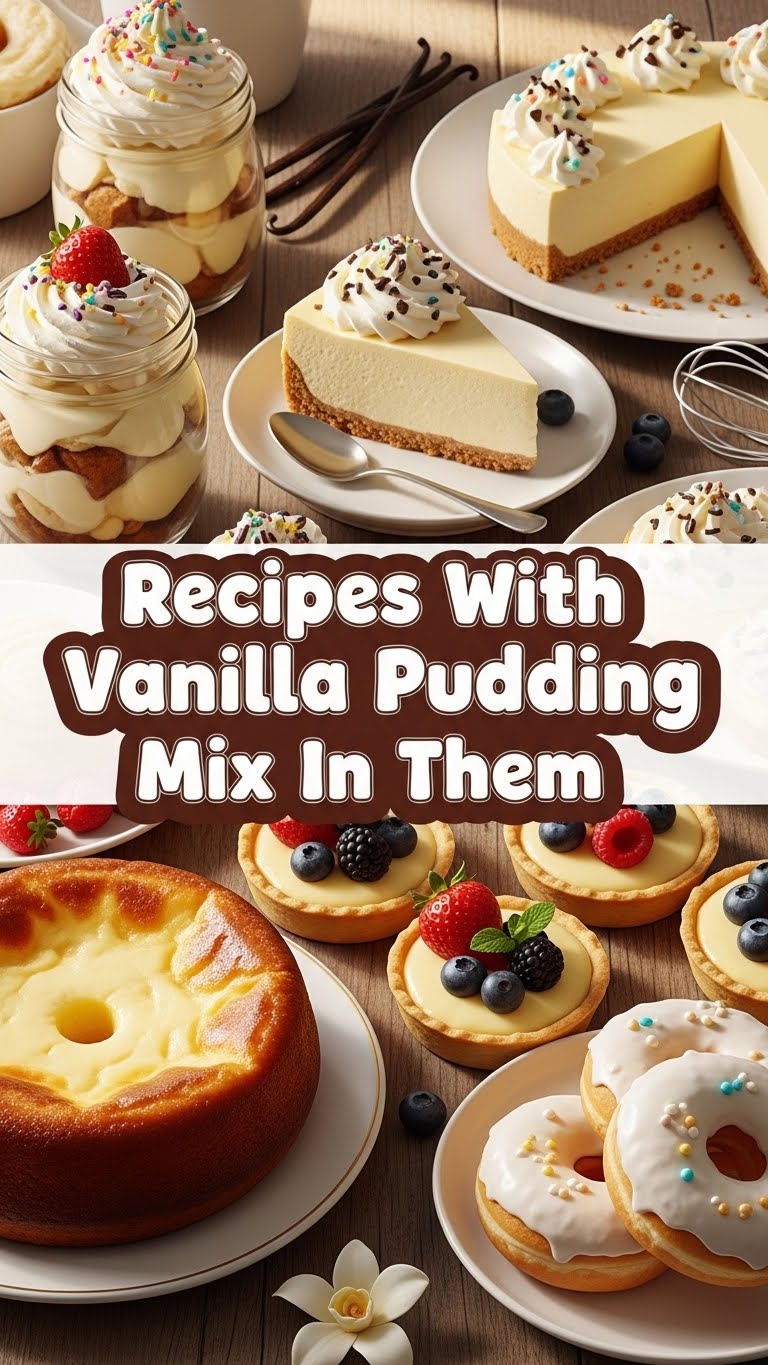
So you’re craving something tasty but too lazy to spend forever in the kitchen, huh? Same. What if I told you that little box of vanilla pudding mix in your pantry isn’t just for, well, pudding? It’s a secret weapon, my friend, a culinary chameleon that can elevate desserts from “meh” to “OMG!” Today, we’re unleashing its power with a recipe so easy, it practically makes itself. Get ready for your new favorite no-bake dessert: The ‘Vanilla Cloud Dream Pie’! It’s fluffy, creamy, and ridiculously simple.
Why This Recipe is Awesome
Seriously, this pie is like a culinary magic trick. You take a few humble ingredients, wave your whisk, and BAM! Instant dessert hero. Here’s why you’ll love it:
- Zero oven time for the filling! Your AC (and your patience) will thank you, especially on those sweltering days.
- It’s idiot-proof. No, really. I made this after a particularly long Monday, and even I didn’t mess it up. That’s saying something.
- It tastes fancy, like something from a gourmet bakery, but it’s secretly budget-friendly. Win-win, my friend.
- Perfect for impromptu guests, last-minute potlucks, or just a Tuesday night when you deserve something delightful.
Ingredients You’ll Need
Gather your troops! Here’s what’s on the shopping list:
- 1 box (3.4 oz) instant vanilla pudding mix: The star of our show. Make sure it’s *instant*, unless you’re into waiting all day for things to set.
- 2 cups cold milk: Whole milk for ultimate creaminess, but 2% works too. Don’t even *think* about skim unless you’re allergic to joy.
- 1 (8 oz) tub whipped topping, thawed: Think Cool Whip. This is where the “cloud” comes from. Don’t try to whip cream from scratch unless you’re feeling ambitious (and have good arm muscles).
- 1 pre-made graham cracker crust: Because we’re lazy *and* smart. No shame in this game!
- Optional toppings: Sprinkles, chocolate shavings, fresh berries, a drizzle of caramel – go wild! Or don’t. Your pie, your rules.
Step-by-Step Instructions
Let’s get cooking (without actually cooking)!
- Whisk it up: In a medium bowl, whisk together the instant vanilla pudding mix and super cold milk for about 2 minutes. Keep whisking until it starts to thicken. Feel those arm muscles working!
- Let it chill: Pop that bowl in the fridge for 5 minutes. This step is crucial, so don’t skip it. It’s like sending your pudding to a spa day.
- Fold in the cloud: Gently fold in the thawed whipped topping until everything is smooth, fluffy, and looks like a vanilla cloud just landed in your bowl. Be gentle, we don’t want to deflate our dreams!
- Fill ‘er up: Pour the glorious mixture into your pre-made graham cracker crust. Spread it out evenly with a spatula. Make it look pretty, or don’t. It’ll taste amazing either way.
- Chill out (again): Refrigerate for at least 4 hours, or ideally, overnight. Patience is a virtue here, folks. This is when the magic truly happens and it sets into sliceable perfection.
- Serve & impress: Add your optional toppings right before serving. Slice, serve, and bask in the glory of your effortless dessert. You earned it!
Common Mistakes to Avoid
Nobody’s perfect, but we can avoid these common pie pitfalls with a little heads-up:
- Using regular pudding mix instead of instant. Rookie mistake! You’ll be waiting forever, and it won’t set right. Trust me, I’ve seen the heartbreak.
- Not using *cold* milk. Warm milk equals runny pudding. Nobody wants that. Give your milk an ice bath if you have to!
- Trying to rush the chilling process. Seriously, give it time to set. Think of it as a culinary meditation.
- Over-mixing the whipped topping. You want fluffy, not deflated. Gentle folds, remember? We’re aiming for a cloud, not a puddle.
- Thinking you don’t need a pre-made crust. Just kidding! But seriously, if you try to make your own, you’re missing the point of “lazy awesome.”
Alternatives & Substitutions
Feeling creative? Here are a few ways to mix things up:
- Crust: Graham cracker not your jam? Try an OREO crust for a chocolatey kick, or even a shortbread crust if you’re feeling fancy. Whatever makes your heart sing!
- Milk: Plant-based milks? Almond milk or oat milk can work, but the pie might be a little less firm. IMO, whole milk gives the best, creamiest texture.
- Whipped Topping: Feeling ambitious? You *can* whip up your own heavy cream with a little sugar and vanilla. Just make sure it’s super stiff before folding it in.
- Flavor Boosts: Add a teaspoon of almond extract or a pinch of cinnamon to the pudding mix for an extra twist. A little citrus zest never hurt anyone either!
FAQ (Frequently Asked Questions)
Got questions? I’ve got answers (and a little sass):
Can I use sugar-free pudding mix? Yep, absolutely! It works just as well. Your sweet tooth will thank you, and maybe your waistline too.
My pie isn’t setting! What did I do wrong? Hmm, let’s troubleshoot. Did you use *instant* pudding? Was your milk super cold? Did you chill it long enough? These are usually the culprits. Re-read step 1 and 5, my friend!
How long does this pie last? If you can keep it around, it’s good in the fridge for 3-4 days. But let’s be real, it rarely lasts that long in my house.
Can I freeze this pie? You *can*, but the texture of the whipped topping might get a bit… icy and watery when it thaws. Best enjoyed fresh from the fridge, IMHO.
What if I don’t have a whisk? A fork works in a pinch, but your arm might get a serious workout. Consider it a pre-dessert exercise!
Can I add fruit to the filling? Ooh, good idea! Just chop it up small and fold it in with the whipped topping. Berries are fantastic, bananas too (just know they might brown a bit over time).
Final Thoughts
See? I told you it was easy peasy lemon squeezy (though this isn’t lemon, obviously). You just transformed a humble box of vanilla pudding mix into a dessert that looks like you slaved away for hours. Now go impress someone—or yourself—with your new culinary skills. You’ve earned it! Seriously, go make this. Your tastebuds will send you a thank-you note. Happy pie-making!


