So, you’re looking for something ridiculously decadent but also kind of feel like a health guru? And baking? Nah, too much effort for a Tuesday. My friend, you’ve stumbled upon the Holy Grail of dessert: The Raw Chocolate Cake. Prepare to have your mind (and taste buds) blown without even turning on your oven!
Why This Recipe is Awesome
First off, no oven required. Seriously. If you can push a button on a food processor, you’re 90% there. It’s basically a fancy grown-up play-doh project that tastes like heaven. Plus, it’s packed with ingredients that *sound* healthy, so you can totally justify having a second (or third) slice. It’s also totally dairy-free and gluten-free, which means you can impress almost anyone without them even knowing it was accidentally good for them. Win-win, IMO!
Ingredients You’ll Need
For the Crust:
- 1 cup (about 120g) raw almonds or walnuts (whatever nut-love your heart desires – pecans work great too!)
- 1 cup (about 170g) Medjool dates, pitted (these are the plump, caramel-like ones; don’t skimp, they’re the glue!)
- 2 tablespoons raw cacao powder (not cocoa! Cacao is the cool, less processed sibling, trust me)
- A pinch of sea salt (enhances everything, trust me on this tiny but mighty detail)
For the Filling:
- 1 ½ cups (about 250g) Medjool dates, pitted (yes, more dates! They’re the magic behind the fudgy texture)
- ½ cup raw cacao powder (again, cacao, embrace the difference!)
- ½ cup melted coconut oil (makes it silky smooth and sets beautifully in the fridge)
- ¼ cup water or plant-based milk (almond milk is my go-to for extra creaminess)
- 1 teaspoon vanilla extract (the real stuff, please; your cake deserves it!)
- Another pinch of sea salt (because balance is key, even in dessert)
Step-by-Step Instructions
- Crust Time! In a food processor, throw in your nuts, cacao powder, and salt. Pulse until they look like coarse crumbs. Don’t go too far, unless you want nut butter (which is also good, but not for this crust).
- Add the pitted dates to the processor. Process again until the mixture starts clumping together and sticks when you press it between your fingers. It should be sticky, not dry. If it’s too dry, add a tiny splash of water or milk.
- Line an 8-inch springform pan with parchment paper. Press the crust mixture evenly into the bottom of the pan. Use the back of a spoon or your clean hands to get it nice and compact. Stick it in the fridge while you make the filling.
- Filling Frenzy! Clean out your food processor (or grab another one if you’re feeling fancy). Add all the filling ingredients: dates, cacao powder, melted coconut oil, water/milk, vanilla extract, and sea salt.
- Process, process, process! This might take a few minutes. Scrape down the sides of the bowl often. You’re aiming for a super smooth, creamy, almost mousse-like texture. No date chunks allowed! Be patient, it’ll get there.
- Pour the dreamy chocolate filling over your chilled crust. Smooth the top with a spatula or the back of a spoon.
- Chill Out! Pop the whole thing back into the fridge for at least 4 hours, or even better, overnight. You want it firm enough to slice without turning into a chocolate puddle.
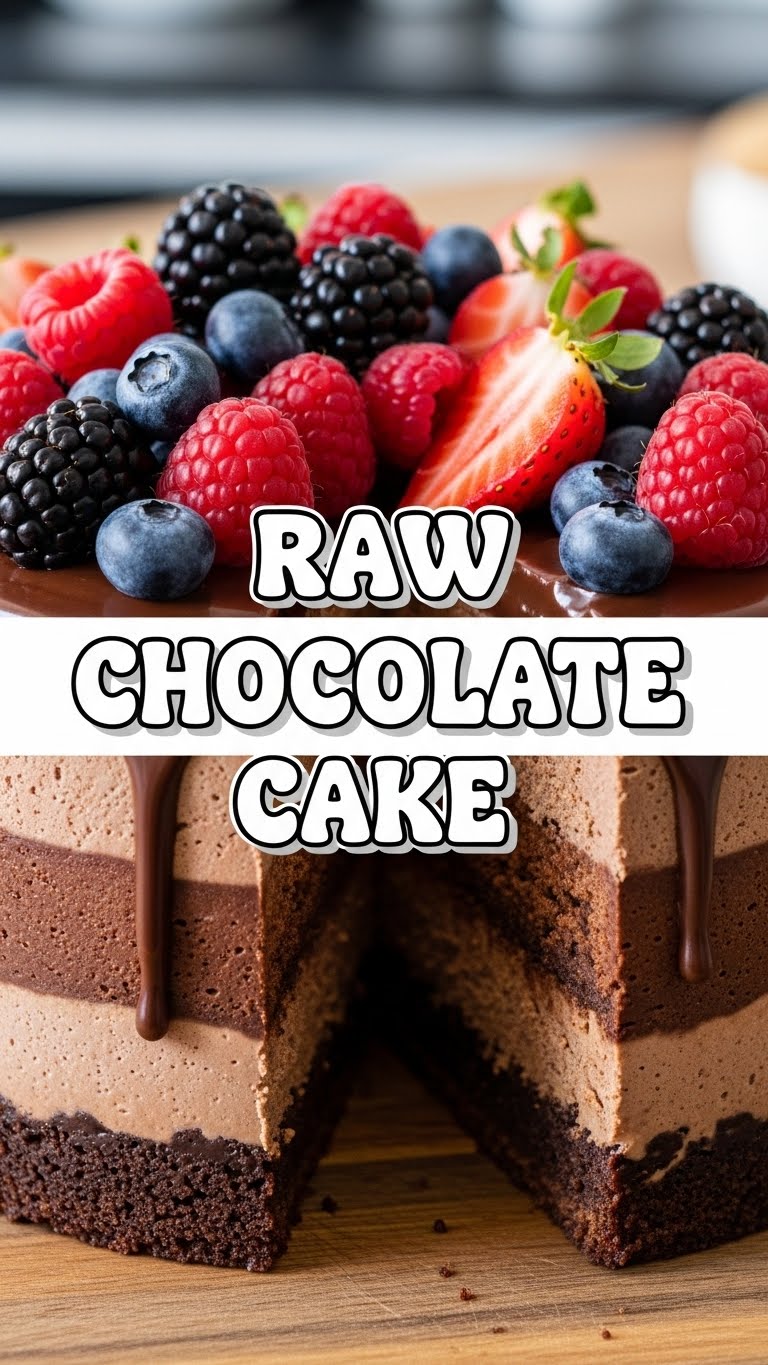
- Once firm, carefully remove the cake from the springform pan. Slice with a hot knife (run it under hot water and wipe dry) for clean cuts. Garnish with berries or a dusting of cacao, if you’re feeling extra.
Common Mistakes to Avoid
- Impatience: Trying to slice it before it’s *really* set. You’ll end up with chocolate soup and tears. Just chill, literally.
- Skimping on Dates: Dates are the binder and sweetener here. Using old, dry dates or not enough will give you a crumbly mess. Always use fresh, plump Medjool dates!
- Not Melting Coconut Oil: If your coconut oil isn’t fully melted, you’ll have weird chunks of solid fat in your filling. Nobody wants that.
- Ignoring the Salt: A pinch of salt in both layers is crucial. It brings out the chocolate flavor and balances the sweetness. Don’t skip it, unless you enjoy bland.
- Using Cocoa Powder: This is a *raw* cake. Cocoa is processed. Cacao is raw. Stick to cacao for the right flavor and raw goodness. Rookie mistake otherwise!
Alternatives & Substitutions
- Nuts for the Crust: Not an almond fan? Try walnuts, pecans, or even cashews. Just make sure they’re raw! For a nut-free version, use sunflower seeds or even oats (though oats aren’t strictly “raw,” they work for a similar texture).
- Sweetener Boost: If your dates aren’t super sweet or you have an extra sweet tooth, a tablespoon or two of maple syrup or agave nectar can be added to the filling. Just adjust the liquid slightly to maintain consistency.
- Flavor Fun: Add a dash of espresso powder for a mocha vibe, a tiny bit of cayenne for a spicy kick, or a few drops of food-grade peppermint extract for a minty dream. Options, people, options!
- Coconut Oil Alternatives: Cacao butter could work but changes the flavor profile slightly and might be pricier. Solid coconut oil is pretty key here for setting the cake, so I’d recommend sticking with it if possible.
FAQ (Frequently Asked Questions)
- “Is it *really* raw if I melt the coconut oil?” Good question, detective! Technically, keeping things truly raw means below 118°F (48°C). Coconut oil melts at a low temp, so if you’re careful, you can melt it gently without “cooking” it. So, yes, still counts!
- “How long does this masterpiece last?” In the fridge, tightly covered, it’ll last a good 5-7 days. If you can make it last that long without devouring it, you have incredible self-control.
- “Can I freeze it?” Absolutely! Wrap individual slices in plastic wrap and then foil. It’ll keep for up to a month. Thaw in the fridge for a few hours before indulging. Perfect for sneaky midnight snacks, FYI.
- “My dates are dry as a bone, what now?” Don’t panic! Soak them in warm water for about 10-15 minutes, then drain thoroughly before using. This rehydrates them and makes them easier to process.
- “Why is my filling not getting smooth?” Patience, grasshopper! Your food processor might be struggling. Add a tiny bit more liquid (water/plant milk, 1 tsp at a time) and keep scraping down the sides. It *will* get there, eventually. Just keep going!
- “Can I make this in a regular round cake pan?” Sure, but it’s trickier to get out. A springform pan makes life SO much easier for these kinds of unset cakes. Trust me on this one.
Final Thoughts
So there you have it, folks! Your new favorite dessert that lets you feel fancy without any actual *baking* skills required. Go forth and conquer those chocolate cravings, impress your friends, or just hoard it all for yourself (no judgment here!). You’ve earned this deliciously guilt-free treat. Now, if you’ll excuse me, I hear my fridge calling my name…


