Alright, my friend, let’s be real. Sometimes you want something delicious, maybe even a *little* bit fancy, but the thought of spending more than 5 minutes in the kitchen makes you want to crawl back into bed. Sound familiar? Because, *same*. And that’s exactly why we need to talk about this Raspberry Yogurt with Frozen Berries situation. It’s basically magic for your tastebuds and sanity.
Why This Recipe is Awesome
Seriously, this isn’t just another yogurt bowl. This is THE yogurt bowl. Why? Let me count the ways:
- It’s ridiculously quick. Like, faster than deciding what to watch on Netflix quick.
- It’s healthy-ish. We’re talking fruit and protein-packed yogurt, people! Practically a health guru’s dream. (You control the sugar, so it’s a win-win.)
- It’s flexible. You can swap things out, add things in. It’s like a culinary choose-your-own-adventure, but with fewer dragons and more deliciousness.
- It’s idiot-proof. Seriously. If you can spoon things into a bowl, you can make this. I even managed it, and my kitchen skills are… *aspirational*.
Ingredients You’ll Need
Gather ’round, my little chef. Here’s what you’ll need for this masterpiece. And don’t worry, it’s nothing you can’t find with your eyes closed at the grocery store.
- Greek Yogurt: The creamy, tangy backbone of our masterpiece. Go for plain, full-fat if you’re feeling indulgent (you deserve it!), or whatever’s lurking in your fridge. Just make sure it’s plain, we’re adding our own flavor party.
- Frozen Raspberries: The absolute stars of the show! Don’t even *think* about fresh ones unless you like watery disappointment. We need ’em frozen, baby. They’re going to create this beautiful, icy texture.
- A Touch of Sweetness: Honey, maple syrup, agave, or even a pinch of stevia – whatever makes your sweet tooth sing. Just a drizzle, not a swimming pool. We’re enhancing, not drowning.
- Optional Extras: A splash of vanilla extract, a pinch of cinnamon, maybe some chopped nuts or granola for crunch. Get wild! This is your canvas.
Step-by-Step Instructions
Alright, time for the grand performance! Try not to break a sweat, because this is going to be incredibly easy.
- Grab your favorite bowl. Not just any bowl, *the* bowl. The one that brings you joy. Set the mood, you know?
- Spoon in that glorious Greek yogurt. As much or as little as your heart desires, but I recommend a generous dollop. This is your foundation.
- Sprinkle in those rock-hard frozen raspberries. Don’t thaw them! The coldness is key, trust me on this. They’re going to transform into something magical as you stir.
- Drizzle your chosen sweetener over the top. Adjust to your taste, you sweet angel, you. Start small, you can always add more.
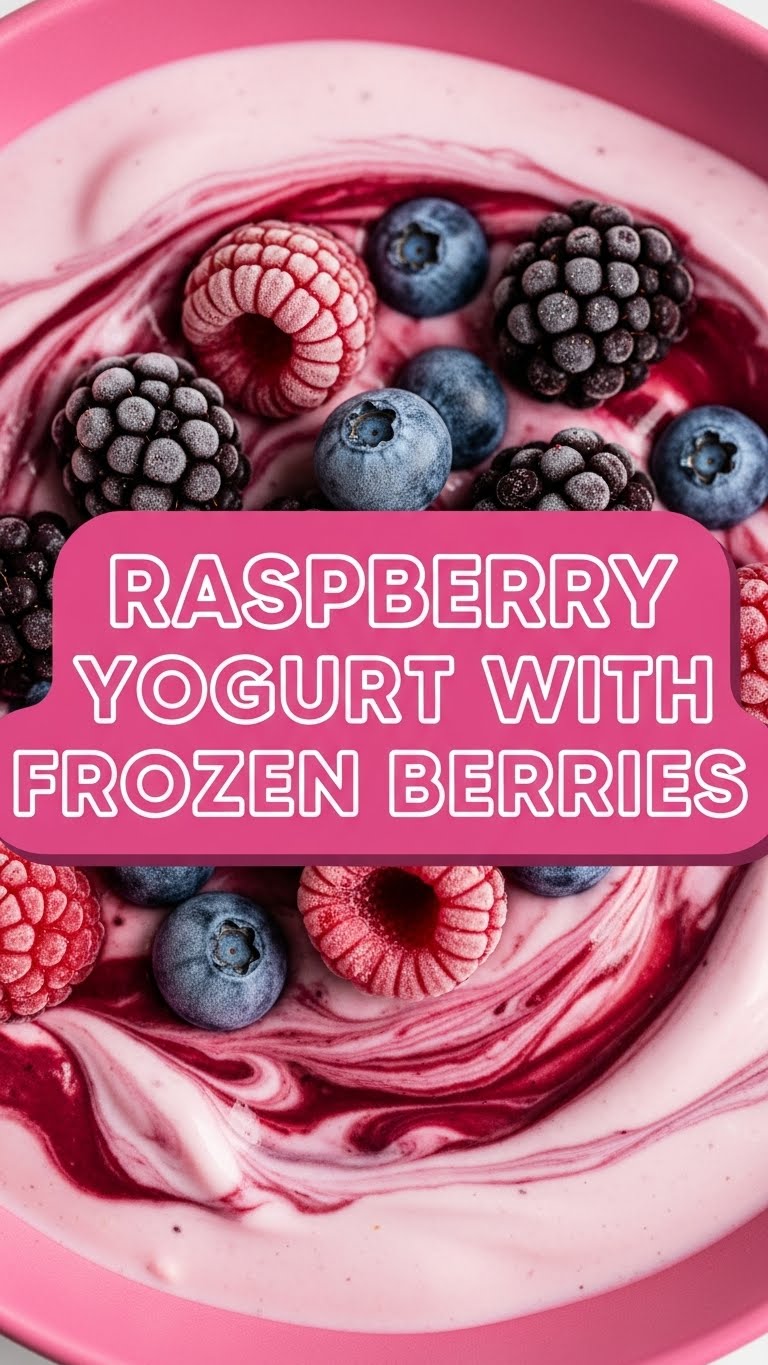
- Stir it all together. Watch the magic happen as the raspberries slowly break down and turn your yogurt into a beautiful pink swirl. Don’t overmix if you like pretty streaks! It’s like a tiny art project.
- Dig in immediately! The frozen berries will keep the yogurt perfectly chilled and slightly icy, giving it an almost soft-serve texture. No waiting required!
Common Mistakes to Avoid
Even though this recipe is basically foolproof, there are a couple of rookie errors that can turn your dreamy snack into a sad, watery mess. Don’t say I didn’t warn you!
- Using fresh berries: Please, for the love of all that is holy, don’t. Your yogurt will be watery and sad, and you’ll miss out on that delightful frosty texture. We want frozen for that delightful chill and color, people!
- Too much sweetener too soon: It’s easy to go overboard, especially if you have a serious sweet tooth. Start with a little drizzle, taste, and add more if needed. You can always add, but you can’t take away!
- Waiting too long to eat it: This isn’t a “make-ahead” masterpiece. The joy is in the instant gratification of that icy-creamy goodness. The frozen berries will thaw and release their liquid, making it less appealing. Eat it now!
Alternatives & Substitutions
Feeling adventurous? Or maybe you just ran out of raspberries (tragedy!). No worries, this recipe is super chill about swaps.
- Other frozen fruits: Blueberries, mixed berries, cherries (pitted, obvi), mango chunks – go wild! **Frozen blackberries are also fantastic** and give it an even deeper color.
- Different yogurt: Skyr, plain regular yogurt (might be a bit thinner), even dairy-free options like coconut or almond yogurt. Just make sure it’s plain so you control the sweetness.
- Boost the protein: A scoop of unflavored or vanilla protein powder mixed in before the berries can turn this into a serious post-workout snack. Hello, gains!
- Fancy it up: A sprinkle of shredded coconut, a few mini chocolate chips (because why not?), or a dash of cardamom for an exotic twist. Live your best life!
FAQ (Frequently Asked Questions)
Got questions? I’ve got answers! Mostly, anyway. And probably with a dash of sass.
- “Can I use regular yogurt instead of Greek?” Well, technically yes, but why hurt your soul like that? Greek yogurt brings that luxurious thickness and extra protein we crave. Regular yogurt will be much thinner.
- “Do I have to use raspberries?” Nope! Any frozen berry works beautifully. Raspberries just have that perfect tartness and make the prettiest pink swirl, IMO.
- “Can I make a big batch for the week?” **Not really, my friend.** The beauty is in the immediacy. The frozen berries will thaw and make it watery if left too long. Make it fresh for peak deliciousness!
- “Is it healthy?” It’s certainly *healthier* than a donut, that’s for sure. It’s packed with protein and vitamins from the fruit. You control the sugar, so you do you!
- “What if my berries are too hard to stir?” Just let them sit for a minute or two, or give ’em a good smash with the back of your spoon. They’ll yield eventually. Don’t fight them too hard!
Final Thoughts
See? Told you it was easy. You’ve just whipped up something delicious, satisfying, and totally Instagram-worthy in less time than it takes to scroll through your feed. Go on, pat yourself on the back. You’re basically a gourmet chef now. Enjoy your frosty, fruity creation. Now go impress someone—or yourself—with your new culinary skills. You’ve earned it!


