So, you’ve binged all the good stuff on Netflix, your sweatpants are basically a second skin, and suddenly, a wild craving for something *decadent* hits you. But, like, just for you. Because sharing is caring, sure, but sometimes caring means keeping that warm, gooey goodness all to yourself, right? 😉
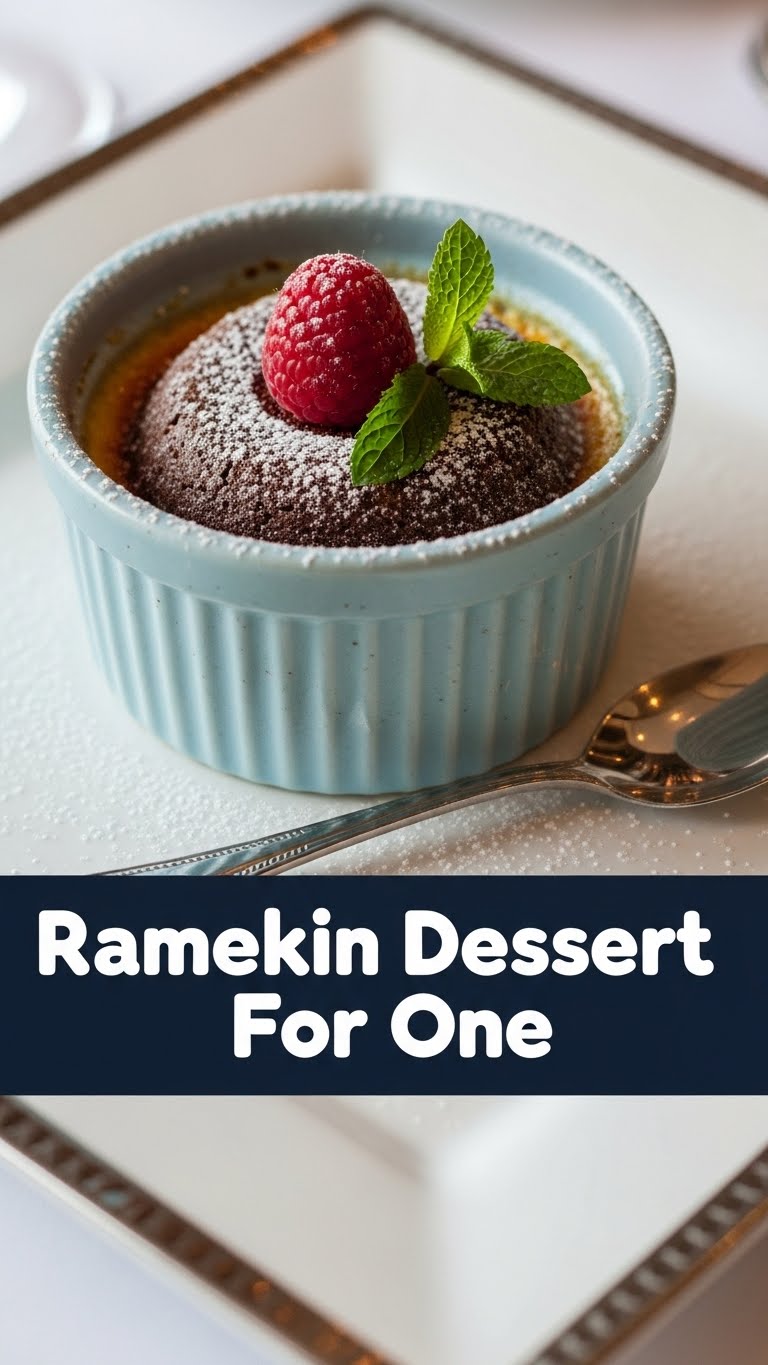
You’re not about to bake a whole cake, because who needs that kind of commitment on a Tuesday night? And a giant pan of brownies? That’s just asking for trouble (the best kind of trouble, but still). Enter: the Ramekin Dessert for One. Specifically, a Molten Chocolate Lava Cake that’s so easy, you’ll wonder why you ever bothered with actual effort before.
Why This Recipe is Awesome
Okay, let’s be real. This recipe is your new best friend for several glorious reasons. First off, it’s **for one**. No guilt, no sharing, just pure, unadulterated personal bliss. Secondly, it’s incredibly quick. We’re talking under 20 minutes from “Ugh, I’m bored” to “OMG, warm chocolatey heaven.” Thirdly, it uses super basic ingredients you probably already have lurking in your pantry, meaning zero awkward grocery runs in your aforementioned sweatpants. And finally, it’s pretty much **idiot-proof**. Even I, Queen of Baking Disasters, manage to pull this off with a smug smile every single time. Seriously, if you can melt chocolate, you can make this.
Ingredients You’ll Need
Gather your tiny treasures! This is a short list, so no excuses.
- 2 tablespoons (28g) Unsalted Butter: The good stuff. Don’t skimp.
- 1.5 ounces (approx. 42g) Dark Chocolate: Go for something decent, 60-70% cocoa. Those little chocolate chips work too if that’s all you got, but a chopped chocolate bar melts better, FYI.
- 1 Large Egg Yolk: Yup, just the yolk. Save the white for an omelet tomorrow, or, you know, just bin it. No judgment.
- 2 tablespoons Powdered Sugar (Confectioners’ Sugar): For that delicate sweetness. Granulated works in a pinch, but powdered dissolves quicker.
- 1 tablespoon All-Purpose Flour: Just a touch, to give it some structure without making it cakey.
- 1/4 teaspoon Vanilla Extract: Because everything’s better with vanilla.
- A tiny pinch of Salt: Seriously, just a pinch. It makes the chocolate sing.
- Butter or non-stick spray & cocoa powder: For prepping your ramekin. Don’t forget this!
Step-by-Step Instructions
Get ready to feel like a culinary wizard in approximately 15 minutes.
- **Prep Your Oven & Ramekin:** First things first, preheat your oven to 400°F (200°C). Then, grab your 4-6 ounce ramekin. Give it a good buttering or spray with non-stick, then dust it with cocoa powder. This is your insurance policy against a stuck cake. Tap out any excess cocoa.
- **Melt the Goo:** In a microwave-safe bowl (or a double boiler if you’re feeling fancy), combine the butter and chopped dark chocolate. Microwave in 20-second bursts, stirring after each, until it’s smooth and glorious. Don’t scorch it! Once melted, set it aside to cool slightly.
- **Mix the Wet Stuff:** In a separate small bowl, whisk together the egg yolk, powdered sugar, and vanilla extract until it’s light and slightly fluffy. This takes about 30 seconds of vigorous whisking.
- **Combine the Goodness:** Pour the slightly cooled chocolate mixture into the egg yolk mixture. Stir gently until just combined. Don’t overmix; we want a nice, tender crumb.
- **Fold in the Dry:** Add the flour and that tiny pinch of salt to the chocolate mixture. Fold it in until no streaks of flour remain. Again, **don’t overmix!**
- **Bake Your Masterpiece:** Pour the batter into your prepared ramekin. Place the ramekin on a small baking sheet (just in case of spills, because life happens). Bake for 12-14 minutes. You want the edges to be set, but the center should still look a bit wobbly. That’s your molten magic, right there!
- **Cool & Serve:** Carefully remove from the oven. Let it cool in the ramekin for about 1-2 minutes. Then, if you’re feeling brave, you can invert it onto a plate (be careful, it’s hot!). Or, just grab a spoon and dig in straight from the ramekin. Add a scoop of ice cream, a dollop of whipped cream, or some fresh berries if you’re feeling fancy.
Common Mistakes to Avoid
Don’t be *that* person. Learn from my past kitchen mishaps.
- **Forgetting to Grease & Flour/Cocoa the Ramekin:** Rookie mistake! Your beautiful lava cake will stubbornly cling to the sides like a limpet. **Grease and dust thoroughly.**
- **Over-Baking:** This is the ultimate sin for a lava cake. You’re aiming for molten, not a sad, dry hockey puck. Keep an eye on it. The edges should look set, but the center should still have a little jiggle. 12-14 minutes is usually the sweet spot, but ovens vary!
- **Burning the Chocolate:** Microwaving chocolate takes patience. **Short bursts and stirring** are your best friends. Burnt chocolate tastes like sadness.
- **Overmixing the Batter:** This can lead to a tougher cake, which defeats the purpose of this tender, gooey dream. Mix just until combined.
Alternatives & Substitutions
Feeling adventurous? Let’s spice things up (literally!).
- **Chocolate Swap:** Not a dark chocolate fan? Use semi-sweet. Feeling extra fancy? A white chocolate lava cake with a raspberry coulis would be divine, though it might be a smidge sweeter.
- **Flavor Boosts:** Add a tiny dash of espresso powder (enhances chocolate flavor!), a pinch of cayenne pepper for a subtle spicy kick, or even a drop of peppermint extract for a festive vibe. Orange zest is also a winner.
- **Dairy-Free?** You can totally use dairy-free butter and chocolate chips. The result is still surprisingly good!
- **Flour Power:** Gluten-intolerant? A 1:1 gluten-free flour blend should work just fine, or you can even try a tiny bit of almond flour.
FAQ (Frequently Asked Questions)
Your burning questions, answered with a wink.
- **Can I make this ahead of time?** Technically, you could prepare the batter and refrigerate it for a few hours, then bake when ready. But honestly, it’s so quick, why bother? Fresh is best!
- **What if I don’t have a ramekin?** Got an oven-safe mug? A small ceramic bowl? Go for it! Just make sure it’s oven-safe and can hold roughly 4-6 ounces.
- **Can I use margarine instead of butter?** Well, technically yes, but why hurt your soul like that? Butter just tastes better, IMO. It gives a richer flavor and better texture.
- **My cake didn’t get lava-y! What happened?** You probably overbaked it, my friend. Next time, pull it out when the edges are set but the center still jiggles. Remember: ovens are finicky beasts.
- **Can I add nuts or fruit to the batter?** Sure, why not? A few chopped pecans or raspberries would be lovely. Just don’t add too much, or it might mess with the structure.
- **How do I know if my egg yolk is fresh?** If it’s bright yellow, firm, and doesn’t smell funky, you’re golden. When in doubt, crack it into a separate small bowl first, just to be safe.
- **Can I double this recipe?** For two? Absolutely! Just grab another ramekin and follow the steps for each. Resist the urge to make a giant one – the magic is in the individual serving.
Final Thoughts
And there you have it! Your very own personal dessert, ready to conquer those solo cravings with minimal fuss and maximum deliciousness. This Ramekin Molten Chocolate Lava Cake isn’t just a dessert; it’s a tiny act of self-love, a testament to your ability to whip up something amazing whenever the mood strikes. So, go on, spoon into that gooey center. You deserve every single glorious bite. Now go impress someone—or yourself—with your new culinary skills. You’ve earned it!


