So you’re craving something tasty but too lazy to spend forever in the kitchen, huh? Same, friend, same. We’ve all been there: that sudden, undeniable urge for something sweet, but the thought of baking a whole cake (and then eating it all, because who are we kidding?) is just too much. Plus, who wants to clean a mountain of dishes for one measly treat? Not me, and I’m guessing not you either!
Why This Recipe is Awesome
Okay, let’s be real. This isn’t just a recipe; it’s a **life hack** for your sweet tooth. Seriously, this little mug cake is the culinary equivalent of a warm hug when you’re feeling down, or a high-five when you just need a win. Why is it awesome? Let me count the ways:
- It’s ridiculously fast. We’re talking minutes, not hours.
- **Single serving!** No temptation to eat a whole pan of brownies (unless you make two… no judgment here).
- Minimal cleanup. You’ll mostly just dirty one mug and a spoon. That’s it!
- It’s pretty much idiot-proof. Seriously, even I, the queen of kitchen mishaps, haven’t messed this up. Yet.
- Customizable! Feeling fancy? Throw in some nuts. Feeling extra decadent? A dollop of ice cream. Your rules!
Ingredients You’ll Need
Gather ’round, my fellow lazy gourmets! Here’s what you’ll need to whip up this magic. Don’t sweat it if you’re missing one or two; we’ll talk subs later. For now, here are the essentials:
- 3 tablespoons All-Purpose Flour: The humble backbone of our cakey dreams.
- 3 tablespoons Granulated Sugar: Or brown sugar if you’re feeling a little more caramel-y. Sweetness provider!
- 1 tablespoon Unsweetened Cocoa Powder: For that rich, chocolatey goodness. Don’t skip this unless you want a vanilla cake (which is also fine, but less dramatic).
- 1/4 teaspoon Baking Powder: Our little lift-off agent, ensuring your cake isn’t a dense brick.
- Pinch of Salt: Seriously, a tiny pinch. It makes all the chocolate flavors sing!
- 3 tablespoons Milk: Any kind! Dairy, almond, oat—whatever’s chillin’ in your fridge.
- 1 tablespoon Vegetable Oil or Melted Butter: For moisture and richness. Butter makes everything better, IMO.
- 1/4 teaspoon Vanilla Extract: The secret weapon that makes everything taste “bakery-bought.”
- 1-2 tablespoons Chocolate Chips: Or chunks, or whatever chocolatey bits you have lying around. The more, the merrier!
Step-by-Step Instructions
Alright, apron on (optional), spoon ready, let’s do this!
- **Grab Your Favorite Mug:** Make sure it’s microwave-safe and holds at least 10-12 ounces. No tiny espresso cups, please!
- **Mix the Dry Stuff:** In your chosen mug, combine the flour, sugar, cocoa powder, baking powder, and that tiny pinch of salt. Give it a good stir with a fork until there are no clumps. **Pro Tip: Make sure everything is well mixed here to avoid pockets of un-cooked flour.**
- **Add the Wet Ingredients:** Pour in the milk, oil (or melted butter), and vanilla extract.
- **Stir Until Just Combined:** Mix everything together with your fork. Don’t overdo it! A few lumps are totally fine; overmixing can make your cake tough. Stir just until the dry ingredients are fully incorporated.
- **Fold in the Chocolate Chips:** Gently stir in those glorious chocolate chips. Save a few to sprinkle on top if you’re feeling fancy!
- **Microwave Time!** Pop your mug into the microwave. Cook on high for **60-90 seconds.** Microwave wattages vary, so start with 60 seconds and check it. The cake should look set and slightly springy to the touch. It might still be a little gooey in the middle (which is a good thing!). If it’s still super wet, go for another 10-15 seconds.
- **Let it Chill (Briefly):** Carefully remove the hot mug from the microwave (use a towel or oven mitts!). Let it cool for a minute or two before diving in. Trust me, molten chocolate is delicious but also lava-hot.
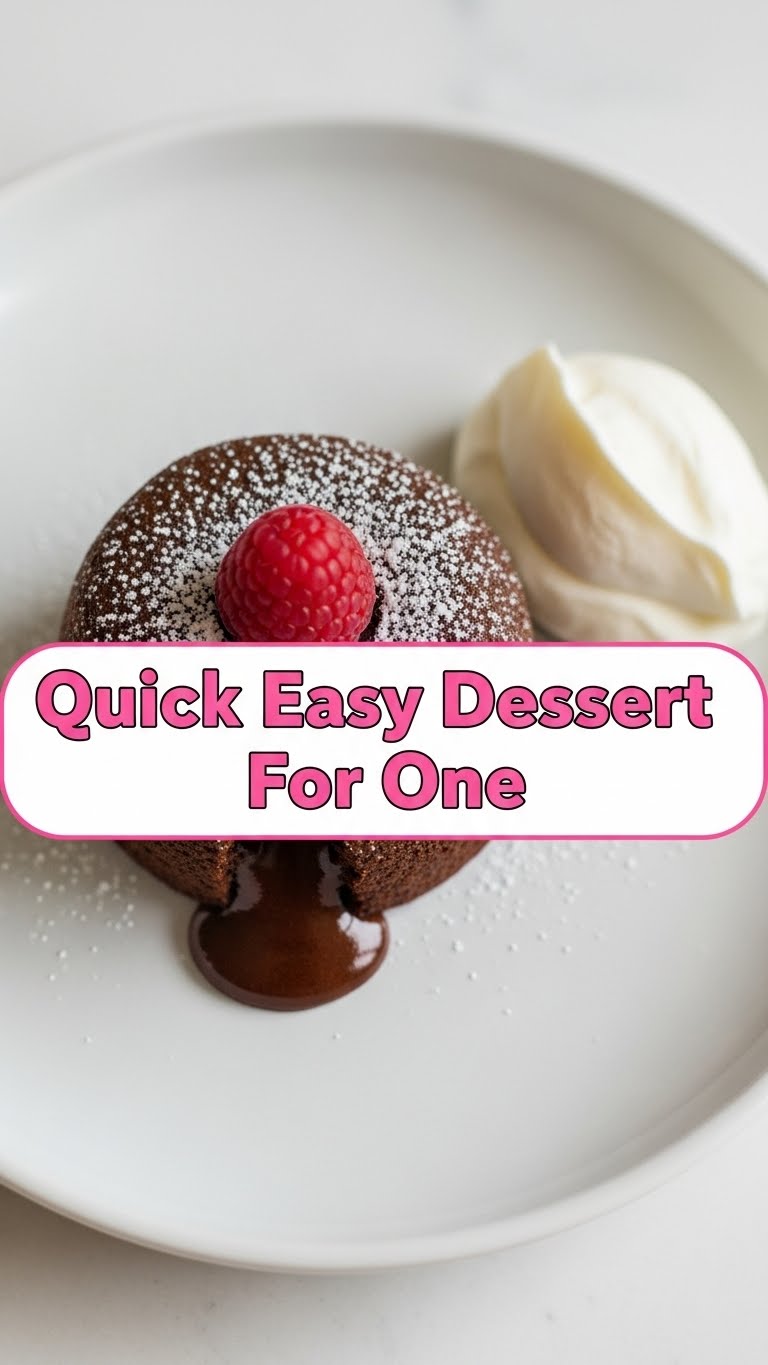
- **Devour:** Grab a spoon and go to town! Add a scoop of ice cream, whipped cream, or a sprinkle of powdered sugar if you’re feeling extra.
Common Mistakes to Avoid
Even the simplest recipes have their pitfalls. Don’t be “that guy” who makes these rookie errors:
- **Overmixing:** Stirring too much develops the gluten in the flour, leading to a tough, rubbery cake. We want fluffy, not bouncy!
- **Overcooking:** This is the #1 culprit for dry, sad mug cakes. Start with less time and add more if needed. Your microwave is a powerful beast, respect its wattage!
- **Using a Too-Small Mug:** Your cake will rise! If your mug is tiny, you’ll have a chocolatey eruption in your microwave. Fun for a science experiment, less fun for eating.
- **Forgetting the Baking Powder:** Unless you want a dense, flavorless hockey puck, do not forget this vital ingredient. It gives the cake its lift!
- **Eating It Immediately:** Yes, it smells amazing. Yes, you want it now. But a minute or two of cooling will prevent you from burning your tongue and actually let the cake set a little better. Patience, young grasshopper.
Alternatives & Substitutions
Feeling creative? Or maybe you just ran out of something? No worries, we got options!
- **Flour Power:** You can totally sub in whole wheat flour for a slightly nuttier, denser cake, but it might require an extra splash of milk. Gluten-free all-purpose blends usually work too, but again, check the consistency.
- **Sweetener Swap:** Brown sugar instead of granulated sugar gives a chewier, more moist cake with a hint of caramel. Maple syrup or honey can also work, but you might need to slightly reduce the milk.
- **Oil vs. Butter:** Vegetable oil gives a lighter, more consistent texture, while melted butter provides a richer flavor. Use whatever you prefer or have on hand! Coconut oil also works great.
- **Mix-In Mania:** Chocolate chips are classic, but don’t stop there! Try:
- Chopped nuts (walnuts, pecans)
- Dried fruit (cranberries, cherries)
- A swirl of peanut butter or Nutella (OMG, yes!)
- A tiny sprinkle of cinnamon or espresso powder for extra depth.
- **Make it Vanilla:** Skip the cocoa powder and add an extra 1/4 teaspoon of vanilla extract (or even a few drops of almond extract!). Add sprinkles for a funfetti vibe!
FAQ (Frequently Asked Questions)
Got questions? I’ve got answers (mostly humorous ones).
- **Can I make this in advance?** Not really, my friend. It’s called a *quick* dessert for a reason. It’s best eaten fresh out of the microwave when it’s warm and gooey. You *could* mix the dry ingredients ahead, but that saves you like, 10 seconds.
- **What if I don’t have chocolate chips?** Gasp! The horror! But seriously, you can chop up any chocolate bar, use M&M’s, or just go without for a plain chocolate cake. It’s still delicious, just less blingy.
- **My cake is dry, what happened?!** You, my friend, overcooked it. Or maybe your microwave is a beast. Next time, try cooking for slightly less time (e.g., 50-60 seconds) or adding an extra teaspoon of milk to the batter.
- **Can I bake this in an actual oven?** Well, technically yes, you *could* bake it in a ramekin at 350°F (175°C) for about 12-15 minutes. But that defeats the “quick and easy, minimal cleanup” vibe, doesn’t it? Stick to the microwave for speed!
- **Is it really *just* for one? (Wink-wink)** Look, I’m not here to judge. If “one” means you and your reflection, or “one” means you’re just really, really hungry, then yes, it’s for one. If you’re sharing, maybe double the recipe into two mugs. Or just make two. No one’s looking!
- **Can I add frosting?** Absolutely! A dollop of whipped cream, a dusting of powdered sugar, or a quick mix of powdered sugar and a tiny bit of milk for a glaze. Go wild!
Final Thoughts
There you have it, folks! Your new go-to dessert for when the craving hits and you’ve got zero energy for a culinary marathon. This little mug cake is proof that good things come in small, fast packages. So go forth, wield your spoon with confidence, and enjoy your delicious, perfectly portioned treat.
Now go impress someone—or yourself—with your new culinary skills. You’ve earned it!


