So you’re craving something tasty but too lazy to spend forever in the kitchen, huh? Same. We’ve all been there: staring into the fridge, wondering if a block of cheese counts as dinner (it totally does, by the way). But today, we’re levelling up just a tiny bit, with minimal effort. Get ready for a pumpkin pie experience that screams “I’m a domestic goddess/god” while secretly whispering “I used only one bowl and I’m still in my pajamas.”
Why This Recipe is Awesome
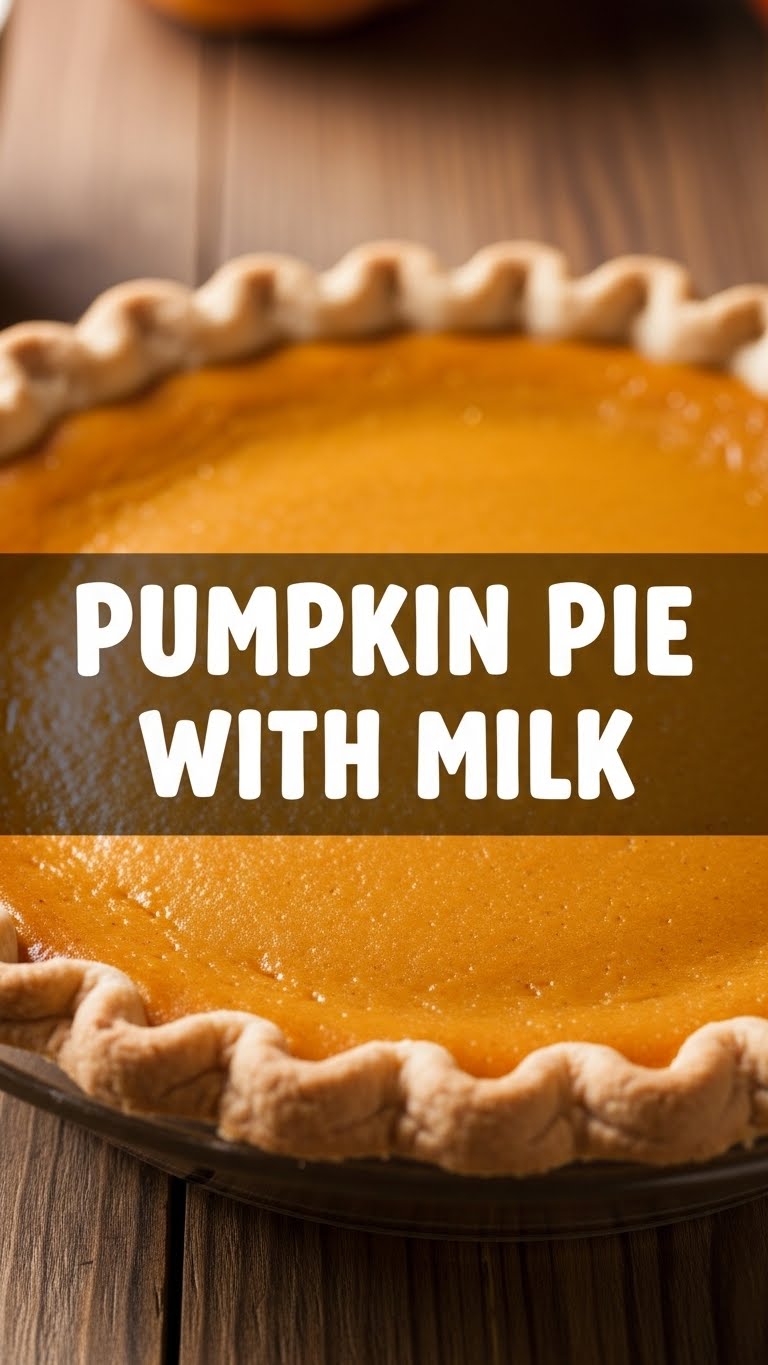
Okay, let’s be real. Pumpkin pie often feels like a whole *thing*. But this version? It’s practically a magic trick. It’s **foolproof**, seriously. Even if your culinary adventures usually involve burning water, you’ll nail this. It’s got that classic, cozy pumpkin flavor, a perfectly creamy texture (thanks, milk!), and it’s so straightforward, you’ll wonder why you ever bothered with those complicated recipes. Plus, we’re using regular milk, which means fewer trips to the specialty aisle and more time chilling on the couch. IMO, that’s a win-win.
Ingredients You’ll Need
Gather ’round, my fellow kitchen minimalists! Here’s what you’ll need for your pumpkin pie masterpiece:
- 1 (15-ounce) can Pumpkin Puree: And I cannot stress this enough – make sure it’s PUREE, not pumpkin pie filling. Unless you’re into an intensely sweet, pre-spiced pie, which is fine, but not what we’re doing today.
- 1 cup Whole Milk: The star of the show! Whole milk gives it that beautiful creaminess without being too heavy. If you only have 2%, that’s cool too.
- 2 large Eggs: The unsung heroes, binding everything together like glue.
- ¾ cup Granulated Sugar: Or a little less if your sweet tooth isn’t always on full blast. You do you.
- ½ teaspoon Salt: Don’t skip this! It enhances all those lovely sweet and spicy flavors. Trust me.
- 1 teaspoon Ground Cinnamon: Because what’s pumpkin pie without cinnamon? A sad, sad thing.
- ½ teaspoon Ground Ginger: Gives it that little zing!
- ¼ teaspoon Ground Nutmeg: A tiny whisper of warmth.
- Pinch of Ground Cloves (optional): For a deeper, more complex spice profile. Or skip if you’re not a fan.
- 1 (9-inch) unbaked Pie Crust: Store-bought is perfectly acceptable. No judgment here, champ. We’re going for easy, remember?
Step-by-Step Instructions
- Get Hot: Preheat your oven to 425°F (220°C). Yeah, it starts hot, then we dial it back. It’s a whole thing.
- Mix it Up: In a large bowl, whisk together the pumpkin puree, milk, eggs, sugar, salt, cinnamon, ginger, nutmeg, and cloves (if using). Whisk until everything is beautifully combined and smooth. No lumpy bits allowed!
- Pour it Out: Carefully pour your glorious pumpkin mixture into your unbaked pie crust. Try not to spill it, unless you enjoy cleaning up sticky messes (said no one ever).
- Initial Bake: Place the pie in the preheated oven and bake for 15 minutes. This hot blast helps set the crust and the edges of the filling.
- Cool it Down: After 15 minutes, reduce the oven temperature to 350°F (175°C). Don’t open the door or anything dramatic, just twist the dial.
- Finish the Job: Continue baking for another 35-45 minutes, or until the center of the pie is mostly set. How to tell? Give it a gentle jiggle. The edges should be firm, and the center should have just a slight wobble.
- Chill Out: Remove the pie from the oven and let it cool completely on a wire rack. This is the hardest part: **patience**. It needs to cool for at least 2-3 hours, or even better, chill in the fridge for a few hours. A cold pie is a happy, perfectly sliceable pie.
Common Mistakes to Avoid
- The Wrong Can: Seriously, double-check that can! Pumpkin puree != pumpkin pie filling. Rookie mistake.
- Skipping the Preheat: Thinking you don’t need to preheat the oven? Big mistake. The initial high heat is crucial for the crust and initial set.
- Overbaking: A dry, cracked pumpkin pie is a sad pumpkin pie. Watch for that gentle wobble! If it’s completely firm and doesn’t jiggle at all, you’ve probably gone too far.
- Not Cooling Enough: Cutting into a warm pumpkin pie is tempting, but it will be soupy and fall apart. Resist the urge! **Cooling is non-negotiable for a neat slice.**
- Ignoring the Salt: It sounds weird, but salt balances the sweetness and brings out the flavor of the pumpkin and spices. Don’t be a hero, just add it.
Alternatives & Substitutions
Feeling adventurous? Or just working with what you’ve got? Here are a few tweaks you can make:
- Crust Crazy: Not into traditional pie crust? A pre-made graham cracker or gingersnap crust works wonderfully here. Just press it into your pie plate and you’re good to go. For a gluten-free option, use a GF crust. Easy peasy.
- Milk Matters: While whole milk is great, if you want an even richer, more decadent pie, you can swap out the whole milk for 1 cup of evaporated milk or a mix of evaporated milk and a splash of sweetened condensed milk (you might want to reduce the granulated sugar if you go the sweetened condensed route, FYI).
- Spice it Up (or Down): Don’t like ginger? Leave it out! Want more kick? Add a pinch more cinnamon or a tiny bit of allspice. Make it your own personal spice blend.
- Sweetener Swap: Instead of granulated sugar, you can use light brown sugar for a deeper, molasses-y flavor. Just make sure it’s packed!
FAQ (Frequently Asked Questions)
Got questions? I’ve got answers (mostly humorous ones).
- Do I really need to chill it for that long? Yes, you impatient soul! Unless you enjoy your pie collapsing into a warm, delicious (but messy) puddle. Patience is a virtue, especially when pie is involved.
- My pie cracked on top! What went wrong? Usually, it’s a sign of overbaking or a sudden temperature change during cooling. Don’t fret! It still tastes amazing. Just cover it with whipped cream – nobody will ever know.
- Can I use skim milk? You *can*, but why hurt your pie like that? Whole milk provides the necessary fat for a creamy, luscious texture. Skim milk might make it a bit watery. Your call, but you’ve been warned!
- How do I know when it’s perfectly done? The wiggle test! The edges should be firm, and the very center should have a slight, delicate jiggle. Like a shy shy dancer. If it’s liquid, keep baking. If it’s solid as a rock, you probably overbaked.
- Can I make this ahead of time for a party? Absolutely! Pumpkin pie is actually better the next day once the flavors have had time to meld and the texture fully sets. So go on, get a head start!
- What if I only have pumpkin pie spice? Go for it! Instead of the individual spices, use 1.5 – 2 teaspoons of pumpkin pie spice blend. Easy button engaged!
Final Thoughts
See? That wasn’t so hard, was it? You just whipped up a genuinely delicious pumpkin pie with minimal fuss and probably didn’t even break a sweat. Now go impress someone – or, more realistically, yourself – with your new culinary skills. You’ve earned that extra slice (and maybe a nap). Enjoy your perfect, easy, homemade pumpkin pie!


