So you’ve been scrolling through Pinterest, eyeing those gorgeous, perfectly autumnal pumpkin pies with the fancy-pants leaf crusts, thinking, “Yeah, I could *never* make that.” Well, buckle up, buttercup, because today we’re making exactly that! And guess what? It’s going to be ridiculously easy and ridiculously delicious. No chef hat required, just a desire for something cozy and a willingness to get a little flour on your nose. Let’s do this!
Why This Recipe is Awesome
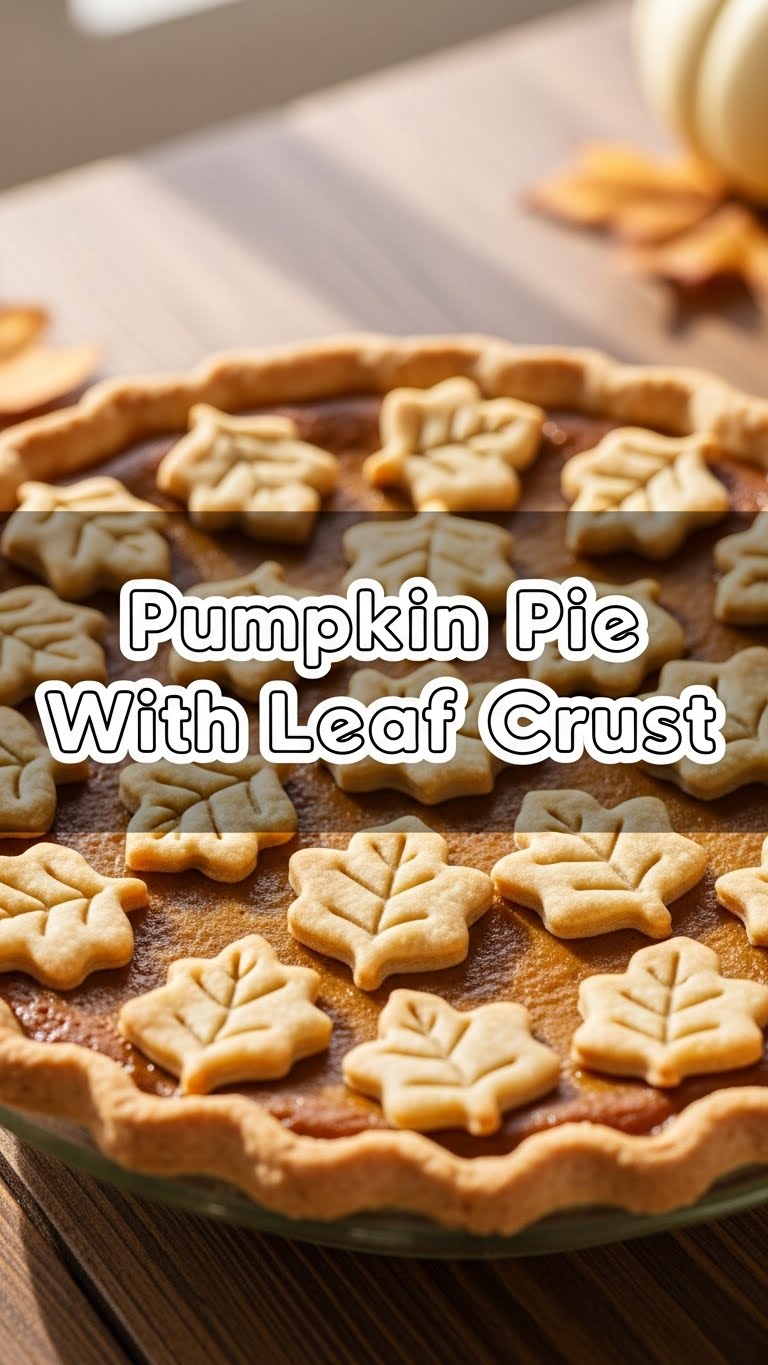
This isn’t just *any* pumpkin pie, my friend. This is a “fool your friends into thinking you’re a baking genius” pumpkin pie. The leaf crust? Pure genius. It looks fancy, but it’s essentially just cutting shapes from extra dough. **Seriously, if I can do it without burning down the kitchen, you can too.** Plus, it’s got that perfect creamy, spiced filling that just screams “cozy sweater weather” without being overly sweet. It’s the kind of pie that makes you want to curl up with a blanket and a good book. And, bonus, your house will smell like pure autumn heaven while it bakes. You’re welcome.
Ingredients You’ll Need
Don’t sweat it, most of these are probably already lurking in your pantry.
**For the Flaky Pie Crust (aka your soon-to-be edible masterpiece):**
* **2 ½ cups All-Purpose Flour:** The foundation of all pie dreams.
* **1 teaspoon Salt:** Don’t skip it! It brings out the flavor.
* **1 cup (2 sticks) Unsalted Butter, very cold and cubed:** Key to flakiness. Think of it as tiny pockets of buttery goodness.
* **½ cup Ice Water:** Maybe a tiny bit more, maybe a tiny bit less. The dough will tell you.
* **Extra flour for dusting:** For when things get sticky.
**For the Dreamy Pumpkin Filling (the star of the show):**
* **1 (15-ounce) can Pumpkin Puree:** **Make sure it’s 100% pumpkin, not pie filling!** Huge difference. Trust me.
* **1 cup Heavy Cream or Evaporated Milk:** For that rich, velvety texture.
* **¾ cup Packed Light Brown Sugar:** Sweetness with a side of molasses magic.
* **¼ cup Granulated Sugar:** Just to balance things out.
* **2 Large Eggs:** The binder that holds it all together.
* **1 tablespoon Pumpkin Pie Spice:** Or make your own (cinnamon, nutmeg, ginger, cloves) if you’re feeling extra.
* **½ teaspoon Salt:** Again, flavor enhancer!
* **1 teaspoon Vanilla Extract:** Because vanilla makes everything better.
Step-by-Step Instructions
Let’s get messy!
1. **Crust First, Always:** In a large bowl, whisk together the flour and salt. Add the cold, cubed butter. Using a pastry blender, your fingers (quick!), or a food processor, cut the butter into the flour until it resembles coarse crumbs with some pea-sized pieces of butter still visible. **This is crucial for flakiness!**
2. **Add the Ice Water:** Gradually add the ice water, a tablespoon at a time, mixing lightly until the dough just comes together. Don’t overmix! It should be shaggy but hold together when squeezed. Form it into two disks, wrap tightly in plastic, and **chill in the fridge for at least 30 minutes (or up to 2 days).** Patience, young grasshopper.
3. **Roll it Out:** On a lightly floured surface, roll out one disk of dough into a 12-inch circle. Carefully transfer it to a 9-inch pie plate. Trim the edges, leaving about ½ inch overhang. Tuck it under and crimp as desired. Poke the bottom all over with a fork.
4. **Leaf Party!** Roll out the second disk of dough. Using small leaf-shaped cookie cutters (or a knife if you’re feeling artistic), cut out about 10-15 leaves. Set them aside.
5. **Blind Bake the Crust:** Preheat your oven to 400°F (200°C). Line your pie crust with parchment paper and fill with pie weights, dried beans, or rice. Bake for 15 minutes. Remove the parchment and weights, and bake for another 5-7 minutes, until the crust is lightly golden. **This stops it from getting soggy!** Remove from oven and reduce temperature to 350°F (175°C).
6. **Whip up the Filling:** In a large bowl, whisk the eggs. Add the pumpkin puree, heavy cream (or evaporated milk), brown sugar, granulated sugar, pumpkin pie spice, salt, and vanilla extract. Whisk until smooth and well combined.
7. **Assemble the Magic:** Pour the pumpkin filling into your partially baked pie crust.
8. **Leaf Arrangement:** Artfully arrange your dough leaves on top of the pumpkin filling. You can brush them with a little egg wash (1 egg yolk + 1 tbsp water) for extra shine, if you’re feeling fancy.
9. **Bake Away!** Carefully place the pie on a baking sheet (to catch any potential spills) and bake for 50-60 minutes, or until the edges of the filling are set but the center still jiggles slightly.
10. **Cool Down:** Let your masterpiece cool completely on a wire rack for at least 2-3 hours before slicing. This helps the filling set properly. Seriously, resist the urge to cut into it immediately!
Common Mistakes to Avoid
We’ve all been there. Learn from my baking blunders!
* **Warm Butter:** Using room-temp butter for the crust is a big no-no. **Cold butter = flaky crust.** Warm butter = tough crust. Don’t do it!
* **Overworking the Dough:** Mixing the crust dough too much develops gluten, making it tough instead of tender. Mix just until it comes together.
* **Not Blind Baking:** Rookie mistake! If you don’t pre-bake your crust, you’ll end up with a sad, soggy bottom. And no one wants a soggy bottom.
* **Using Pumpkin Pie Filling Instead of Puree:** Read the can! Pie filling has added sugars and spices, which will throw off your recipe. You want **100% pure pumpkin puree**.
* **Overbaking the Pie:** This can cause the filling to crack. Take it out when the edges are set but the center has a slight wobble. It will continue to cook as it cools.
Alternatives & Substitutions
Feeling adventurous or just missing an ingredient? No worries!
* **Gluten-Free Crust:** Swap out the all-purpose flour for a good quality 1:1 gluten-free baking flour blend. Follow the same steps, and you’re golden!
* **Dairy-Free:** Use full-fat canned coconut milk instead of heavy cream for the filling. It’ll give it a subtle, lovely tropical note. For the crust, a good quality dairy-free butter alternative should work, but it might change the texture slightly.
* **Spice it Up:** Don’t have pumpkin pie spice? Mix your own! Usually it’s 1 tsp cinnamon, ½ tsp ginger, ¼ tsp nutmeg, and a pinch of cloves. Feel free to add a dash of allspice or cardamom for extra pizzazz.
* **Store-Bought Crust:** Okay, I won’t tell anyone. If you’re really short on time, a good quality store-bought pie crust works just fine for the base. You can still use the second crust (or a bit from the first) for those cute leaves. Shhh!
* **Less Sugar:** You can reduce the sugar by ¼ cup if you prefer a less sweet pie. Taste the filling before baking to adjust.
FAQ (Frequently Asked Questions)
Got questions? I’ve got (casual) answers!
* **”Can I use fresh pumpkin instead of canned?”** Absolutely! But you’ll need to roast, puree, and drain it yourself. It’s more work, but the flavor is fantastic. Just make sure it’s very smooth and not watery.
* **”Why does my pie filling crack?”** Ah, the dreaded crack! This usually happens if you overbake it or cool it too quickly. Remember to take it out when the center still jiggles, and let it cool slowly on the counter.
* **”Do I *have* to chill the dough?”** Yes, my friend, **yes you do.** It lets the gluten relax (making it tender) and keeps the butter cold (making it flaky). Don’t skip this step unless you want a tough, sad crust.
* **”What if I don’t have leaf cutters?”** Get creative! You can use a small sharp knife to freehand cut leaf shapes, or even use other small cookie cutters (stars, hearts, anything goes!) for a different decorative vibe.
* **”How do I store leftover pumpkin pie?”** Cover it loosely with plastic wrap and keep it in the fridge for up to 3-4 days. It tastes even better the next day, IMO!
* **”My pie crust edges are burning, help!”** If your beautiful crimped edges are browning too fast, loosely cover them with aluminum foil for the last part of the baking time. A pie shield is also a great investment if you bake a lot!
Final Thoughts
And there you have it, your very own, absolutely stunning Pumpkin Pie with Leaf Crust! You’ve navigated the tricky waters of cold butter, mastered the art of blind baking, and unleashed your inner pastry artist with those adorable leaves. Now go impress someone—or yourself—with your new culinary skills. You’ve earned it! Grab a slice (or two!), a cup of coffee, and enjoy the fruits (or gourds!) of your labor. Happy baking!


