So, you’re looking for that perfect pumpkin pie, but also want to avoid a kitchen meltdown? Friend, you’ve come to the right place. We’re about to make a pumpkin pie so good, it’ll practically bake itself (okay, maybe not *that* easy, but close!). And yes, we’re talking about that cozy, spicy, ‘fall-in-a-slice’ kind of pie that makes you wanna wear a chunky knit sweater and watch cheesy holiday movies. Let’s do this!
Why This Recipe is Awesome
Why is this the pumpkin pie recipe you need? Simple. It’s **foolproof**. Seriously, even if your previous baking attempts ended with firefighters involved (kidding, mostly), you’ve got this. This pie is a crowd-pleaser, easy to whip up, and tastes like autumn threw a party in your mouth. Plus, it uses *actual* allspice, not just ‘pumpkin pie spice’ which, let’s be honest, is usually just cinnamon and nutmeg having a committee meeting. We’re going for authenticity here, people!
Ingredients You’ll Need
- Pie Crust: One store-bought pie crust, because who has time to make their own unless they’re aiming for a baking show audition? Not us!
- Pumpkin Purée: One 15-ounce can (pure pumpkin, NOT pie filling – unless you like surprises, then go wild).
- Sweetener: 3/4 cup granulated sugar OR brown sugar for extra molasses-y goodness. Your call, boss.
- Eggs: 2 large eggs, slightly beaten. They’re the glue that holds our dreams together.
- Heavy Cream: 1 cup heavy cream or evaporated milk if you’re feeling old school. This is where the magic happens, folks.
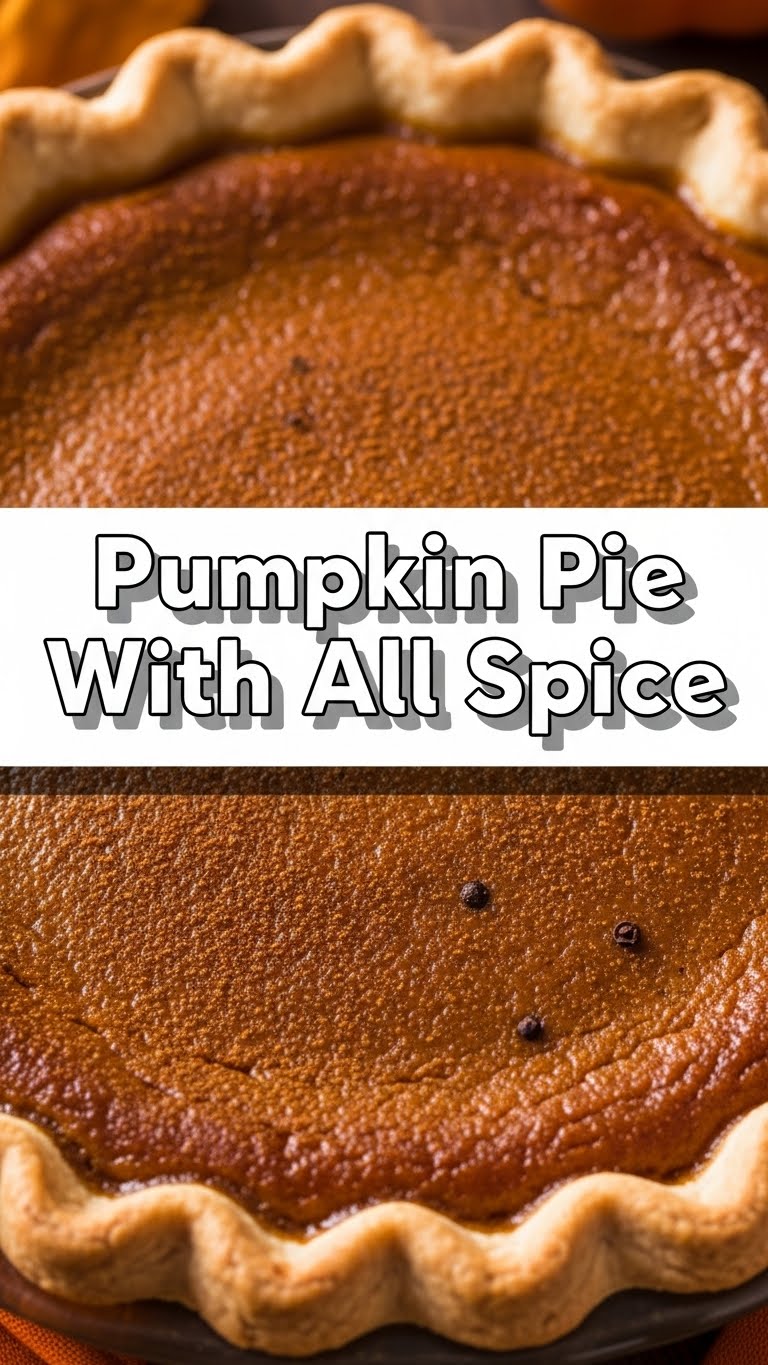
- Allspice: 1.5 teaspoons **pure allspice**. Yes, just allspice! It’s the unsung hero.
- Salt: 1/2 teaspoon salt. Don’t skip it; it balances the sweet like a pro.
Step-by-Step Instructions
Preheat & Prep: First things first, get that oven screaming hot to **425°F (220°C)**. Place your ready-made pie crust into a 9-inch pie plate. No need to pre-bake; we’re rebels like that.
Mix the Wet Stuff: In a large bowl, whisk together the pumpkin purée, granulated sugar, and those slightly beaten eggs. Make sure it’s all smooth and happy.
Add the Cream & Spice: Now, pour in the heavy cream, the star **allspice**, and the salt. Whisk everything until it’s perfectly combined and smells heavenly. Take a moment to appreciate that aroma, you’ve earned it.
Pour & Bake (High Heat): Carefully pour your glorious pumpkin mixture into the prepared pie crust. Pop it into the preheated oven and bake for **15 minutes**. This initial high heat sets the crust and prevents sogginess.
Lower & Finish Baking: After 15 minutes, reduce the oven temperature to **350°F (175°C)** without opening the door. Continue baking for another 35-45 minutes, or until the center is *mostly* set but still a little wobbly. A knife inserted near the edge should come out clean.
Cool Down: Remove the pie from the oven and let it cool completely on a wire rack. **Patience is key here!** Resist the urge to dive in immediately. It needs time to set properly. Ideally, chill it in the fridge for a few hours before slicing. FYI, this makes it easier to cut.
Common Mistakes to Avoid
Overbaking: Don’t bake it until it’s a solid brick! A little jiggle in the center is good. It’ll firm up as it cools. **Dry pie = sad pie.**
Not Cooling Enough: Cutting into a warm pumpkin pie is like trying to build a sandcastle in quicksand. It’ll just collapse. Let it cool, seriously.
Forgetting the Salt: Seriously, it’s not just there for show. Salt is crucial for balancing the sweetness and enhancing all those lovely spice notes. Skipping it is a rookie error.
Wrong Pumpkin: Using pumpkin *pie filling* instead of *pure pumpkin purée*. They are not the same! One has all the spices and sugar already in it, which will mess up our perfect balance. Read the label, people!
Alternatives & Substitutions
Crust: If you *are* feeling fancy (or just have extra time), go ahead and make a homemade crust. But honestly, a good quality store-bought one does the trick and saves your sanity. Don’t let anyone shame you!
Cream: No heavy cream? Evaporated milk works like a charm. Whole milk could work in a pinch, but your pie might be a tad less rich. IMO, heavy cream is king here.
Sweetener: Brown sugar adds a lovely caramel note, while white sugar lets the allspice shine. Mix ’em, match ’em, or just stick to one. You’re the chef!
Gluten-Free: Easy peasy! Just grab a gluten-free pie crust. The filling itself is naturally GF, so you’re golden.
FAQ (Frequently Asked Questions)
Can I use pumpkin pie spice instead of pure allspice? Well, technically yes, but why miss out on the pure, unadulterated glory of **allspice**? It’s like going to a concert and only listening to the opening act. Live a little!
How do I know when it’s done? Give it a gentle jiggle. If the edges are firm and only the very center has a slight wobble, you’re good. A knife inserted near the crust should come out clean.
My pie cracked! What went wrong? Usually, this means it was overbaked or cooled too quickly. Next time, try not to open the oven door too often and let it cool slowly on the counter before chilling.
Can I make this ahead of time? Absolutely! Pumpkin pie is actually *better* the next day. Cover it loosely with plastic wrap once fully chilled and store in the fridge for up to 3-4 days.
Do I serve it warm or cold? That’s a debate for the ages! Some love it cold with a dollop of whipped cream, others prefer it slightly warmed. My advice? Try both and decide your allegiance!
Final Thoughts
And there you have it, champ! A homemade pumpkin pie with that glorious, singular allspice kick. You just whipped up something truly special without pulling your hair out. Now go impress someone—or yourself—with your new culinary skills. You’ve earned it! Seriously, put on some sweatpants, grab a huge slice, and enjoy the fruits (or gourds!) of your labor. You’re a pie-making legend now. Go forth and conquer those cravings!


