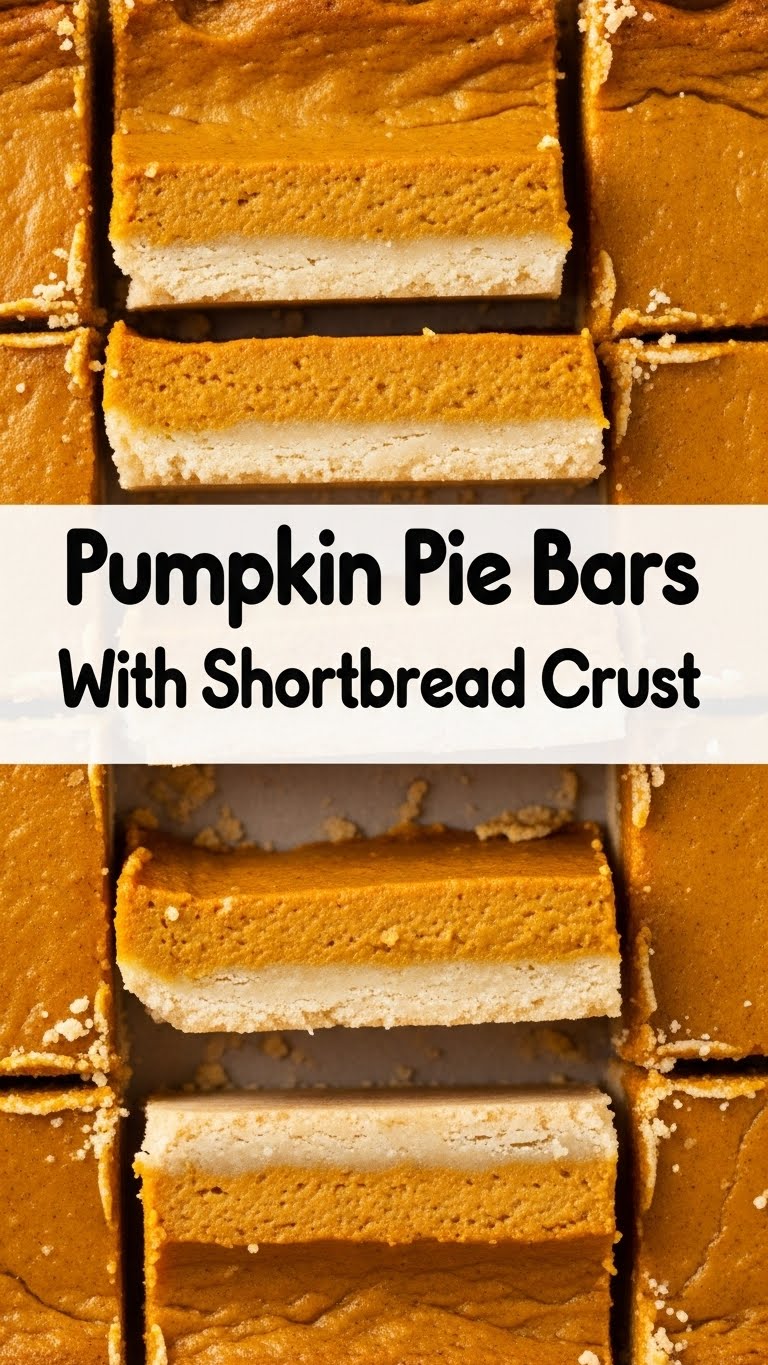
So, you’re looking for that cozy, spiced hug of pumpkin pie but can’t be bothered with all the fuss of a full-on pie crust, crimping, and whatnot? My friend, I get it. We’re on the same team. Enter the glorious, ridiculously easy, and utterly delicious Pumpkin Pie Bars with Shortbread Crust. Think of it as pumpkin pie’s chill, laid-back cousin who shows up to the party in sweatpants but still looks fabulous.
Why This Recipe is Awesome
Let’s be real, life is complicated enough without wrestling with a soggy bottom or a cracked top. This recipe is your new best friend because:
- It’s practically **idiot-proof**. Seriously, if I can make it without setting off the smoke alarm, you’re golden.
- **Shortbread crust.** Need I say more? It’s buttery, crumbly perfection and way less intimidating than traditional pie dough. Plus, no sad, undercooked crust scenarios here!
- **Portion control (or lack thereof).** Bars are just inherently easier to serve and sneak extra pieces of. Don’t judge.
- It tastes like autumn just high-fived your tastebuds. All the classic pumpkin spice vibes without the traditional pie drama. Winning!
Ingredients You’ll Need
Gather your troops, folks! Here’s what you’ll need to make this magic happen:
For the Shortbread Crust:
- 1 ½ cups (about 180g) All-Purpose Flour: The backbone of our buttery dream.
- ½ cup (1 stick or 113g) Unsalted Butter: Make sure it’s **cold and cut into cubes**. This is key for that flaky texture. Don’t cheap out here; butter is your friend!
- ¼ cup Granulated Sugar: Just enough sweetness to balance the shortbread.
- ¼ teaspoon Salt: Because every sweet treat needs a pinch of savory to make it pop.
For the Pumpkin Filling:
- 1 can (15 oz / 425g) Pumpkin Puree: **NOT pumpkin pie filling!** Trust me, you want the plain stuff.
- 1 cup Heavy Cream: Makes it super rich and luxurious.
- ½ cup Light Brown Sugar, packed: Adds that lovely caramel-y depth.
- ½ cup Granulated Sugar: More sweetness, because why not?
- 2 Large Eggs: The glue that holds our pumpkin dreams together.
- 1 teaspoon Vanilla Extract: A little extra warmth never hurt anyone.
- 1 teaspoon Ground Cinnamon: Essential for that classic autumn spice.
- ½ teaspoon Ground Ginger: Gives it a nice little kick.
- ¼ teaspoon Ground Nutmeg: The other half of the dynamic duo with cinnamon.
- ⅛ teaspoon Ground Cloves (optional, but highly recommended): For that extra “oomph!”
- ¼ teaspoon Salt: Again, balances everything out.
Step-by-Step Instructions
Alright, apron on, game face ready! Let’s bake some deliciousness.
- Preheat & Prep: First things first, crank that oven up to **350°F (175°C)**. Grab a 9×13 inch baking pan and line it with parchment paper, leaving an overhang on the sides. This makes lifting the bars out a breeze later.
- Make the Crust Dough: In a large bowl, whisk together your flour, granulated sugar, and salt. Now, add those cold butter cubes. Use a pastry blender, your fingertips, or a food processor to cut the butter into the flour mixture until it resembles coarse crumbs. **Don’t overmix!** Little pea-sized bits of butter are what you’re aiming for.
- Press the Crust: Dump the crumbly dough into your prepared baking pan. Press it evenly and firmly into the bottom of the pan. An easy trick? Use the bottom of a flat-bottomed glass or measuring cup to get it super compact.
- Bake the Crust: Pop the crust into your preheated oven and bake for **15-20 minutes**, or until it’s lightly golden around the edges. Take it out and let it cool slightly while you make the filling. **Reduce oven temperature to 325°F (160°C).**
- Whip Up the Filling: While the crust is doing its thing, grab another large bowl. Whisk together the pumpkin puree, heavy cream, brown sugar, granulated sugar, eggs, vanilla extract, cinnamon, ginger, nutmeg, cloves (if using), and salt until it’s all smooth and beautifully combined.
- Assemble & Bake: Pour the pumpkin filling over your slightly cooled, pre-baked shortbread crust. Carefully spread it out evenly.
- Bake Again: Gently place the pan back into the oven (which you’ve reduced to 325°F!). Bake for **45-55 minutes**, or until the center is mostly set with just a slight jiggle. A knife inserted near the edge should come out clean.
- Cool Down: Once baked, take the bars out of the oven. Let them cool completely on a wire rack for at least 2-3 hours. For best results (and easier cutting), chill them in the fridge for at least 4 hours, or even better, overnight. **Patience is a virtue here, IMO!**
- Slice & Serve: Once chilled, use the parchment paper overhang to lift the entire slab out of the pan. Cut into squares or rectangles. Serve plain or with a dollop of whipped cream!
Common Mistakes to Avoid
Nobody’s perfect, but we can avoid some culinary faux pas, right?
- Using room temperature butter for the crust: This is a big no-no! **Cold butter** is essential for a tender, crumbly shortbread crust. Warm butter will give you a greasy, dense mess.
- Forgetting to pre-bake the crust: Rookie mistake! Pre-baking gives you that perfectly golden, sturdy base that won’t get soggy under the pumpkin filling.
- Overmixing the shortbread dough: You want just enough mixing to combine. Overworking the dough develops gluten, leading to a tough crust. We want tender!
- Not letting it cool/chill properly: I know, I know, it smells amazing. But trying to cut warm pumpkin bars is like trying to wrangle a greased pig. They’ll fall apart. **Chill, literally.**
- Using pumpkin pie filling instead of pumpkin puree: Seriously, don’t do it. Pie filling is already sweetened and spiced, and it will throw off all the carefully balanced flavors in this recipe.
Alternatives & Substitutions
Feeling a little rebellious? Here are some ways to shake things up:
- Spice it up: Don’t have all the individual spices? No worries! You can totally use **2-2.5 teaspoons of a good quality pumpkin pie spice blend** instead of the cinnamon, ginger, nutmeg, and cloves. Easy peasy!
- Gluten-Free Crust: For your GF pals, swap the all-purpose flour for a 1:1 gluten-free baking flour blend in the crust. The results are usually quite good!
- Dairy-Free Filling: You could try substituting the heavy cream with full-fat canned coconut milk (the thick cream at the top, not the liquid) for a dairy-free version. The flavor will be slightly different, but still delicious.
- Sweetener Swap: If you’re out of brown sugar, you can use all granulated sugar, but you’ll miss a bit of that deep, molasses-y flavor. Maple syrup or agave could work in a pinch for some of the sugar, but start with smaller amounts and adjust to taste, as liquids will change the texture.
FAQ (Frequently Asked Questions)
Got questions? I’ve got (casual) answers!
- Can I use margarine instead of butter for the crust? Well, technically yes, but why hurt your soul like that? Butter provides superior flavor and texture. Do yourself a favor and stick with butter.
- My pumpkin bars cracked on top! What did I do wrong? Oh, the classic crack! Often this happens if they bake a little too long or cool down too quickly. It’s totally fine, though! A dollop of whipped cream hides all sins, FYI.
- How long do these bars last? Covered and refrigerated, these beauties are good for about 3-4 days. But let’s be real, they probably won’t last that long.
- Can I freeze pumpkin pie bars? You bet! Bake and cool completely, then cut into bars. Freeze them in a single layer on a baking sheet, then transfer to an airtight container or freezer bag for up to 2-3 months. Thaw in the fridge before serving.
- Can I make them ahead of time for a party? Absolutely! They’re actually better made a day in advance because it gives all those amazing flavors time to meld and develop, and they’re easier to cut when fully chilled.
- What if I don’t have parchment paper? You can heavily grease and flour your pan instead, but parchment paper makes lifting them out so much easier. Trust me on this one.
Final Thoughts
See? That wasn’t so bad, was it? You just whipped up a batch of glorious Pumpkin Pie Bars, likely without any major kitchen catastrophes. You’re basically a baking superhero now. Go on, enjoy the fruits (or gourds?) of your labor. Share ’em with friends, bring ’em to a potluck, or just hoard them all for yourself (no judgment here!). Now go impress someone—or yourself—with your new culinary skills. You’ve earned it!


