So, you’re officially in that season where your brain just screams “PUMPKIN EVERYTHING!” but your energy levels whisper, “Yeah, but make it *easy*, please?” Same, friend. Same. You’ve probably seen a million complicated pumpkin recipes that require a culinary degree and a whole afternoon. Not today, Satan! We’re here for the good stuff: maximum deliciousness, minimal effort. Get ready for a dessert so simple, it almost feels like cheating. (Spoiler: it totally is, and we’re totally fine with that.)
Why This Recipe is Awesome
Because let’s be real, life is too short for bland desserts or recipes that make you want to throw your mixer across the kitchen. This isn’t just an “easy” pumpkin dessert; it’s an **”I-barely-lifted-a-finger-and-now-I’m-a-dessert-genius”** kind of easy. We’re talking no oven, minimal dishes, and a taste that screams “I spent hours on this!” (You didn’t. Don’t worry, your secret is safe with me.) It’s perfect for when you’re hosting, when you need a quick pick-me-up, or when you just want to impress your cat with your newfound culinary prowess. Plus, it’s pretty much **idiot-proof**, and frankly, that’s my favorite kind of recipe, IMO.
Ingredients You’ll Need
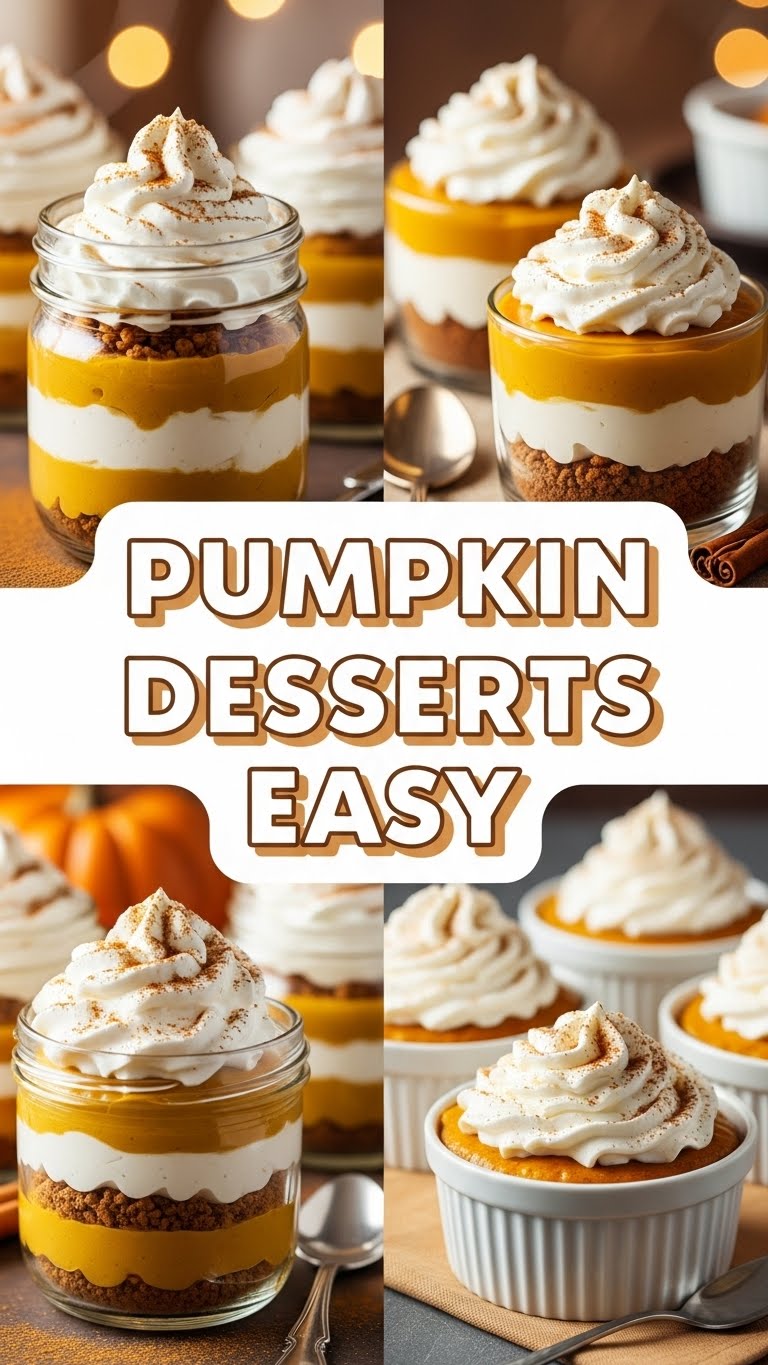
Gather ’round, buttercups! This list is short, sweet, and probably already hiding in your pantry (or a quick dash to the store away). We’re making some no-bake pumpkin cheesecake jars, because who doesn’t love a dessert in a cute little glass?
- **1 (8-ounce) package cream cheese**, softened. (Because trying to mix cold cream cheese is a special kind of torture.)
- **1 cup canned pumpkin puree**. Make sure it’s pure pumpkin, not pie filling! Unless you *want* your dessert to taste like it already has all the spices and extra sugar. Your call.
- **1/2 cup powdered sugar**. Or “confectioners’ sugar” if you’re feeling fancy.
- **1 teaspoon pumpkin pie spice**. This is where the magic happens, people.
- **1/2 teaspoon vanilla extract**. Just a splash for that warm, cozy vibe.
- **1 (8-ounce) container whipped topping**, thawed (like Cool Whip). Or, if you’re feeling ambitious, a cup of heavy cream whipped with a tablespoon of sugar.
- **About 1.5 cups Graham cracker crumbs**. The foundation of deliciousness. Gingersnaps work too for an extra zing!
- **1/4 cup unsalted butter**, melted. For binding the crumbs, because nobody likes a rogue cracker bottom.
Step-by-Step Instructions
Alright, apron on (or not, we don’t judge), let’s get this pumpkin party started! These steps are so easy, you could probably do them in your sleep.
- **Crumb Time!** In a medium bowl, mix your Graham cracker crumbs with the melted butter. Stir ’em up until they look like wet sand. This is your “crust.”
- **Cream Cheese Dream.** In a separate large bowl, beat the softened cream cheese with an electric mixer until it’s super smooth and fluffy. No lumps allowed!
- **Pumpkin Power-Up.** Add the pumpkin puree, powdered sugar, pumpkin pie spice, and vanilla extract to the cream cheese. Beat it all together until it’s well combined and that beautiful orange color just pops.
- **Fold It In.** Gently fold in half of your thawed whipped topping until just combined. You want to keep that light, airy texture, so no aggressive stirring, okay?
- **Layer Up!** Grab some cute jars or small glasses (about 4-6, depending on size). Spoon a layer of the Graham cracker mixture into the bottom of each. Lightly press it down.
- **Pumpkin Pile-On.** Spoon a generous layer of the pumpkin cream cheese mixture over the crumbs. Don’t be shy!
- **Whipped Topping Heaven.** Top that with a dollop (or a big swirl) of the remaining whipped topping.
- **Repeat & Chill.** Repeat the layers if you have enough space and ingredients. Then, cover your masterpieces and pop them in the fridge for at least 2 hours. **Chilling is key!** This lets everything firm up and the flavors mingle.
Common Mistakes to Avoid
Even though this recipe is practically foolproof, there are a few rookie errors that can turn your pumpkin dreams into pumpkin screams. Don’t be that person!
- **Using cold cream cheese:** Seriously, don’t do it. It leads to lumpy, sad pumpkin filling. Let it sit on the counter for an hour before you start. You’ll thank me.
- **Grabbing pumpkin pie filling:** Read the can! Pumpkin pie filling is already spiced and sweetened. You want **pure pumpkin puree**. Otherwise, your dessert will be an overly sweet, confusing mess.
- **Not chilling long enough:** This isn’t a “taste test it immediately” kind of dessert. It needs time in the fridge to set up properly. **Patience, young grasshopper.**
- **Overmixing the whipped topping:** When you fold in the whipped topping, be gentle. Overmixing can deflate it, making your dessert less airy and more dense. We want fluffy!
Alternatives & Substitutions
Feeling a little rebellious? Want to make it your own? I respect that! Here are some fun ways to shake things up:
- **Crust Swap:** Not a Graham cracker fan? Try crushed gingersnaps, Biscoff cookies, or even shortbread. Each one brings its own delicious vibe.
- **Sweetener Switch:** You can experiment with maple syrup or a sugar substitute instead of powdered sugar. Just taste as you go!
- **Spice It Up!** If you’re out of pumpkin pie spice, you can create your own mix with cinnamon, nutmeg, ginger, and a tiny pinch of cloves. Or add a bit more cinnamon if that’s your jam.
- **Dairy-Free Delight:** Use vegan cream cheese, dairy-free whipped topping, and dairy-free butter for a plant-based version. It works like a charm!
- **Topping Extravaganza:** Drizzle with caramel sauce, sprinkle with toasted pecans, or even a tiny grating of dark chocolate. Because more is more, right?
FAQ (Frequently Asked Questions)
Got questions? I’ve got answers! (Mostly.)
- **”Can I make this ahead of time?”** Absolutely! In fact, it tastes even better the next day once the flavors have had a chance to really get to know each other. Just cover and chill.
- **”What if I don’t have individual jars?”** No problem! You can make this in a regular pie plate for a no-bake pumpkin cheesecake pie, or even a pretty trifle dish. Just layer away!
- **”Can I use fresh pumpkin instead of canned?”** Technically yes, but that kinda defeats the whole “easy” purpose, doesn’t it? If you’re feeling extra ambitious, go for it, but be sure to cook and puree it thoroughly.
- **”My cream cheese mixture is lumpy, help!”** Did you soften the cream cheese? If not, that’s likely the culprit. You can try beating it longer or letting it warm up more. If it’s too far gone, sometimes a fine mesh sieve can help smooth it out (but that’s a lot of extra work, FYI).
- **”How long does it last in the fridge?”** Covered, these beauties will last about 3-4 days. But let’s be real, they probably won’t last that long!
- **”Can I freeze these?”** You can, but the texture might change a little after thawing (especially the whipped topping). It’s best enjoyed fresh from the fridge.
Final Thoughts
And there you have it! A ridiculously easy, unbelievably delicious pumpkin dessert that will make you feel like a culinary wizard, even if the hardest thing you did was open a can. So go ahead, treat yourself, impress your friends (or that aforementioned cat), and bask in the glory of your effortless pumpkin masterpiece. You’ve earned it, my friend. Now, if you’ll excuse me, I hear a pumpkin cheesecake jar calling my name…


