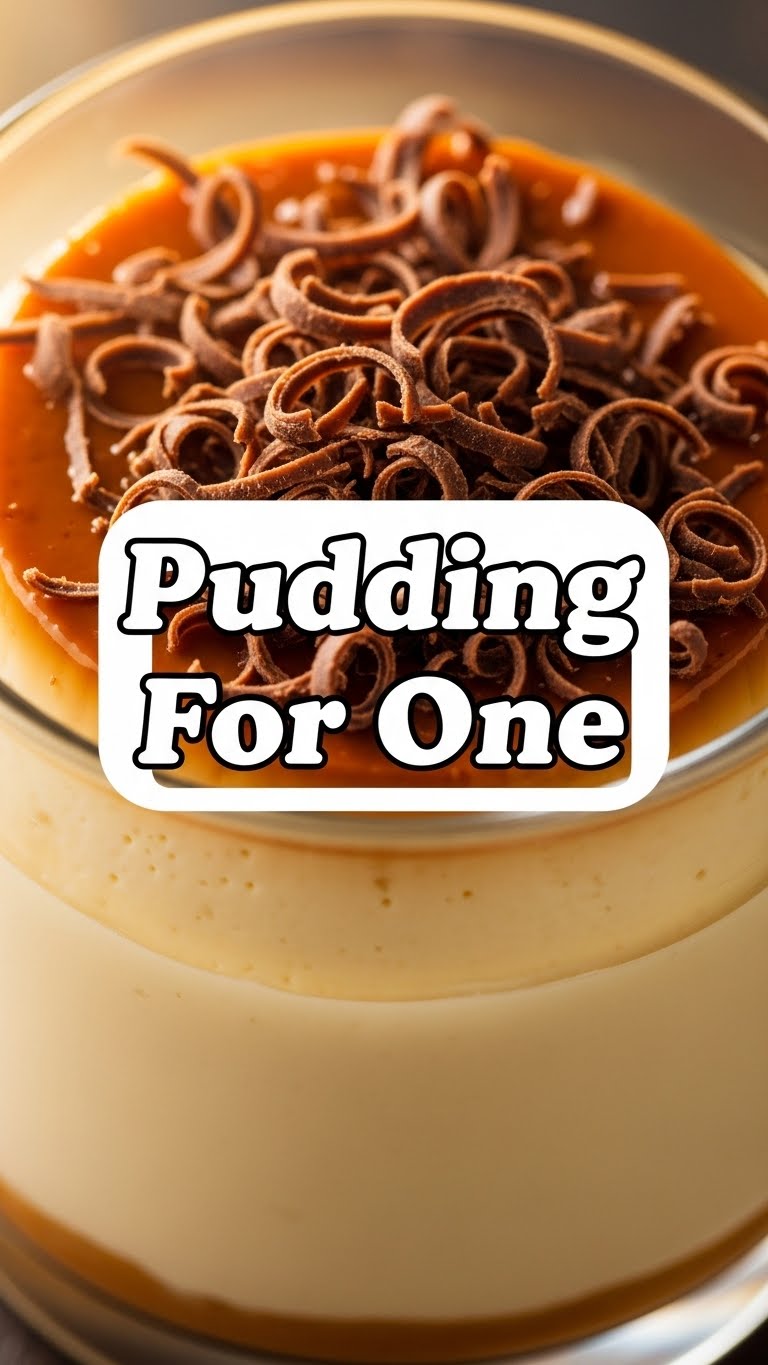
So, you’ve just binged your favorite show, the fridge is looking sad, and suddenly, a wild craving for something warm, chocolatey, and utterly decadent appears. But, like, for one. Because sharing is overrated, right? 😉 Welcome to your new favorite kitchen adventure: Pudding For One. Prepare to have your mind (and belly) blown, without, you know, doing too much work.
Why This Recipe is Awesome
Okay, real talk. This isn’t just a recipe; it’s a life hack. You know those moments when you want dessert *now* without dirtying every pot and pan in your kitchen? This is it. It’s **stupidly simple**, literally takes minutes, and uses ingredients you probably already have lying around, gathering dust. Plus, it’s single-serving, which means zero leftovers to tempt you into a second helping. Unless you make a second one, which, no judgment here. Even I didn’t mess this up, so you’re golden.
Ingredients You’ll Need
- All-purpose flour: Just a couple of tablespoons. Don’t overthink it, it’s not a cake.
- Granulated sugar: Because life’s sweet, and so should your pudding be.
- Unsweetened cocoa powder: The darker, the better, IMO. Get the good stuff!
- Pinch of salt: Don’t skip this! It makes the chocolate taste *more* chocolatey. Trust me.
- Milk: Any kind! Dairy, almond, oat—whatever’s chillin’ in your fridge.
- Melted butter or oil: For richness. A little goes a long way here.
- Vanilla extract: A splash of pure magic.
- (Optional) Chocolate chips: Because sometimes, you just need more chocolate. Duh.
Step-by-Step Instructions
- Grab your favorite **mug**. Make sure it’s microwave-safe, unless you like kitchen fireworks.
- In said mug, whisk together the flour, sugar, cocoa powder, and salt. Make sure there are no lumpy bits trying to hide.
- Pour in the milk, melted butter (or oil), and vanilla extract. Stir everything until it’s super smooth. No one likes a lumpy pudding, FWIW.
- **Optional but highly recommended:** If using, stir in a small handful of chocolate chips. They’ll melt into glorious pockets of gooey goodness.
- Pop your mug into the microwave. Heat it on high for **60-90 seconds**. Keep a close eye on it! It should puff up like a proud little cloud, then settle.
- Carefully remove your mug (it’ll be hot!). Let it cool for a minute or two before diving in. Trust the process; it helps it set a bit.
- Add a scoop of ice cream, a dollop of whipped cream, or just eat it straight from the mug like the dessert warrior you are. You’ve earned it!
Common Mistakes to Avoid
- Overcooking: This is the biggest sin! Your pudding will turn rubbery and sad, not gooey and delightful. Start with 60 seconds and add 10-15 second increments if it’s still too liquidy. You want it just set, not a chocolate brick.
- Not stirring properly: Lumps are the enemy. Stir, stir, stir until everything is smooth *before* microwaving. Consistency is key, my friend.
- Using a tiny mug: Your pudding will puff up! Give it some space to breathe, or you’ll have a chocolatey explosion in your microwave. Rookie mistake, learn from it.
- Forgetting the salt: Seriously, it’s not just for savory dishes. It enhances the chocolate flavor like nobody’s business. **Don’t skip it!**
Alternatives & Substitutions
- Spice it up: Add a tiny pinch of cayenne pepper for a Mexican hot chocolate vibe, or some cinnamon. Yum!
- Nutty twist: Stir in a spoonful of peanut butter or hazelnut spread with the wet ingredients for an extra decadent flavor bomb. This one’s a game-changer.
- Milk options: Any milk works! Dairy, almond, soy, oat. Whatever you have is perfect, so don’t feel pressured to buy something new.
- No butter? No problem! A neutral oil (like vegetable or canola) works just as well. Or even unsweetened applesauce for a slightly healthier, yet still delicious, version.
- Flour substitutes: Gluten-free all-purpose flour works like a charm if you’re avoiding gluten. Just make sure it’s a blend that can handle baking.
FAQ (Frequently Asked Questions)
- My pudding exploded in the microwave! What gives? Did you use a too-small mug? Or overcook it? Give it more space next time, and keep a closer eye on it, reducing cook time if needed. It happens to the best of us!
- Can I make this on the stovetop? Absolutely! Whisk all ingredients in a small saucepan over medium-low heat until thickened, stirring constantly. It takes a bit longer, but it’s totally doable if you’re feeling fancy.
- Is it *really* only for one? Well, technically you *could* share. But why would you want to? 😉 It’s portioned perfectly for a single craving, designed for selfish indulgence.
- Can I use brown sugar instead of white? Yep! Brown sugar will give it a slightly richer, chewier texture and a hint of caramel. Go for it if you have some lying around!
- How long does it keep? Honestly, it’s best eaten immediately. It’s meant to be a fresh, warm treat. But if you *must* save it (and resist eating it all), cover it and refrigerate for up to a day. Reheat gently.
- What if I don’t have vanilla extract? It’s not the end of the world, but it really brightens the flavor. Try a tiny pinch of instant coffee granules instead – it enhances chocolate beautifully without making it taste like coffee. Seriously, it’s a secret weapon!
Final Thoughts
See? I told you it was easy! You just whipped up a gourmet-level dessert in minutes. You’re practically a culinary genius. Now go impress someone—or yourself, which is arguably more important—with your new mug pudding mastery. You’ve earned this moment of pure, unadulterated chocolate bliss. Enjoy every single spoonful, you magnificent human!


