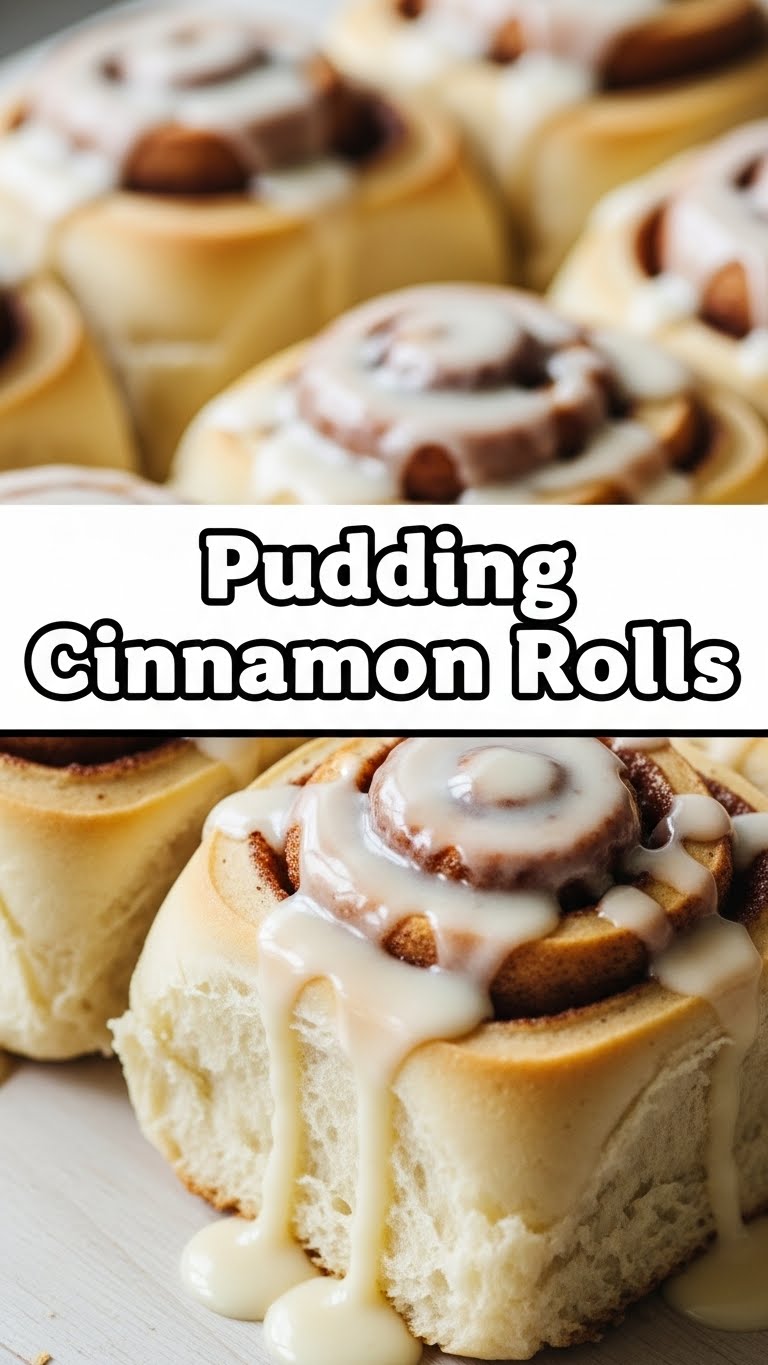
So you’re craving something warm, gooey, and absolutely legendary, but the thought of spending hours in the kitchen makes you want to curl up with a bag of chips instead, huh? Same, friend, same. But what if I told you there’s a secret weapon to ridiculously soft, fluffy cinnamon rolls that practically bake themselves (okay, slight exaggeration, but they’re *easy*), all thanks to a little box of… wait for it… pudding mix?! Mind blown, right? Let’s get this party started.
Why This Recipe is Awesome
Listen, these aren’t just any cinnamon rolls. These are your new best friends, your Sunday morning hero, and possibly the reason you’ll get more compliments than you know what to do with. Why are they so awesome? Because we’re sneaking in **instant vanilla pudding mix** right into the dough. This little trick makes the rolls unbelievably soft, moist, and gives them an extra depth of vanilla flavor that’ll make your taste buds sing. It’s practically idiot-proof, even I didn’t mess it up, and my kitchen is usually reserved for takeout containers.
Plus, they come together faster than you’d think for homemade rolls, meaning less waiting and more eating. And let’s be real, isn’t that the ultimate goal?
Ingredients You’ll Need
Alright, gather your troops! Here’s what you’ll need to make these pillowy dreams a reality:
For the Dough:
- **1 cup whole milk:** Warm, but not scorching hot! We’re talking bathwater temperature for our little yeast buddies.
- **2 ¼ teaspoons active dry yeast:** That’s one standard packet. These are the tiny architects of your fluffy dreams.
- **¼ cup granulated sugar:** A little sweetness for the yeast, a little sweetness for you.
- **1 large egg:** Room temperature, please. It helps everything blend beautifully.
- **¼ cup unsalted butter, melted:** Let it cool slightly, we don’t want to scramble the egg or kill the yeast.
- **1 teaspoon vanilla extract:** Pure vanilla, please. It makes a difference.
- **3 ½ cups all-purpose flour, plus more for dusting:** We’ll start here, but don’t overdo it!
- **1 (3.4 oz) package instant vanilla pudding mix:** Our secret weapon! Don’t get the cook-and-serve kind.
- **½ teaspoon salt:** Balances out all that delicious sweetness.
For the Filling:
- **½ cup unsalted butter, softened:** Room temp is key for easy spreading.
- **1 cup packed light brown sugar:** The goo factor.
- **2 tablespoons ground cinnamon:** Don’t skimp!
For the Icing:
- **4 ounces cream cheese, softened:** Full-fat is best for that luscious tang.
- **½ cup unsalted butter, softened:** Again, room temperature.
- **3 cups powdered sugar:** Sifted, if you’re feeling fancy, but not strictly necessary.
- **1-2 tablespoons whole milk or heavy cream:** To get that perfect drizzly consistency.
- **1 teaspoon vanilla extract:** Extra vanilla, because why not?
Step-by-Step Instructions
- **Activate the Yeast:** In a large mixing bowl (or the bowl of your stand mixer), combine the warm milk, yeast, and sugar. Give it a gentle stir. Let it sit for about 5-10 minutes until it looks foamy. If it doesn’t foam, your yeast might be dead. (RIP, little guys.)
- **Mix the Wet Stuff:** To the foamy yeast mixture, add the egg, melted butter, and vanilla extract. Whisk it all together until well combined.
- **Combine Dry Ingredients:** In a separate medium bowl, whisk together the flour, instant vanilla pudding mix, and salt.
- **Form the Dough:** Gradually add the dry ingredients to the wet ingredients, mixing until a shaggy dough forms. If using a stand mixer, switch to the dough hook. Knead for 5-7 minutes until the dough is smooth and elastic. If kneading by hand, this will take about 8-10 minutes. The dough should be slightly sticky but shouldn’t stick to your hands.
- **First Rise:** Lightly grease a clean bowl with a little oil. Place the dough in the bowl, turning once to coat. Cover the bowl with plastic wrap or a clean kitchen towel and let it rise in a warm place for 1-1.5 hours, or until doubled in size. This is where patience is a virtue, my friend.
- **Prep the Filling:** While the dough is rising, mix the softened butter, brown sugar, and cinnamon together in a small bowl until smooth and spreadable.
- **Roll ‘Em Out:** Once the dough has doubled, punch it down gently to release the air. Turn it out onto a lightly floured surface and roll it into a large rectangle, about 12×18 inches. Don’t go crazy with the flour, or your rolls will be tough.
- **Spread and Roll:** Evenly spread the cinnamon-sugar filling all over the dough, leaving a small border (about half an inch) along one of the longer edges. Starting from the opposite long edge, carefully roll the dough into a tight log.
- **Slice and Arrange:** Use a sharp knife or, even better, unflavored dental floss (seriously, it’s the trick!) to cut the log into 12 equal rolls, about 1.5 inches thick. Place the rolls in a lightly greased 9×13 inch baking pan, leaving a little space between them.
- **Second Rise:** Cover the pan loosely with plastic wrap or a kitchen towel. Let the rolls rise again in a warm place for another 30-45 minutes, or until they look puffy and have almost doubled in size. Meanwhile, preheat your oven to 375°F (190°C).
- **Bake:** Bake for 20-25 minutes, or until golden brown on top and cooked through. If they start browning too quickly, you can tent them loosely with foil.
- **Whip Up the Icing:** While the rolls are baking, make the icing. In a medium bowl, beat the softened cream cheese and butter together until smooth. Gradually add the powdered sugar, then the milk/cream and vanilla extract, beating until light and fluffy. Add more milk if you want a thinner icing, less for a thicker one.
- **Frost and Devour:** As soon as the rolls come out of the oven, slather that glorious cream cheese icing all over them. The warmth of the rolls will melt the icing slightly, creating pure bliss. Dig in immediately!
Common Mistakes to Avoid
- **Water Too Hot/Cold for Yeast:** If the water is too hot, you’ll kill the yeast. Too cold, and they won’t activate. Aim for lukewarm, like a baby’s bath. **This is crucial, people!**
- **Over-flouring:** Adding too much flour during kneading or rolling will result in dry, tough rolls. Your dough should be slightly tacky, not dry.
- **Not Letting Them Rise Enough:** Patience is key. Rushing the rising process means dense, less fluffy rolls. Let them do their thing!
- **Overbaking:** Keep an eye on them! Overbaked rolls will be dry and hard. They should be golden brown and spring back when lightly touched.
- **Using Cook-and-Serve Pudding:** Nope, absolutely not. **Instant pudding mix only!** The starches are different, and the cook-and-serve kind will just make your dough weird. Don’t do it.
Alternatives & Substitutions
Feeling a little rebellious? Here are some tweaks you can make:
- **Pudding Flavor Swap:** Vanilla is classic, but why not try **butterscotch instant pudding** for a caramel-y twist? Or even **banana cream instant pudding** for something truly unique!
- **Dairy-Free Option:** Use your favorite non-dairy milk (almond, oat, soy) and a plant-based butter substitute in both the dough and filling. For the icing, you can use dairy-free cream cheese and butter, or just make a simple glaze with powdered sugar and non-dairy milk.
- **Icing Variations:** Not a cream cheese fan? Just whip up a simple glaze with powdered sugar, a splash of milk, and vanilla. Or add a squeeze of lemon juice for a zesty kick.
- **Add-ins:** Feeling extra? Sprinkle some chopped pecans or walnuts over the cinnamon filling before rolling. A few chocolate chips wouldn’t hurt either, just sayin’.
FAQ (Frequently Asked Questions)
Got questions? I’ve got answers (and probably some sarcasm).
Can I make these ahead of time? Absolutely! After placing the sliced rolls in the baking pan (Step 9), cover them tightly with plastic wrap and pop them in the fridge overnight. The next morning, let them sit at room temperature for about 30-60 minutes while your oven preheats, then bake as usual. **FYI**, they might need a little extra baking time.
Do I *have* to use instant pudding mix? Can’t I just use regular? NO! I cannot stress this enough. **It must be instant pudding mix.** The starches are different, and regular pudding mix will not give you the same soft, moist results. Don’t play yourself.
My dough isn’t rising! What did I do wrong? Chances are, your milk was too hot and killed the yeast, or too cold and it never activated. Or your yeast was old. Always check the expiration date on your yeast! **IMO**, fresh yeast is a game changer.
Can I use margarine instead of butter? Well, technically yes, but why hurt your soul like that? Butter just tastes better and gives a richer flavor and texture. Margarine will work, but it’s a downgrade, TBH.
How long do these cinnamon rolls last? In my house? About 15 minutes. Realistically, stored in an airtight container at room temperature, they’re best within 2-3 days. Reheat briefly in the microwave for that fresh-baked feel.
Can I freeze them? You bet! You can freeze the unbaked rolls after the second rise (Step 10). Cover the pan tightly and freeze for up to a month. Thaw overnight in the fridge, then let them come to room temp before baking. You can also freeze baked, unfrosted rolls for up to a month; thaw and frost when ready to serve.
Final Thoughts
There you have it, superstar! You’re now armed with the knowledge to create the most ridiculously soft, pudding-infused cinnamon rolls that will make you question every other cinnamon roll you’ve ever eaten. This recipe isn’t just about baking; it’s about making your kitchen smell like a dream and filling your belly with pure joy. Now go impress someone—or yourself—with your new culinary skills. You’ve earned it!


