So you’re craving something tasty but too lazy to spend forever in the kitchen, huh? Same. We’ve all been there: staring into the fridge, utterly uninspired, knowing that *something* needs to happen but dreading the prep work. What if I told you there’s a magical way to have delicious, ready-to-use chicken at your beck and call, no freezer defrosting required? Enter pressure canned chicken, my friend. It’s like having your own personal sous chef who works for free and lives on a shelf!
Why This Recipe is Awesome
Okay, let’s be real. “Canning” sounds like something your grandma did while wearing an apron and humming old tunes. But trust me, this isn’t your grandma’s canning (unless your grandma was secretly a kitchen wizard, in which case, high five!). Pressure canning chicken is the ultimate meal prep hack. Think about it:
- Emergency Meal Savior: Power out? Fridge broke? Zombie apocalypse? No worries! Your shelf-stable chicken is here to save the day.
- Time Machine for Your Dinner: Seriously, you open a jar and boom – cooked chicken, ready to be tossed into tacos, salads, soups, or even just eaten with a fork. It’s like magic, but with science!
- It’s Idiot-Proof: And I mean that in the most loving way possible. Follow the instructions, and it’s virtually impossible to mess up. Even *I* haven’t ruined a batch yet, and that’s saying something.
- Flavor Bomb Ready: Canning plain chicken means it’s a blank canvas for whatever culinary adventure you’re dreaming up.
Ingredients You’ll Need
Get ready, it’s not a long list, which is part of its charm!
- Chicken: About 2.5-3 pounds boneless, skinless chicken (breasts, thighs, tenders, whatever floats your boat) per quart jar, or 1.5-2 pounds per pint jar. Fresh or thawed from frozen.
- Water or Chicken Broth: For filling the jars. Make sure it’s hot!
- Canning Salt (Optional): Up to 1 teaspoon per quart jar, ½ teaspoon per pint jar. This is for flavor, not preservation, so totally up to you.
- Pressure Canner: Your trusty sidekick. No, it’s not a bomb, relax.
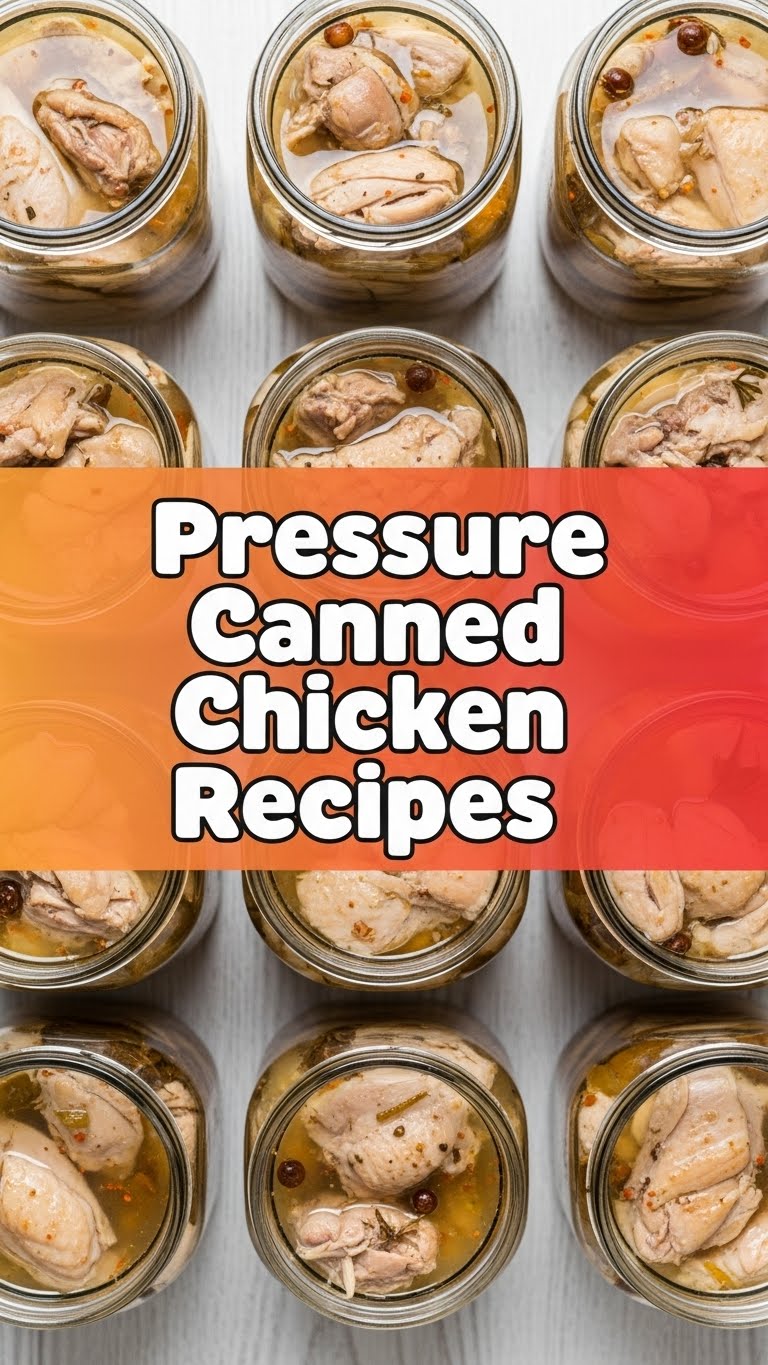
- Canning Jars: Pint or quart sized, with new lids and clean bands. Make sure they’re squeaky clean and free of chips or cracks.
Step-by-Step Instructions
Alright, let’s get this party started! Follow these steps closely, and you’ll be a canning pro in no time.
- Prep Your Gear: Wash your jars, lids, and bands in hot, soapy water, then rinse well. Keep your jars hot until ready to fill to prevent thermal shock. Place new lids in a small saucepan with simmering water (don’t boil!) to soften the sealing compound.
- Chicken Choreography: Trim any excess fat from your chicken. Cut it into 1-inch chunks or strips. You can leave it raw (raw pack method) or cook it slightly first (hot pack method – but raw pack is simpler and what we’re doing today, FYI).
- Jar It Up: Pack the raw chicken pieces tightly into your hot jars, leaving 1-inch headspace (that’s the space between the top of the food and the rim of the jar). Don’t be shy, really pack it in there!
- Liquid Love: If using salt, add it now. Then, pour hot water or hot broth over the chicken, maintaining that 1-inch headspace. You might see some air bubbles; gently run a plastic knife or bubble remover tool around the inside of the jar to release them. Top off with more liquid if needed.
- Wipe and Seal: Clean the jar rims thoroughly with a damp cloth to remove any food particles or grease. This is **super important** for a good seal. Center a softened lid on each jar, then screw on the bands finger-tight.
- Canner Time: Place the filled jars onto the rack in your pressure canner. Add the recommended amount of hot water to the canner (usually 2-3 inches, check your canner’s manual). Secure the canner lid.
- Vent It Out: Turn up the heat and let steam escape steadily from the vent pipe for a full 10 minutes. This is called venting and is **crucial** for removing air and getting an accurate pressure. Don’t skip this!
- Pressure Up!: After venting, place the weighted gauge or pressure regulator on the vent pipe. Bring the canner up to the correct pressure for your altitude (usually 10-11 PSI for dial gauge, 10 or 15 lb weight for weighted gauge, but **always check official guidelines for your specific altitude and canner type**).
- Process Power: Once the desired pressure is reached, start your timer. Process pint jars for **75 minutes** and quart jars for **90 minutes**. Maintain steady pressure throughout; adjust heat as needed.
- Cool Down: When processing is done, turn off the heat and let the canner cool down naturally until the pressure gauge reads zero. Do NOT rush this! Once at zero, wait another 5-10 minutes before carefully removing the lid (away from your face!).
- Cool and Check: Lift the hot jars out carefully and place them on a towel-lined counter, spaced apart, to cool undisturbed for 12-24 hours. Don’t touch the lids! After cooling, check seals by pressing the center of each lid – if it doesn’t flex, it’s sealed. Remove bands, wipe jars, label, and store in a cool, dark place. Any unsealed jars go straight to the fridge for immediate consumption!
Common Mistakes to Avoid
Nobody’s perfect, but we can avoid these blunders together!
- Skipping the Venting: Thinking you don’t need to vent? Rookie mistake! That 10 minutes purges cold air, ensuring proper processing temperatures. Skip it, and you risk unsafe food.
- Rushing the Cool-Down: Opening the canner before the pressure drops to zero is a recipe for siphoning (liquid loss) and potential injury from steam. Patience, grasshopper.
- Not Checking Your Altitude: Altitude affects boiling points and pressure requirements. Not adjusting your PSI is a safety hazard, not just a suggestion!
- Using Regular Salt: While it won’t ruin safety, non-canning salt (like iodized table salt) can make your canning liquid cloudy and look less appetizing. Stick to canning or pickling salt for clarity.
- Reusing Lids: Lids are a one-and-done deal. Their sealing compound isn’t reliable for a second go-round. **Always use new lids!**
Alternatives & Substitutions
Flexibility is key, even in canning!
- Chicken Cut Options: You can use bone-in chicken pieces too! Just make sure they’re cut to fit your jars, and keep that 1-inch headspace. The processing times remain the same. IMO, boneless is easier for future meal prep.
- Liquid Choices: While water is perfectly fine, using hot chicken broth adds an extra layer of flavor right into your canned chicken. Just make sure it’s low sodium if you’re watching your salt intake.
- Salt or No Salt: As mentioned, canning salt is purely for taste. If you’re on a low-sodium diet or prefer to season your chicken after opening, feel free to omit it entirely.
FAQ (Frequently Asked Questions)
- Can I use a water bath canner for chicken? ABSOLUTELY NOT! Chicken is a low-acid food and *must* be pressure canned to destroy harmful bacteria like C. botulinum. A water bath canner won’t get hot enough. Don’t risk it, seriously.
- How long does pressure canned chicken last? Officially, home-canned goods are recommended for 1 year, but often last longer if stored properly in a cool, dark place. You’ll probably eat it all before then anyway!
- My jar didn’t seal. What now? Bummer! Don’t fret. Pop it in the fridge and use it up within a few days, just like fresh cooked chicken. You can’t reprocess it after it’s cooled.
- Can I add spices or vegetables to the jar when canning? This is where it gets tricky! For safety, stick to plain chicken when pressure canning. Adding other ingredients changes density and heat penetration, requiring specific, tested recipes to ensure safety. So, save the veggies and spices for *after* you open the jar.
- Why do I need new lids every time? The sealing compound on canning lids is designed to create a vacuum seal once. Reusing them dramatically increases the risk of seal failure, leading to spoiled (and potentially unsafe) food. No cheating here!
- Is it normal for there to be liquid loss in the jars? A little bit is normal, especially if you had slight pressure fluctuations or didn’t vent properly. As long as the jar sealed, it’s safe. Excessive liquid loss might mean you rushed the cool-down or didn’t vent enough.
Final Thoughts
So there you have it! Pressure canning chicken isn’t just about preserving food; it’s about preserving your sanity on those busy weeknights. Imagine grabbing a jar, tossing that tender chicken into a quick stir-fry, or making the fastest chicken salad ever. It’s a game-changer, promise.
Now go impress someone—or yourself—with your new culinary superpowers. You’ve earned it! Happy canning, my friend!


