Ever stared blankly into your fridge, knowing you should cook something but wishing a gourmet meal would magically appear? Yeah, me too. Especially when it comes to pork chops. They can be amazing, but oh boy, they can also be drier than a stand-up comedian’s worst joke. But fear not, my friend! I’ve cracked the code for seriously moist pork chops that are so easy, you’ll wonder why you ever settled for less.
Why This Recipe is Awesome
Because life’s too short for dry food, honestly. This isn’t one of those recipes where you need a culinary degree and obscure spices. It’s idiot-proof, I swear. Even if your past cooking experiences mostly involve microwaving popcorn, you got this. Plus, it delivers on the promise: juicy, tender, flavorful pork chops every single time. No more choking down cardboard disguised as meat. High five!
Ingredients You’ll Need
- Thick-cut, bone-in pork chops: (Because flavor, duh. And bone-in helps with moisture. Go for about 1-1.5 inches thick.)
- Olive oil: (Your trusty kitchen companion.)
- Butter: (Because butter makes everything better, fight me.)
- Garlic cloves: (Minced, about 3-4. Not optional. We’re going for flavor town.)
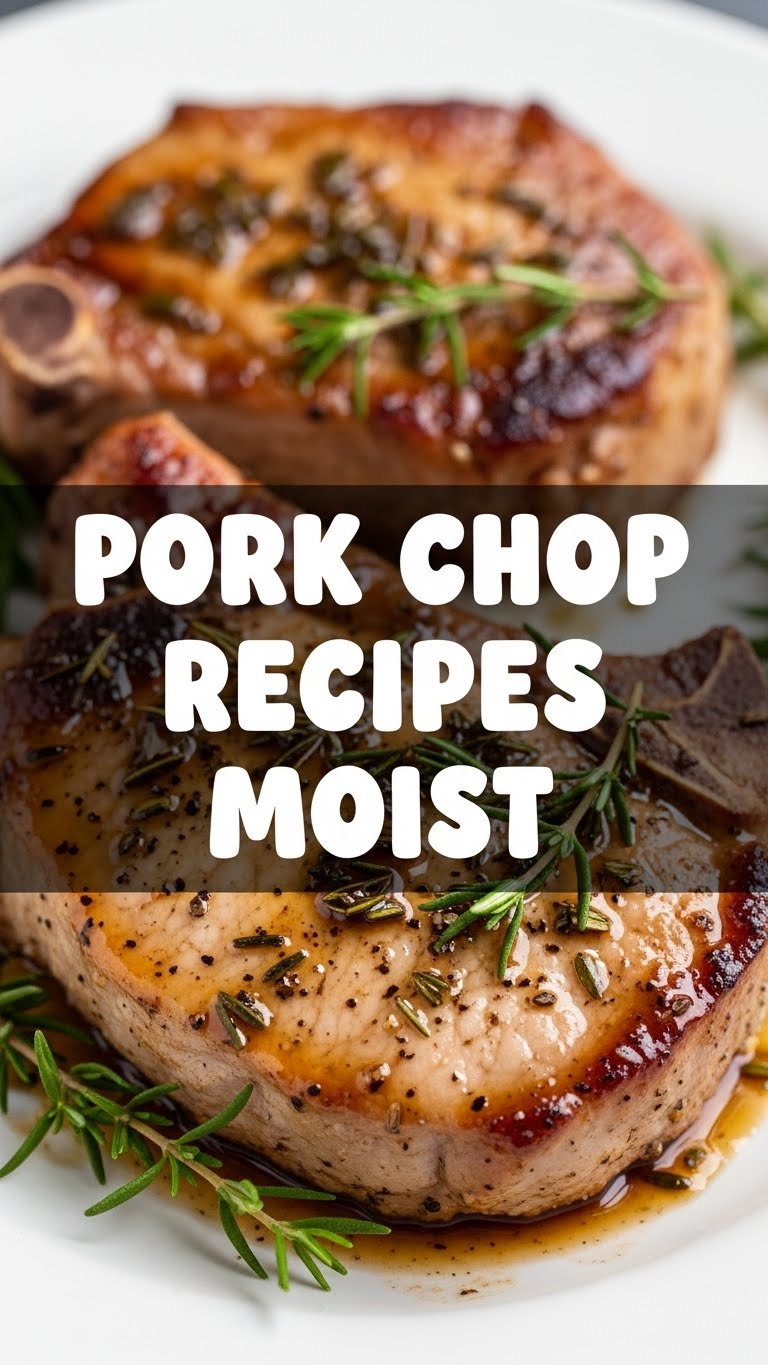
- Fresh rosemary or thyme: (A few sprigs. Optional, but adds that “fancy without trying” vibe.)
- Salt & black pepper: (The OG flavor builders. Don’t be shy!)
- Chicken or vegetable broth: (About 1/4 cup. A little liquid magic for the pan.)
Step-by-Step Instructions
- Pat ’em Dry: First things first, grab your pork chops and pat them *super* dry with paper towels. This is crucial for a good sear! Season generously with salt and pepper on both sides.
- Heat Things Up: Grab your trusty cast-iron skillet (or any other oven-safe pan) and heat it over medium-high heat. Add a glug of olive oil. We want it shimmering, almost smoking.
- Sear, Sear, Sear: Carefully place the pork chops in the hot pan. Don’t overcrowd! Sear for 3-4 minutes per side, until they have a beautiful, golden-brown crust. We’re locking in all that juicy goodness.
- Butter & Aromatics: Reduce the heat to medium. Toss in your butter, minced garlic, and herbs (if using). As the butter melts, tilt the pan and spoon that delicious melted butter and garlic over the chops for a minute or two. This is called basting, and it’s basically a spa treatment for your meat.
- Oven Time: Pour in a splash of broth – just enough to cover the bottom of the pan a little. Pop the whole pan into a preheated oven (around 375°F/190°C) for another 5-10 minutes, or until the internal temperature reaches 140-145°F (60-63°C).
- Rest, You Deserve It: This is perhaps the most important step for juicy pork chops. Take them out of the pan and let them rest on a cutting board, loosely tented with foil, for 5-10 minutes. The magic happens as the juices redistribute. Seriously, don’t skip this!
- Serve & Devour: Slice ’em up or serve whole, drizzled with any pan juices. Prepare for compliments.
Common Mistakes to Avoid
- Not Patting Dry: Seriously, it’s like trying to get a tan with sunscreen on. The moisture prevents that glorious crust. Go all in with the paper towels!
- Overcooking: The number one killer of moist pork chops. Use a meat thermometer, people! Going past 145°F (63°C) is asking for trouble. We’re aiming for perfectly tender, not shoe leather.
- Skipping the Rest: Impatience is a virtue sometimes, but not here. Cutting into hot meat immediately means all those precious juices will run out onto your board, not stay in your chop. Sad face. Give it time!
- Cold Chops into Hot Pan: Don’t cook them straight from the fridge. Let them hang out on the counter for 20-30 minutes to come closer to room temperature for more even cooking.
Alternatives & Substitutions
- No Bone-In? No Problem: While bone-in gives extra flavor and moisture insurance, boneless works too! Just keep a closer eye on the cooking time as they’ll cook faster. IMO, bone-in is superior, but you do you.
- Herb Swap: No rosemary? Thyme, sage, or even a sprinkle of dried Italian seasoning will do the trick. Or go wild and skip ’em if you’re not feeling it.
- Broth Alternatives: White wine or even just a splash of water works if you’re out of broth. It’s mainly for a little steam in the oven and some pan sauce magic.
- Spicy Kick: A pinch of red pepper flakes with the garlic never hurt anyone (unless they *really* hate spice).
FAQ (Frequently Asked Questions)
- “Can I just pan-fry them the whole way?” Technically, yes, but it’s trickier to control the doneness without drying them out. The sear-and-finish in the oven method is your best bet for consistent moisture. Trust me on this one.
- “What if I don’t have an oven-safe skillet?” No sweat! Sear them in your regular pan, then carefully transfer them to a baking dish before popping them into the oven. Easy peasy.
- “How do I know when they’re done without a thermometer?” While a thermometer is *highly* recommended (seriously, it’s worth it!), if you must guess, poke it with your finger. It should feel firm but still have a slight give. But really, just get a thermometer. Your taste buds will thank you.
- “Can I use thinner pork chops?” You can, but they cook *super* fast and are even more prone to drying out. For max juiciness and less stress, go thick-cut. You won’t regret it.
- “What sides go well with this?” Oh, the possibilities! Mashed potatoes, roasted asparagus, a simple green salad, creamy polenta… honestly, anything that can soak up those pan juices is a winner in my book.
- “My chops still came out dry, what gives?!” Double-check that internal temperature! You might be taking them too high. Also, make sure you rested them properly. Seriously, rest the meat! It’s not just a suggestion; it’s a command from the universe of juicy food.
Final Thoughts
And there you have it, folks! Your new go-to recipe for pork chops that are so moist, they’ll make you question all your previous life choices involving dry meat. This isn’t just a recipe; it’s a game-changer. Now go impress someone—or yourself—with your new culinary superpowers. You’ve earned it, chef! Don’t forget to tell me how it went!


