So, you’ve got those pork chops staring at you from the fridge, daring you to turn them into something amazing, but also, you’re not trying to deep-fry your way to flavor town, right? You want healthy, but without sacrificing that ‘mmm, this is good’ feeling. My friend, you’ve come to the right place. Let’s make some magic that’s both delicious *and* won’t make your nutritionist cry.
Why This Recipe is Awesome
Why this recipe, you ask? Because it’s practically a culinary superhero: stealthy, efficient, and surprisingly delicious without all the usual fuss. It’s quick enough for a weeknight, healthy enough to impress your doctor (maybe), and so straightforward, I’m pretty sure my cat could supervise the process. Plus, no crazy ingredients you have to trek to a specialty store for. We’re talking pantry staples, baby! It’s basically a ‘healthy-ish gourmet’ meal without the ‘gourmet’ effort or price tag. Win-win-win.
Ingredients You’ll Need
- 2 boneless, center-cut pork chops: (about 1-inch thick) – Because we’re going lean and mean here. Or, you know, just lean.
- 1 tbsp olive oil: Just a touch, for that golden sear. We’re not swimming in it, just lightly coating.
- 1 tsp smoked paprika: For that *zing* and a hint of smoky goodness without firing up the grill.
- ½ tsp garlic powder: Because garlic makes everything better. It’s a universal truth.
- ½ tsp onion powder: Garlic’s best friend, rounding out the flavor party.
- ¼ tsp black pepper: Freshly ground, if you’re feeling fancy.
- Pinch of salt: To wake up all those flavors. Don’t be shy, but don’t overdo it either.
- Optional: Fresh herbs (like thyme or rosemary): If you’re feeling extra, these sprigs make you look like a pro.
Step-by-Step Instructions
- Pat ‘Em Dry: First things first, grab those pork chops and pat them *super* dry with a paper towel. This is CRUCIAL for getting that perfect sear, trust me.
- Season Generously: In a small bowl, mix together the paprika, garlic powder, onion powder, salt, and pepper. Sprinkle this magical mix all over both sides of your pork chops. Don’t be afraid to rub it in like a spa treatment for your meat.
- Heat Things Up: Grab your favorite skillet (cast iron works wonders here, BTW) and heat it over medium-high heat. Add the olive oil and let it shimmer. You want it hot, but not smoking.
- Sear for Gold: Carefully place your seasoned pork chops in the hot skillet. Sear them for 3-4 minutes per side until they’re beautifully golden brown and have a nice crust.
- Into the Oven (Optional but Recommended for Thicker Chops): If your chops are on the thicker side (1 inch or more) and you want to ensure they’re cooked through without burning the outside, you can finish them in a preheated oven at 375°F (190°C) for another 5-10 minutes. A meat thermometer should read 145°F (63°C).
- Rest, My Friend, Rest: This is the hardest part: once cooked, transfer the chops to a plate and let them rest for at least 5 minutes. Cover loosely with foil. This lets the juices redistribute, ensuring a tender, juicy chop. Skipping this step is culinary blasphemy.
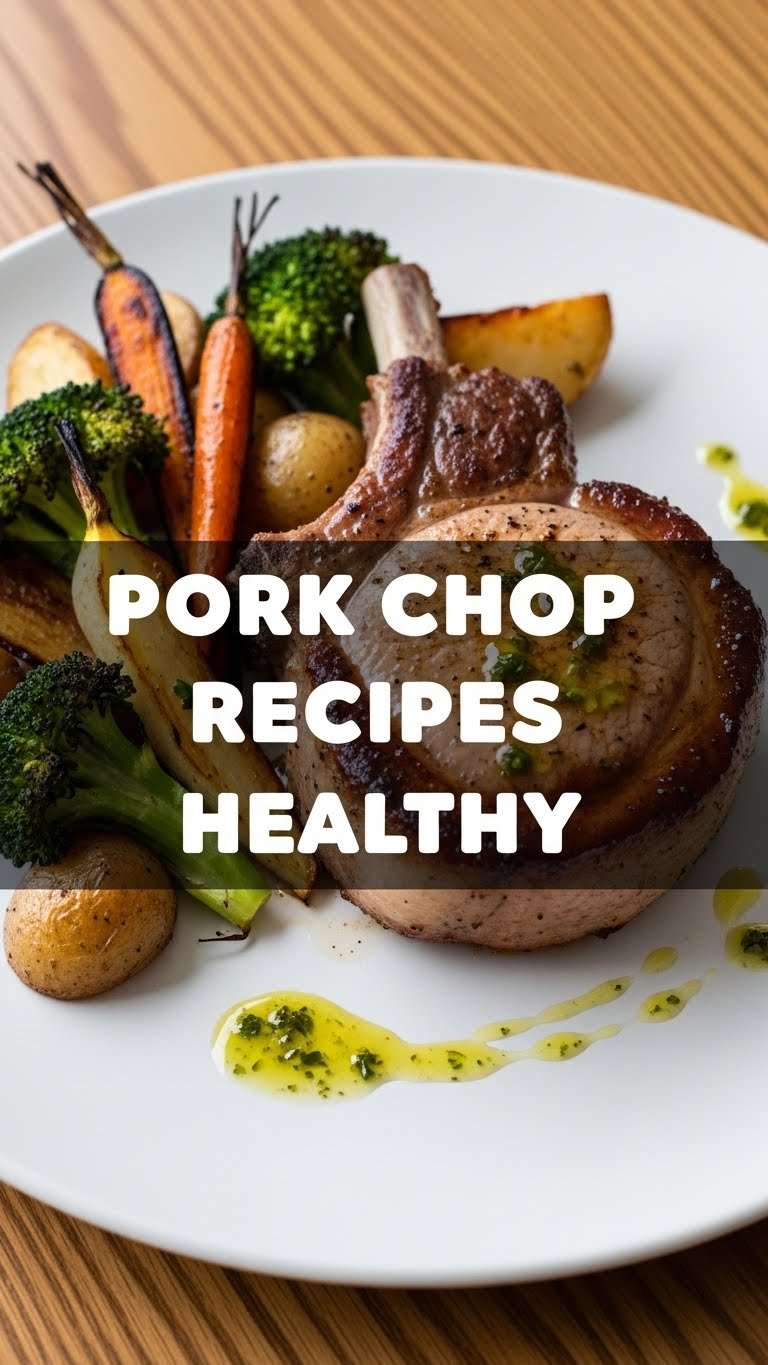
- Serve & Devour: Slice ’em up or keep them whole. Garnish with fresh herbs if you’re feeling fancy. Pair with a simple salad or some roasted veggies. Boom! Dinner is served.
Common Mistakes to Avoid
- Not patting them dry: This is probably the biggest rookie error. Wet chops steam instead of sear, and nobody wants sad, grey pork.
- Overcrowding the pan: Patience, young padawan! Cook in batches if you need to. Too many chops in one pan drops the temperature and you lose that beautiful sear.
- Cooking them too long: Pork chops are lean and can dry out quickly. Overcooked pork is the enemy. Get a meat thermometer and aim for 145°F (63°C) then let it rest. It will continue to cook slightly during resting.
- Skipping the rest: Seriously, don’t do it. You’ll lose all those glorious juices to your cutting board instead of keeping them in the meat where they belong.
Alternatives & Substitutions
Don’t have paprika? A pinch of chili powder or even just more black pepper and a tiny dash of cayenne will do in a pinch. The spice blend is flexible!
No fresh herbs? Dried herbs work too! Use about a third of the amount of dried herbs compared to fresh. Or just skip them, the chops will still be delish.
Want a different fat? Avocado oil is another great high-heat option. Butter can be added *after* searing for flavor, but olive oil is better for the initial high-heat sear.
Boneless vs. Bone-in: Bone-in chops usually have more flavor and are a bit more forgiving, but they take longer to cook. Just adjust cooking time and temp check.
FAQ (Frequently Asked Questions)
- “Can I bake these pork chops instead of pan-searing?” Absolutely! If you’re feeling ultra-lazy or just avoiding the stove, season them up and bake at 375°F (190°C) for 20-30 minutes, flipping halfway. Just be sure to check that internal temp! You might miss that crust, but it’s still good.
- “Is a meat thermometer really necessary?” Look, I’m not your mom, but YES, it is. It’s the only way to ensure juicy, perfectly cooked pork and avoid the dreaded dry, chewy hockey puck.
- “What if I don’t have all those spices?” No sweat! Salt, pepper, and garlic powder are the holy trinity. Build from there. The goal is flavor, not strict adherence to a spice gospel.
- “Can I use thinner pork chops?” You can, but they’ll cook much faster. Keep a close eye on them – probably only 2-3 minutes per side and no oven finish. Thinner chops are more prone to drying out.
- “How do I make a quick pan sauce?” Oh, you fancy now, huh? After removing the chops, deglaze the pan with a splash of chicken broth or white wine, scrape up the browned bits, add a tiny knob of butter, and maybe a squeeze of lemon. Reduce slightly, and boom – instant deliciousness!
- “Are these *really* healthy?” Compared to breaded and fried? Heck yes! Lean pork, minimal oil, fresh ingredients. It’s a pretty solid choice for a balanced meal, IMO.
Final Thoughts
Alright, you culinary superstar, you! You’ve successfully navigated the treacherous waters of pork chop preparation and emerged victorious with a delicious, healthy-ish meal. Now go forth and impress your significant other, your picky kids, or just your hungry self. You’ve earned those bragging rights (and that delicious dinner). And remember, cooking should be fun, even when you’re trying to be healthy. So keep experimenting, keep laughing, and keep eating good food. Until next time, happy cooking!


