Okay, friend, let’s be real. We all want to be that super-parent or awesome-aunt/uncle who whips up gourmet snacks, but sometimes… a microwave is too much effort. Fear not! We’re diving into the glorious, messy world of popcorn treats that are so easy, you’ll wonder if you cheated. You’re welcome.
Why This Recipe is Awesome
Why is this recipe your new best friend? Well, for starters, it’s practically a science experiment your kids will actually enjoy (and eat!). It’s also **super quick** to whip up, meaning fewer “I’m bored” complaints on your watch. Plus, it’s flexible, so you can pretty much throw in whatever random sweet stuff you find in the pantry. And hey, it involves popcorn, which is basically a food group, right? It’s **idiot-proof**, even I didn’t mess it up – and that’s saying something.
Ingredients You’ll Need
- **Popcorn:** About 8-10 cups of the fluffy stuff, air-popped or microwave-ready. Make sure it’s cooled a bit and pick out any rogue unpopped kernels. Nobody wants a broken tooth in their snack!
- **Butter:** 1/4 cup (that’s half a stick) of real butter, people. The good stuff. Not that weird yellow spreadable imposter. We’re not savages.
- **Mini Marshmallows:** 4 cups (about a 10 oz bag). Mini ones melt faster, but big ones work too. The stickier, the better, IMO.
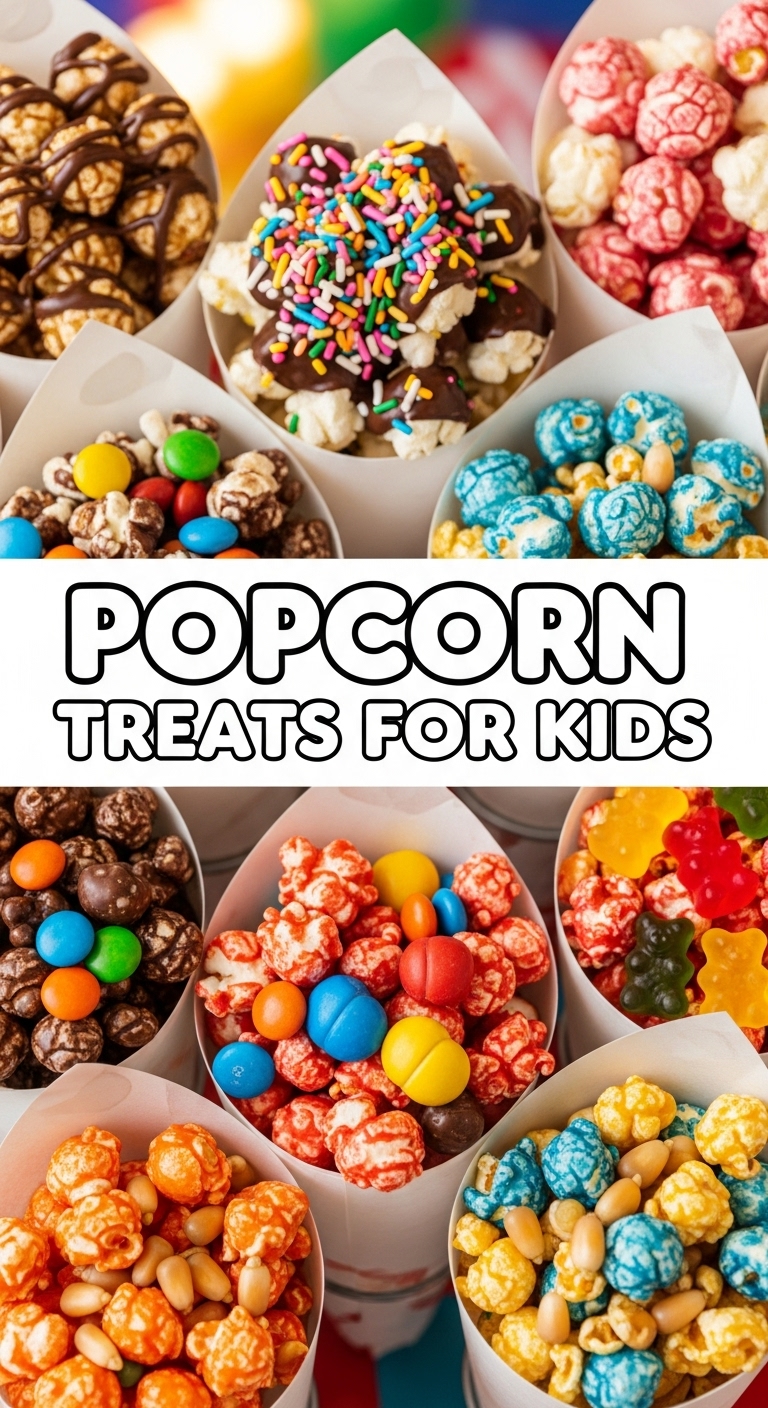
- **Sweet Add-ins:** 1/2 to 1 cup of your choice! Chocolate chips, sprinkles (essential for ‘kid appeal’), M&M’s, maybe some crushed Oreos if you’re feeling wild. Basically, anything that screams ‘sugar rush’.
- **A pinch of salt:** Sounds counterintuitive for a sweet treat, but trust me, it balances everything out. Science!
- **Cooking spray or parchment paper:** To save your sanity (and your countertop) from epic stickiness.
Step-by-Step Instructions
- **Pop that corn!** Get your popcorn ready and pour it into a very large bowl. Make sure it’s cooled a bit and, seriously, pick out any unpopped kernels. Your dentist will thank you.
- **Melt the magic.** In a large, microwave-safe bowl (or a pot on the stove over low heat), melt your butter. Once it’s liquid gold, dump in those marshmallows. Microwave for 30-60 second intervals, stirring in between, until they’re a gooey, glorious mess. If on the stove, stir constantly until melted. This is where the magic happens, folks.
- **Combine the forces.** Pour the melted marshmallow mixture over your popped popcorn. Work quickly and gently to coat every single piece. Use a spatula you don’t mind getting super sticky.
- **Add the bling.** Now’s the time for your chocolate chips, sprinkles, and whatever other fun bits you gathered. Fold them in carefully. Don’t let the chocolate chips melt *too* much unless you’re going for a ‘chocolate lava’ look (which, honestly, isn’t a bad idea either!).
- **Shape it up!** Lightly grease your hands with cooking spray (or butter them up). Press the mixture into a greased 9×13 inch pan, or form them into individual balls. Don’t pack them too tightly, or they’ll be rock hard. Remember, we’re aiming for ‘treat,’ not ‘jaw workout’.
- **Cool and conquer.** Let them cool completely before diving in. Trust me, hot marshmallow can give you a surprisingly nasty burn. Once cool, break them apart or serve the balls. Enjoy your sweet victory!
Common Mistakes to Avoid
- **Ignoring the unpopped kernels:** Seriously, those things are dental hazards. Don’t be lazy; pick ’em out.
- **Overheating the marshmallows:** You want gooey, not burnt plastic. Keep the heat low or use short bursts in the microwave, and stir often.
- **Packing too tightly:** Thinking you’ll get more treats this way? Nope, you’ll just get concrete. Be gentle when pressing or forming.
- **Not greasing *anything*:** Rookie mistake! Your counter, your hands, your pan – everything will become one sticky, impossible blob. Trust me, it’s a nightmare to clean.
- **Eating them straight out of the hot pan:** Your tastebuds will thank you for waiting. Your fingers, too.
Alternatives & Substitutions
- **Nut butter swirl:** Swirl in a dollop of peanut butter or almond butter (about 1/4 cup) into the melted marshmallows for a nutty twist. Highly recommend if you’re a PB fan.
- **Cereal crunch:** Add a cup of crispy rice cereal or even crushed cornflakes for extra texture. It’s like a crispy rice treat had a baby with popcorn. Delicious!
- **Spicy kick (for the brave adults):** A tiny pinch of cayenne pepper in the chocolate mix can be surprisingly good, but maybe skip this for the kiddos, FYI.
- **Different candy:** Instead of just M&M’s, try crushed candy bars, gummi bears (they get delightfully chewy!), or even mini pretzels for a sweet and salty combo. Get creative!
- **Dairy-free option:** Use a plant-based butter alternative and vegan marshmallows (they exist!). Just check labels, ’cause some marshmallows sneak in gelatin.
FAQ (Frequently Asked Questions)
- **Can I use margarine instead of butter?** Well, technically yes, but why hurt your soul like that? Stick with real butter for the best flavor and texture, my friend.
- **How long do these popcorn treats last?** If they even last an hour without being devoured, I’d be impressed! Kidding. They’re best eaten within 1-2 days at room temperature in an airtight container. They tend to get a bit chewy after that.
- **Can I freeze them?** You *can*, but the texture might change a little upon thawing. They’re definitely best fresh. Are you really planning on having leftovers, though?
- **My treats are too sticky, what did I do wrong?** Probably not enough cooling time, or maybe a bit too much marshmallow mix relative to popcorn. Next time, try letting them chill longer or adding a tad more popcorn.
- **Can adults enjoy these too?** Is that even a question?! Absolutely! Pair it with your favorite movie and pretend you’re still 8 years old. No judgment here.
- **Do I have to add sprinkles?** Do you *have* to wear pants? No, but life is often better with them. Sprinkles just make everything happier, especially for kids (and big kids at heart).
Final Thoughts
So there you have it, folks! A super-simple, ridiculously fun recipe that’s guaranteed to put a smile on some faces (especially yours, when you realize how little effort it took). Now go impress someone—or yourself—with your new culinary skills. You’ve earned it! And remember, a little mess means a lot of fun, right? Happy snacking!


