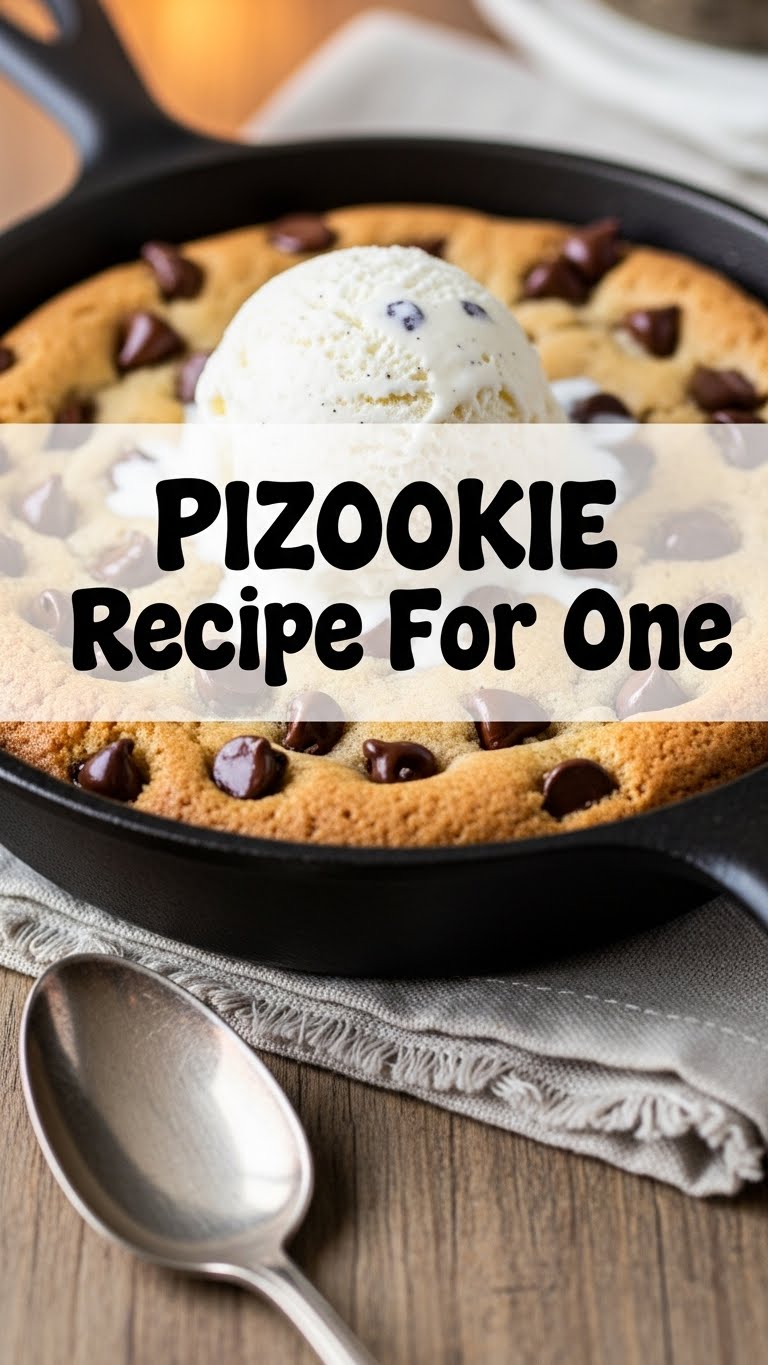
So, you’ve scrolled past one too many glorious dessert photos and now your stomach is doing the cha-cha for something sweet, but you’re also not trying to feed a small army, right? And definitely not trying to spend all day doing it? My friend, you’ve come to the right place. We’re talking Pizookie For One. Because sometimes, the only person you want to share your dessert with is… well, *you*.
Why This Recipe is Awesome
Because it’s basically a hug in a skillet, made just for you. No sharing required (unless you’re feeling extra generous, which, let’s be real, you’re not when it comes to a hot, gooey pizookie). Plus, it’s ridiculously easy. Like, “can-do-it-with-one-eye-closed-while-binge-watching-your-favorite-show” easy. Seriously, if I can do it without burning down the kitchen, you’re golden. It’s also super quick, so instant gratification is practically guaranteed. Say goodbye to those late-night cravings in under 20 minutes. You’re welcome.
Ingredients You’ll Need
Get ready for a tiny grocery list, mostly pantry staples, because who needs complexity?
- 2 tbsp unsalted butter: Just a tiny bit, because we’re not monsters. Melted, obvs.
- 1 tbsp granulated sugar: For that sweet crispness.
- 1 tbsp brown sugar: Packed, for that essential chewiness and depth.
- 1 egg yolk: Yes, just the yolk! It’s the secret to ultimate chewiness without drying out your masterpiece.
- 1/4 tsp vanilla extract: Don’t skimp on the good stuff! Vanilla makes everything better.
- 1/4 cup + 2 tbsp all-purpose flour: No fancy business required here.
- Pinch of salt: Balances the sweetness. Don’t skip it!
- Pinch of baking soda: Gives it a little lift and tenderness.
- 1/4 cup chocolate chips: The star of the show! Semi-sweet, milk, dark – your kingdom, your rules. Or a mix, if you’re feeling wild.
- A scoop of vanilla ice cream (optional, but highly recommended): Because it’s not truly a pizookie without it. Duh.
Step-by-Step Instructions
Alright, apron on (or not, we’re not judging), let’s get this done!
- Preheat & Prep: Get that oven fired up to 350°F (175°C). And grab your trusty 5-inch cast iron skillet (or a small oven-safe ramekin). Don’t have one? No worries, see “Alternatives” below!
- Melt the Butter: Pop your butter in a microwave-safe bowl and melt it. Should take about 15-20 seconds.
- Sugar Rush: Add both your granulated and brown sugars to the melted butter. Whisk ’em together until they’re nice and combined, looking all creamy and inviting.
- Wet Ingredients Unite: Stir in the egg yolk and vanilla extract. Mix well until everything is smoothly incorporated.
- Dry Spell: In a separate (tiny) bowl, whisk together your flour, salt, and baking soda.
- Combine Forces: Add the dry ingredients to the wet ingredients. Gently fold them together with a spatula or spoon until *just* combined. Don’t overmix! We’re not making cement, just a beautiful cookie dough. A few streaks of flour are fine.
- Chocolate Shower: Now for the best part! Fold in your chocolate chips. Be generous, you deserve it.
- Skillet Time: Press the dough evenly into your prepared skillet or ramekin. Don’t make it too thin, we want that thick, chewy center.
- Bake It Off: Pop it into the preheated oven for 12-15 minutes. You’re looking for golden edges and a slightly gooey center. It might seem a little underdone in the middle when you pull it out, but that’s the pizookie magic!
- Serve & Devour: Let it cool for just a minute or two (if you can wait that long!). Then, top with a generous scoop (or two!) of vanilla ice cream. Grab a spoon and go to town. Enjoy your masterpiece!
Common Mistakes to Avoid
Even though this is idiot-proof, a few pitfalls exist. Learn from my past (painful) experiences!
- Overmixing the Dough: Seriously, this is a big one. You’re not making bread, friend. Gentle hands! Overmixing develops gluten, leading to a tough, cake-like cookie instead of a tender, chewy one.
- Not Preheating the Oven: Rookie mistake. An un-preheated oven means uneven baking and can affect the texture. Patience, young padawan, patience.
- Baking Too Long: We want gooey, not crunchy. Set that timer! Pull it out when the edges are golden, even if the center looks a touch soft. It’ll firm up a bit as it cools.
- Forgetting the Ice Cream: This isn’t a mistake, it’s a tragedy. A pizookie without ice cream is like a hug without a squeeze. Just wrong.
Alternatives & Substitutions
Feeling creative? Or maybe your pantry is a bit sparse? Here are some ideas!
- No Cast Iron? No Problem! Use a small oven-safe ramekin (around 4-6 inches) or even a small oven-safe bowl. Just keep an eye on the baking time, it might vary slightly.
- Mix Up Your Chips: Don’t limit yourself to just semi-sweet! White chocolate, peanut butter chips, butterscotch chips, or even chopped candy bars (Snickers, anyone?) work wonders.
- Add Some Spice: A tiny pinch of cinnamon, a dash of espresso powder (enhances chocolate flavor like a boss), or even a few flakes of sea salt sprinkled on top before baking can elevate your pizookie.
- Nutty About It? Throw in a tablespoon of chopped nuts (pecans, walnuts) for extra crunch.
FAQ (Frequently Asked Questions)
Got questions? I’ve got (casual) answers!
- Can I use a whole egg instead of just the yolk? Well, technically yes, you *could*, but why hurt your soul like that? The yolk makes it richer and chewier, while the egg white can make it a bit drier and cakier. Stick with the yolk for optimal gooeyness!
- My pizookie looks raw in the middle! Is it cooked? It’s a pizookie, not a cake! Gooey is the goal, my friend. If the edges are golden and it’s set enough not to be liquid when you gently jiggle the pan, it’s probably perfect. If it’s truly runny, bake for another minute or two.
- Can I make the dough ahead of time? Absolutely! Make the dough, press it into your skillet, cover it, and chill it in the fridge for up to 2 days. When you’re ready, just pop it straight into the oven (it might need an extra minute or two of baking time).
- Is this really for one person? (Wink wink) That’s between you and your conscience. But yes, the recipe yields a perfect single-serving size. Any “sharing” is purely optional.
- What if I don’t have baking soda? You *really* should use it for the lift and chew. If you’re in a pinch, you *can* omit it, but expect a flatter, denser cookie. Not ideal, but still edible!
- Can I use margarine instead of butter? Margarine works, sure, but butter just tastes better. IMO, butter adds a richness that margarine can’t quite match.
Final Thoughts
So there you have it, your very own personal piece of heaven. You’ve just conquered a major craving and leveled up your dessert game without breaking a sweat. Go forth and impress someone – or, more realistically, yourself – with your new culinary skills. You’ve earned this moment of pure, unadulterated cookie bliss. Now, if you’ll excuse me, I hear my own skillet calling…


