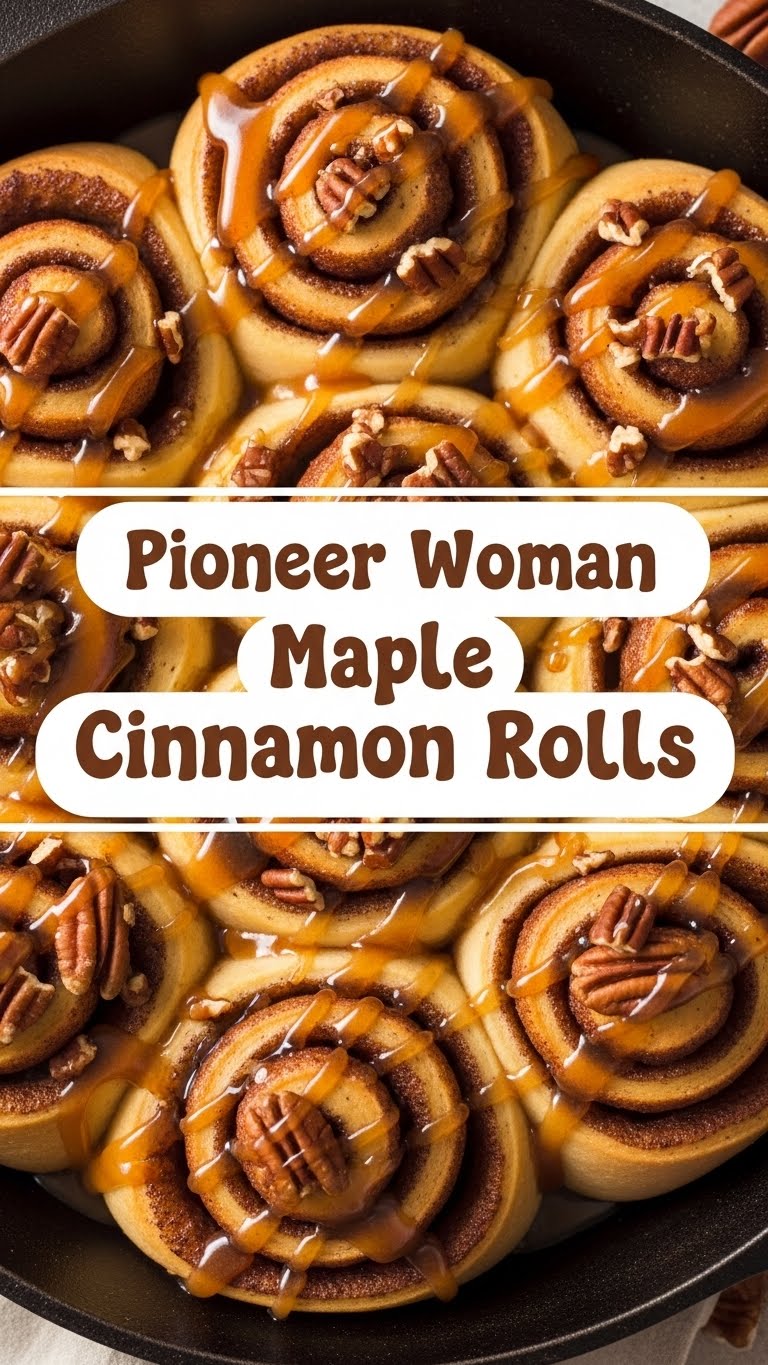
Listen up, buttercup. You’ve got that craving for something warm, gooey, and utterly divine, but the thought of spending hours in the kitchen makes you want to curl up and cry? Same, friend, same. Good news: I’m here to tell you about a little slice of heaven that won’t require selling your soul to the yeast gods: Pioneer Woman Maple Cinnamon Rolls.
Why This Recipe is Awesome
Okay, so why this specific recipe, you ask? Because it’s practically a cheat code for impressing everyone without actually breaking a sweat. It’s idiot-proof, I swear. I’ve made these on a Tuesday morning before my coffee even kicked in, and they still came out like a dream. Plus, it’s the Pioneer Woman’s recipe, which basically means it’s tried, true, and probably involves enough butter to make your heart sing (and maybe clog a little, but totally worth it, IMO).
Ingredients You’ll Need
For the Dough (The fluffy cloud-makers):
- All-purpose flour: About 4-5 cups. Don’t be shy with it; we need volume!
- Granulated sugar: 1/2 cup, a little sweetness for the yeast babies.
- Active dry yeast: 2 1/4 teaspoons (one packet). The real MVP here. Make sure it’s alive, please!
- Salt: 1 teaspoon. Just a pinch, to balance things out.
- Whole milk: 1 cup, warm, but not lava-hot. We’re waking up the yeast, not murdering it.
- Unsalted butter: 1/2 cup (one stick), melted. Your heart (and rolls) will thank you.
- Large eggs: 2, room temp. Happy eggs make happy dough!
For the Maple Cinnamon Filling (The reason we’re all here):
- Unsalted butter: 1/2 cup (one stick), melted. See? I told you there was butter.
- Light brown sugar: 1 cup, packed. For that deep, molasses-y goodness.
- Ground cinnamon: 2 tablespoons. No wimpy cinnamon rolls here.
- Pure maple syrup: 1/4 cup. The star! None of that “pancake syrup” impostor stuff.
For the Maple Cream Cheese Icing (The crown jewel):
- Cream cheese: 4 ounces, softened. Straight from the fridge is a no-go, trust me.
- Unsalted butter: 1/4 cup (half a stick), softened. We’re celebrating here!
- Powdered sugar: 2 cups. Sift it if you’re feeling fancy (or lazy, just whisk it well).
- Pure maple syrup: 1/4 cup. More of that good stuff!
- Vanilla extract: 1 teaspoon. A splash, for that ‘hmm, what is that delicious flavor?’ vibe.
Step-by-Step Instructions
- Awaken the Yeast: In a large bowl, whisk together warm milk, 1/2 cup of the granulated sugar, and the yeast. Let it sit for 5-10 minutes until it looks foamy and alive. If it doesn’t foam, your yeast is probably dead. Start over!
- Combine the Wet & Dry: Add the melted butter and eggs to the yeast mixture. In a separate bowl, whisk the flour, remaining 1/4 cup granulated sugar, and salt. Gradually add the dry ingredients to the wet, mixing until a shaggy dough forms.
- Knead It Out: Turn the dough onto a lightly floured surface and knead for 5-7 minutes until smooth and elastic. Don’t skip this part; it’s essential for a fluffy roll. This is where the magic really happens for that perfect texture.
- First Rise (The Beauty Sleep): Place the dough in a greased bowl, flip it once to coat, then cover with plastic wrap. Let it rise in a warm place for 1-1.5 hours, or until doubled in size. This is a crucial rest period for happy dough.
- Roll and Fill: Once risen, gently punch down the dough and roll it into a large rectangle (about 18×24 inches). Spread the 1/2 cup melted butter evenly over the dough, then sprinkle with brown sugar and cinnamon. Drizzle with the 1/4 cup pure maple syrup.
- Roll ‘Em Up: Starting from one long edge, carefully roll the dough into a tight log. Use a sharp knife or unflavored dental floss (seriously, it works like a charm!) to slice into 12-15 rolls.
- Second Rise (Almost There!): Arrange the rolls in a greased 9×13 inch baking dish, leaving a little space between them. Cover and let rise again for 30-45 minutes, or until puffy. They’re getting ready for their close-up!
- Bake ‘Em Up: Preheat your oven to 375°F (190°C). Bake for 20-25 minutes, or until golden brown and cooked through. Keep a watchful eye on them; ovens vary!
- Whip the Icing: While the rolls cool slightly, beat the softened cream cheese and 1/4 cup softened butter until smooth. Gradually add powdered sugar, 1/4 cup maple syrup, and vanilla extract. Beat until light and fluffy.
- Frost and Devour: Spread that glorious icing generously over the warm (but not hot!) cinnamon rolls. Serve immediately and prepare for compliments and requests for the recipe!
Common Mistakes to Avoid
- The Yeast Murderer: Using milk that’s too hot (kills the yeast) or too cold (they stay asleep). Aim for lukewarm, like a baby’s bath. Seriously, temperature matters for yeast activation!
- The Skimpy Kneader: Not kneading enough means tough, dense rolls. Knead like you mean it, for at least 5-7 minutes. It’s a workout, but worth it!
- The Over-Baker: Baking too long turns soft rolls into sad, dry hockey pucks. Keep an eye on them; golden brown is your goal, not crispy edges.
- The Instant Froster: Frosting your rolls right out of the oven will result in a sad, soupy puddle of icing. Let them cool for 5-10 minutes first. Patience, grasshopper!
- The Cold Cream Cheese Conundrum: Trying to beat rock-hard cream cheese and butter into submission. Soften them beforehand, trust me, your mixer (and arms) will thank you.
Alternatives & Substitutions
No pure maple syrup? (Gasp!) You can use honey or even just extra brown sugar in the filling, but the maple really shines here. For the icing, a simple vanilla glaze (powdered sugar + milk + vanilla) works if maple isn’t your jam.
Feeling adventurous? Sprinkle some chopped pecans or walnuts into the filling before rolling. A few golden raisins could also be a fun (and slightly controversial) addition if you’re into that.
If you’re out of cream cheese for the icing, a basic powdered sugar glaze (powdered sugar, a splash of milk, and vanilla) is perfectly acceptable. It’s lighter but still delicious and gets the job done.
FAQ (Frequently Asked Questions)
“Can I make these ahead of time? My mornings are chaos!”
Totally! After slicing the rolls and placing them in the baking dish for the second rise, just cover them tightly with plastic wrap and pop them in the fridge overnight. In the morning, pull them out an hour before baking to let them warm up a bit, then bake as directed. You’re welcome!
“My yeast didn’t get foamy. Am I a bad baker?”
Nope, just means your yeast had a little nap it couldn’t wake up from. It’s probably dead. Dump it and try again with new yeast and lukewarm water (not too hot, not too cold!). It happens to the best of us, FYI.
“Can I freeze these wonders?”
Yes, you absolutely can! You can freeze them unbaked (after the second rise, before baking) or baked (and cooled). Wrap them tightly. If unbaked, thaw overnight in the fridge, then let rise at room temp before baking. If baked, just reheat gently.
“Do I have to use pure maple syrup? That stuff is pricey!”
Technically, no, but it makes a HUGE difference in flavor. The real deal adds a depth that ‘pancake syrup’ just can’t replicate. Think of it as an investment in your taste buds’ happiness; they deserve it!
“Why are my rolls dense and not fluffy?”
A couple of culprits here: either your yeast wasn’t active, you didn’t knead the dough enough (it needs that gluten development!), or you accidentally over-baked them. Review the steps next time, and maybe give that dough an extra minute of kneading.
“Can I use margarine instead of butter?”
Well, technically yes, but why hurt your soul like that? Butter just brings so much more flavor and richness to the party. Treat yourself!
Final Thoughts
So there you have it, my friend! A recipe for Pioneer Woman Maple Cinnamon Rolls that’s so good, you’ll wonder why you ever bought those bland bakery ones. You’ve just created a masterpiece, and honestly, you deserve a medal (or at least another roll). Now go forth and impress someone—or yourself—with your new culinary superpowers. You’ve earned it! And don’t forget to send me a picture (or better yet, a whole batch!).


