Alright, cake commander! Ever wake up and think, “My life needs more… *pink*… and *chocolate*… and less adulting?” Me too. Good news: I’ve got your back with a Pink Chocolate Cake that’s as easy as pie (but way more fun to look at). Forget sad, plain desserts. We’re going for a vibrant, delicious, and utterly fabulous experience that practically screams, “I made this!” without actually screaming it.
Why This Recipe is Awesome
Because, my friend, it’s not just a cake; it’s a statement. It’s literally a hug in cake form, but like, a *fashionable* hug. This recipe is **super forgiving**, meaning even if your baking skills are usually limited to toast, you can nail this. It’s a delightful blend of rich chocolate and a playful pop of pink, making it perfect for birthdays, Tuesdays, or simply when you want to feel fancy without, you know, being fancy. Plus, it makes you look like a baking wizard without actually having to cast any complicated spells. **Spoiler alert: you barely have to try.**
Ingredients You’ll Need
Gather your troops! Here’s what you’ll need to make this magic happen:
- For the Cake:
- 1 ¾ cups all-purpose flour (the boring but necessary foundation)
- 1 ¾ cups granulated sugar (because sweetness is life)
- ¾ cup unsweetened cocoa powder (the darker, the better, for that chocolatey punch)
- 1 ½ teaspoons baking soda (our little lift-off agent)
- 1 teaspoon salt (to balance all that deliciousness)
- 2 large eggs (room temp, they just mix better, trust me)
- 1 cup milk (any kind, but whole milk makes it extra lush)
- ½ cup vegetable oil (or canola, for ultimate moistness)
- 2 teaspoons vanilla extract (the MVP of flavor)
- 1 cup boiling water or hot coffee (yes, coffee, it seriously enhances the chocolate flavor without tasting like coffee, **don’t skip this!**)
- Pink food coloring (gel works best for vibrant hues, IMO)
- For the Pink Buttercream Frosting:
- 1 cup (2 sticks) unsalted butter, softened (not melted, just chill)
- 4 cups powdered sugar (sifted, if you’re feeling fancy, but not strictly necessary)
- 1 teaspoon vanilla extract (more vanilla, always)
- 2-3 tablespoons milk or heavy cream (to get that perfect, spreadable consistency)
- Pink food coloring (again, gel is your friend)
Step-by-Step Instructions
- Preheat & Prep: Preheat your oven to 350°F (175°C). Grease and flour two 8 or 9-inch round cake pans. Line the bottoms with parchment paper for easy release. This small step saves major headaches later, **FYI**.
- Whisk Dry Goodies: In a large bowl, whisk together the flour, sugar, cocoa powder, baking soda, and salt. Make sure there are no lumpy bits.
- Mix Wet Wonders (Part 1): Add the eggs, milk, oil, and vanilla extract to the dry ingredients. Beat with an electric mixer on low speed until just combined, then increase to medium and beat for 2 minutes. Scrape down the sides of the bowl.
- Introduce the Hot Stuff: Carefully pour in the boiling water (or hot coffee). Mix on low speed until just combined. The batter will be thin, and that’s totally okay!
- Make it Pink! Now for the fun part. Add a few drops of pink food coloring to the batter and mix until you reach your desired shade of fabulous. A little goes a long way, so start small!
- Bake It Up: Divide the batter evenly between your prepared cake pans. Bake for 30-35 minutes, or until a wooden skewer inserted into the center comes out clean.
- Cool Down: Let the cakes cool in the pans for about 10-15 minutes before inverting them onto a wire rack to cool completely. **Do not rush this step!** A warm cake equals a melted frosting disaster.
- Whip Up the Frosting: While the cakes cool, beat the softened butter in a large bowl with an electric mixer until light and fluffy. Gradually add the powdered sugar, one cup at a time, beating well after each addition.
- Finish the Frosting: Add the vanilla extract and 2 tablespoons of milk/cream. Beat until smooth and creamy. If it’s too thick, add more milk/cream, one teaspoon at a time, until you reach your desired consistency. Add pink food coloring and mix until vibrantly pink!
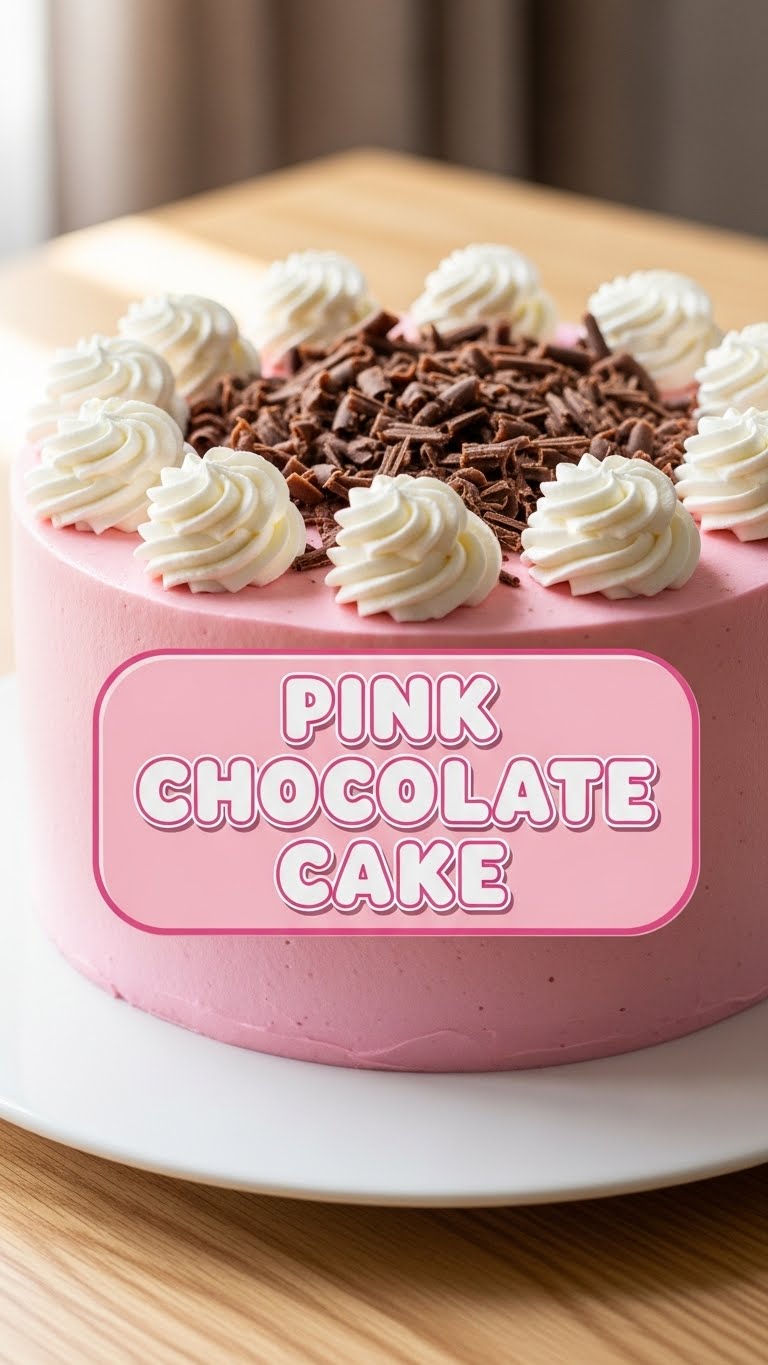
- Assemble & Admire: Once the cakes are completely cool, place one layer on your serving plate. Spread a generous amount of pink frosting on top. Place the second cake layer on top and cover the entire cake with the remaining frosting. Decorate as desired!
Common Mistakes to Avoid
Listen up, buttercup, these are the rookie errors that’ll turn your pink dreams into a sad, brown reality:
- Opening the Oven Door Too Soon: I know, the smell is intoxicating, but resist! Peeking at your cake before it’s set can make it collapse. **Patience, young padawan.**
- Overmixing the Batter: Once you add the flour, mix until just combined. Overmixing develops the gluten too much, leading to a tough, dry cake. Nobody wants that.
- Not Cooling the Cakes Completely: This is a big one. Frosting a warm cake is like trying to ice a swimming pool. It will melt, slide, and make you question all your life choices. Seriously, **let them cool completely!**
- Forgetting the Hot Coffee/Water: Thinking you can skip this step? Nope. It truly makes the chocolate flavor sing and keeps the cake super moist.
- Using Liquid Food Coloring: For vibrant pink, gel food coloring is your best bet. Liquid types can thin your batter/frosting and won’t give you that intense pop of color.
Alternatives & Substitutions
Feeling rebellious? Here are a few ways to tweak this masterpiece:
- Different Flavor Extracts: Swap vanilla for almond extract in the frosting for a cherry-like flavor, or even a little raspberry extract for a fruity kick.
- Dairy-Free Delight: Use plant-based milk (almond, soy, oat) and dairy-free butter/oil in the cake. For the frosting, opt for a good quality dairy-free butter alternative.
- Natural Pink: If artificial colors aren’t your jam, try a tiny bit of beet powder or pureed cooked beets for a subtle pink hue. Be warned, it might add a slight earthy flavor, but hey, it’s natural!
- Cream Cheese Frosting: Not a buttercream fan? Use your favorite cream cheese frosting recipe and tint it pink. The tanginess pairs wonderfully with chocolate.
FAQ (Frequently Asked Questions)
Got questions? I’ve got answers (mostly good ones):
- Do I *really* need to use hot water? Yes, my friend. It’s the secret sauce for a moist, tender crumb and boosts the chocolate flavor. Don’t skip it unless you want a dry brick.
- Can I use a different size cake pan? Sure, but adjust baking time. Smaller pans mean taller cakes and longer bake times; larger pans mean thinner cakes and shorter times. Keep an eye on it!
- How do I get a super vibrant pink? Gel food coloring is your secret weapon! Start with a few drops, mix, and add more until you hit that ‘wow’ factor.
- Can I make this cake ahead of time? Absolutely! You can bake the cake layers a day in advance, wrap them tightly in plastic wrap, and store them at room temp. Frost the day you plan to serve.
- My frosting is too thin/thick, help! Too thin? Add more sifted powdered sugar, a tablespoon at a time. Too thick? Add a splash more milk or cream, a teaspoon at a time, until it’s just right.
- Is this cake good for a party? Is the sky blue? Yes! It’s a showstopper and feeds a crowd. Just make sure to grab a slice for yourself before it vanishes.
- Can I use margarine instead of butter in the frosting? Well, technically yes, but why hurt your soul (and your taste buds) like that? Butter just tastes better, period.
Final Thoughts
There you have it, your new go-to recipe for when you need a little (or a lot) of joy in your life. This Pink Chocolate Cake isn’t just dessert; it’s a mood. It’s a celebration. It’s proof that even on the most mundane days, you can create something utterly delightful. Now go impress someone—or yourself—with your new culinary skills. You’ve earned it!


