So you’re craving something tasty but too lazy to spend forever in the kitchen, huh? Same. Good news, my friend! I’ve got a recipe that’s so ridiculously easy, it practically bakes itself. We’re talking Pineapple Bread – the kind of “I made this myself!” deliciousness that earns you compliments without the culinary sweat. Get ready to impress everyone (or just yourself, no judgment here) with this tropical, moist, and utterly delightful loaf.
Why This Recipe is Awesome
Because, let’s be real, who has time for complicated? This pineapple bread is your new best friend in the “I need dessert now” department. It’s so forgiving, it practically whispers sweet nothings to your oven. Seriously, it’s idiot-proof; even I didn’t mess it up! Plus, it smells like a tropical paradise decided to move into your kitchen, which is a major win, IMO. Minimal ingredients, minimal fuss, maximum flavor. What’s not to love?
Ingredients You’ll Need
Gather your troops! Here’s what you’ll need to make this magic happen:
- All-Purpose Flour: 2 cups. The base of all good things.
- Granulated Sugar: 1 cup. Sweetness for your soul.
- Baking Powder: 2 teaspoons. Our lift-off specialist.
- Salt: 1/2 teaspoon. Just a pinch to make everything pop.
- Large Eggs: 2. Room temp if you’re feeling fancy, but straight from the fridge works too, don’t sweat it.
- Vegetable Oil (or other neutral oil): 1/2 cup. Keeps things moist and happy.
- Vanilla Extract: 1 teaspoon. Because vanilla makes everything better.
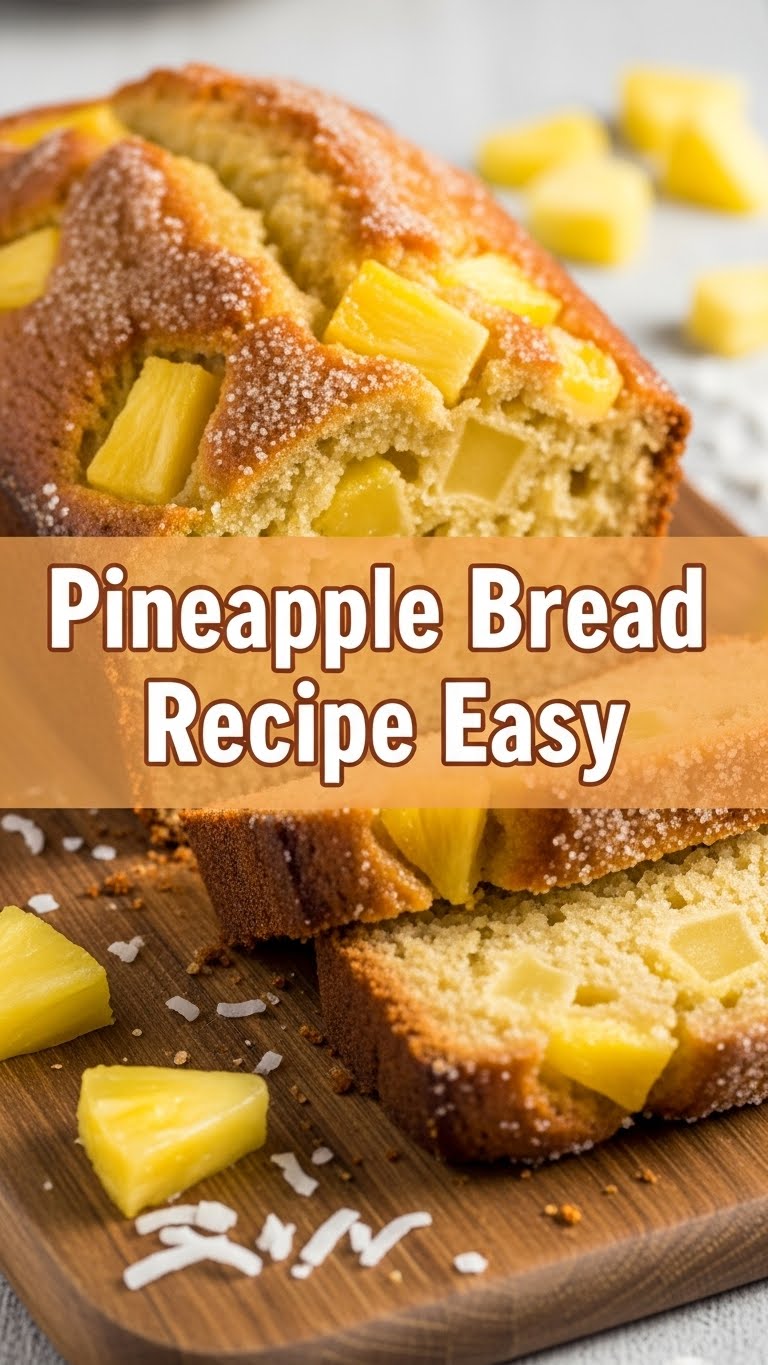
- Canned Crushed Pineapple: 1 can (20 oz), undrained. Yes, undrained! Don’t you dare squeeze the life out of it. We need that juicy goodness. Think of it as the secret ingredient that says, “I’m effortlessly moist!”
Step-by-Step Instructions
Alright, apron on (or not, we’re informal here), let’s get baking!
- Preheat Your Oven & Prep Your Pan: First things first! Preheat your oven to 350°F (175°C). Grease and flour a standard 9×5 inch loaf pan. You can also line it with parchment paper for easy removal.
- Whisk the Dry Stuff: In a large mixing bowl, whisk together the flour, sugar, baking powder, and salt. Make sure there are no lumps—we’re aiming for smooth sailing.
- Mix the Wet Wonders: In a separate medium bowl, whisk the eggs, vegetable oil, and vanilla extract until well combined.
- Combine Forces: Pour the wet ingredients into the dry ingredients. Stir just until moistened. This is important: **do not overmix!** A few lumps are totally fine. Overmixing makes for tough bread, and we don’t want tough love here.
- Introduce the Star: Gently fold in the undrained crushed pineapple. Distribute it evenly, so every slice gets a pineapple party.
- Pour & Bake: Pour the batter into your prepared loaf pan. Pop it into the preheated oven and bake for 50-60 minutes, or until a wooden skewer inserted into the center comes out clean.
- Cool Down: Once baked, let the bread cool in the pan for about 10-15 minutes. Then, gently remove it from the pan and place it on a wire rack to cool completely. Or, you know, eat it warm with a scoop of ice cream. Your call!
Common Mistakes to Avoid
We’ve all been there. Learn from my past kitchen catastrophes!
- Forgetting to Preheat the Oven: Rookie mistake! Your bread won’t rise properly if it goes into a cold oven. Always preheat!
- Overmixing the Batter: As mentioned, this is a big no-no. It develops the gluten too much, leading to a dense, rubbery loaf. Just mix until *barely* combined. Lumps are your friends.
- Draining the Pineapple: Seriously, don’t do it! All that lovely juice from the canned pineapple is crucial for the bread’s moistness. If you drain it, you’ll end up with a dry, sad loaf.
- Opening the Oven Door Too Early: Patience, young grasshopper! Opening the oven door in the first 30-40 minutes can cause your bread to collapse. Let it do its thing.
Alternatives & Substitutions
Feeling adventurous? Or just missing an ingredient? I got you!
- Brown Sugar vs. White Sugar: You can totally swap out half (or all) of the granulated sugar for brown sugar for a deeper, slightly caramel-y flavor. Yum!
- Add-ins: Want more texture? Fold in 1/2 cup of shredded coconut or chopped pecans/walnuts with the pineapple. Totally changes the game.
- Spice it Up: A pinch of cinnamon or nutmeg (about 1/2 teaspoon) can give this bread a cozy, warm spice note. Go for it!
- Fat Swap: If you’re out of vegetable oil, melted butter (cooled!) works wonderfully and adds a rich flavor. Applesauce can also work for some of the oil if you’re looking to lighten things up, but I say, live a little!
FAQ (Frequently Asked Questions)
Got questions? I’ve got answers (mostly).
- Can I use fresh pineapple instead of canned? Oh, you fancy, huh? While fresh is great for cocktails, for *this* recipe, it’s a hard no. Fresh pineapple has enzymes that can mess with your batter and too much water content. Stick to canned, my friend. **Trust the can!**
- My bread turned out dry, what went wrong? Probably overbaked, boo! Or maybe you drained the pineapple? Make sure your oven temp is accurate and check for doneness around the 50-minute mark.
- How long does this pineapple bread last? In my house? About 24 hours, if I’m lucky. Realistically, stored in an airtight container at room temperature, it’s good for 3-4 days.
- Can I make muffins instead of a loaf? Absolutely! Just divide the batter into a greased muffin tin and bake for about 20-25 minutes, or until a tester comes out clean. So easy, right?
- Can I freeze pineapple bread? You betcha! Once cooled completely, wrap it tightly in plastic wrap and then foil. It’ll last for up to 2-3 months in the freezer. Thaw at room temperature when the craving strikes.
- What kind of oil should I use? Any neutral-flavored oil like vegetable, canola, or grapeseed oil works best. Avoid strong-flavored oils like olive oil unless you want a…unique…pineapple bread.
Final Thoughts
And there you have it! A ridiculously easy, incredibly delicious pineapple bread recipe that will make you feel like a culinary wizard without actually having to cast any complicated spells. This is the kind of bake that makes your kitchen smell heavenly and your taste buds sing. So go ahead, whip up a loaf (or two!). Now go impress someone—or yourself—with your new culinary skills. You’ve earned it!


