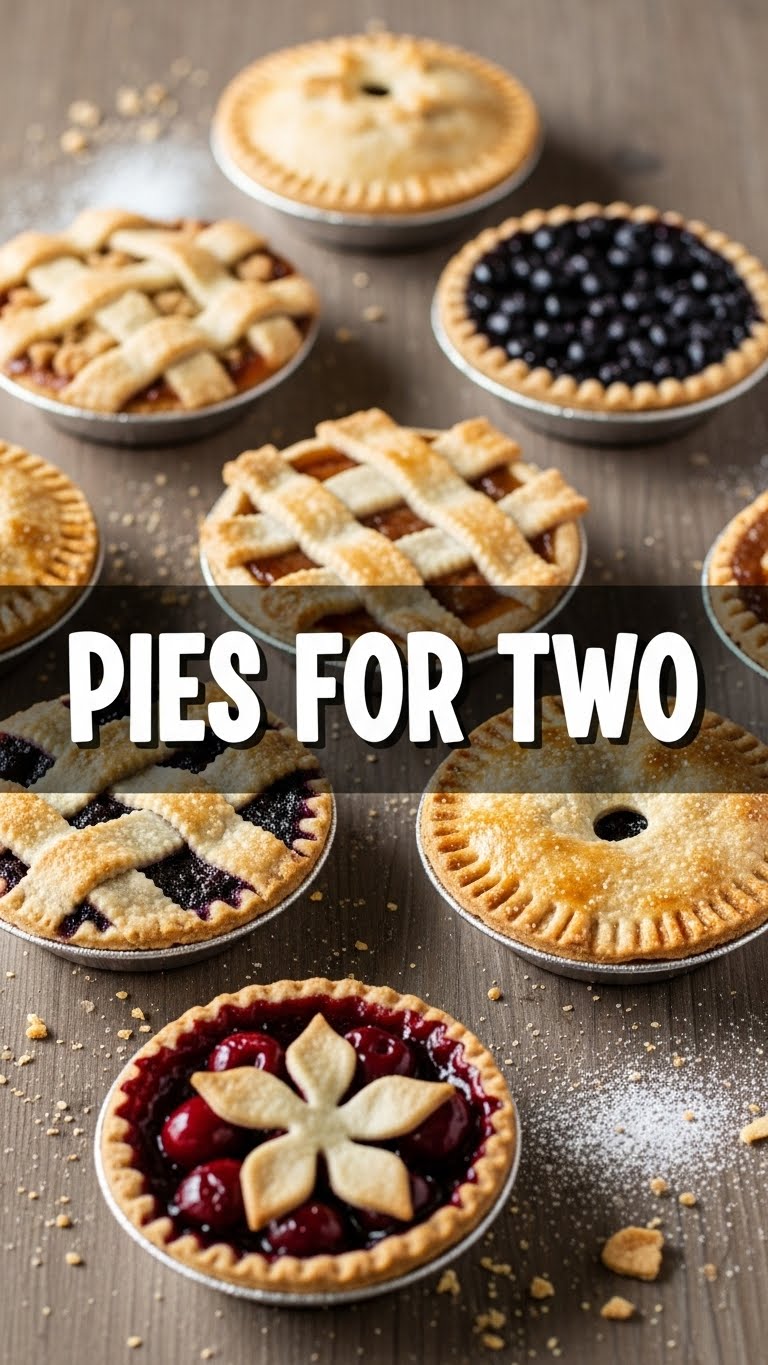
So you’re craving something warm, comforting, and utterly delicious but the thought of baking a whole pie that could feed a small army (and then judging you for eating leftovers for a week) is just… exhausting? Yeah, same. You want that sweet, flaky goodness, but in a perfectly sized, guilt-free package, right? Then you, my friend, are in the right place. We’re talking “Pies For Two”—because sometimes, sharing a whole pie is just too much commitment, and sometimes, you just wanna impress yourself (or your favorite person) without breaking a sweat.
Why This Recipe is Awesome
Listen, I get it. Life’s busy. Your couch is comfy. The idea of spending hours slaving away in the kitchen for a dessert might sound like a nightmare. But this recipe? It’s a dream. It’s **idiot-proof**, I swear. Even *I* didn’t mess it up, and my track record with anything more complex than toast is… spotty, let’s just say. It’s quick, it’s ridiculously easy, and it gives you all the warm, cozy vibes of a homemade pie without the leftover guilt. Plus, it uses super accessible ingredients. No fancy stuff you have to hunt down in some obscure health food store. Just good, honest, deliciousness. Win-win-win, IMO!
Ingredients You’ll Need
Time to gather your culinary arsenal! Don’t worry, it’s not much. We’re keeping it simple and sweet.
- 1 sheet store-bought pie crust: Yes, store-bought. Don’t be a hero. We’re here for good times, not a flour explosion in your kitchen.
- 2 medium apples: (Or 1 large one, if that’s what you’ve got kicking around). Granny Smith or Honeycrisp are excellent choices for that perfect sweet-tart balance.
- 2 tablespoons granulated sugar: Adjust to your apple’s sweetness, or your sweet tooth’s demands.
- 1/2 teaspoon ground cinnamon: Because what’s apple pie without its best spice friend?
- Pinch of nutmeg (optional): Just a little extra cozy factor, if you’re feeling fancy.
- 1 teaspoon lemon juice: Brightens everything up and keeps those apples from browning.
- 1 tablespoon unsalted butter: Cut into tiny cubes. A little richness never hurt anyone.
- 1 egg, whisked with a splash of water (for egg wash): This gives you that glorious, golden-brown, shiny crust. Totally optional, but highly recommended for the “ooh-la-la” factor.
Step-by-Step Instructions
Alright, let’s get this pie party started! Follow these simple steps, and you’ll be a mini-pie maestro in no time.
- Preheat & Prep: Crank your oven to 375°F (190°C). Seriously, preheat it. While it’s warming up, lightly flour a clean surface and roll out your pie crust just a tiny bit thinner, if needed. Then, using a round cookie cutter or the rim of a glass (about 4-5 inches wide), cut out four circles. You’ll likely get two full pies and have some scraps for creative re-rolling.
- Apple Adventure: Peel, core, and dice your apples into small, uniform pieces—think pea-sized to half-inch cubes. The smaller they are, the quicker they’ll cook and the less lumpy your pie will be. Toss them in a bowl with the sugar, cinnamon, nutmeg (if using), and lemon juice. Give it a good stir until everything’s coated.
- Assemble the Magic: Lay two of your pie crust circles on a parchment-lined baking sheet. Spoon half of the apple mixture onto the center of each circle, leaving about a 3/4-inch border. Dot the top of the apple filling with a few tiny cubes of butter. Seriously, **don’t overfill** them, or you’ll have a fruity disaster.
- Seal the Deal: Take the other two pie crust circles and place one on top of each apple mound. Gently press the edges together with your fingers, then crimp them with a fork to seal them completely. Make a few small slits on top of each pie with a knife – this lets the steam escape and prevents your pies from exploding. Nobody wants an exploding pie.
- The Golden Touch: If you’re going for that gorgeous golden glow, brush the tops of your pies with the egg wash. This makes them look super professional and gives them a lovely sheen. Sprinkle a tiny bit of extra sugar on top for a delightful crunch.
- Bake ‘Em Up: Pop your pies into the preheated oven and bake for 20-25 minutes, or until the crusts are beautifully golden brown and the filling is bubbling. Keep an eye on them! Ovens vary.
- Cool Down (or Not): Let them cool on the baking sheet for a few minutes. They’ll be molten hot, so exercise a *little* patience, unless you’re a fan of burnt tongues. Serve warm with a scoop of vanilla ice cream, or just devour them straight up. You earned it!
Common Mistakes to Avoid
Nobody’s perfect, but we can learn from past pie blunders, right? Here are a few pitfalls to steer clear of:
- Thinking you don’t need to preheat the oven: Rookie mistake! A cold oven means a sad, soggy crust. Always preheat, people.
- Overfilling your pies: It’s tempting, I know. More filling, more goodness, right? Wrong. Overfilled pies will leak, make a mess, and potentially not seal properly. Keep it conservative.
- Not venting the pies: Those little slits? They’re not just for decoration. They’re critical for letting steam escape. Skip this, and you risk a mini-pie explosion. Not fun.
- Undercooking the crust: A pale, flabby crust is a tragedy. Make sure it’s deeply golden brown on top and, importantly, on the bottom. If the top browns too fast, loosely tent with foil.
Alternatives & Substitutions
Feeling creative? Or just missing an ingredient? No stress, here are some ideas to mix things up:
- Fruit Swaps: Not an apple fan? Try peaches (fresh or canned, drained well), mixed berries, or even cherries! Just adjust sugar based on the fruit’s sweetness. FYI, berries tend to release more liquid, so you might want to toss them with a tiny bit of cornstarch (1/2 tsp) before adding to the crust.
- Spice it Up: Instead of just cinnamon, try pumpkin pie spice, a dash of cardamom, or a tiny bit of ground ginger for a different flavor profile.
- Crust Customization: If you’re feeling ambitious, you could absolutely make your own pie crust from scratch! Or for a rustic look, skip the crimping and just fold the edges over.
- Sweetener Options: Brown sugar can be used instead of white for a deeper, molasses-y flavor. Maple syrup or honey could work too, but might make the filling a bit wetter.
FAQ (Frequently Asked Questions)
Got questions? I’ve got answers, served with a side of sass.
- Can I use margarine instead of butter? Well, technically yes, but why hurt your soul like that? Butter just tastes better in a pie. It’s science. And deliciousness.
- What if I don’t have a round cutter? No problem! A knife and a steady hand can cut squares or triangles. Or freehand wonky circles – it adds character!
- My crust is browning too fast, help! Don’t panic! Just loosely tent your pies with aluminum foil. This protects the top while the rest catches up.
- Can I make these ahead of time? You can assemble them and keep them in the fridge for a few hours before baking. Baking them fresh is always best for that flaky crust. Store leftovers (if there are any!) in an airtight container at room temp for a day, or in the fridge for up to 3 days.
- What kind of apples are best? A mix of sweet and tart is usually divine. Granny Smith for tartness, Honeycrisp or Fuji for sweetness. But honestly, use what you have!
- I forgot to put the lemon juice in, is it ruined? Nah, probably not. The lemon juice mostly prevents browning and adds a little brightness. Your pie will still be tasty!
Final Thoughts
There you have it! Your ticket to mini-pie perfection. See? That wasn’t scary at all, was it? You’ve just created two perfectly portioned pies that are sure to bring a smile to your face (and maybe someone else’s, if you’re feeling generous). So go ahead, pat yourself on the back, and enjoy the fruits (literally!) of your labor. Now go impress someone—or yourself—with your new culinary skills. You’ve earned it!


