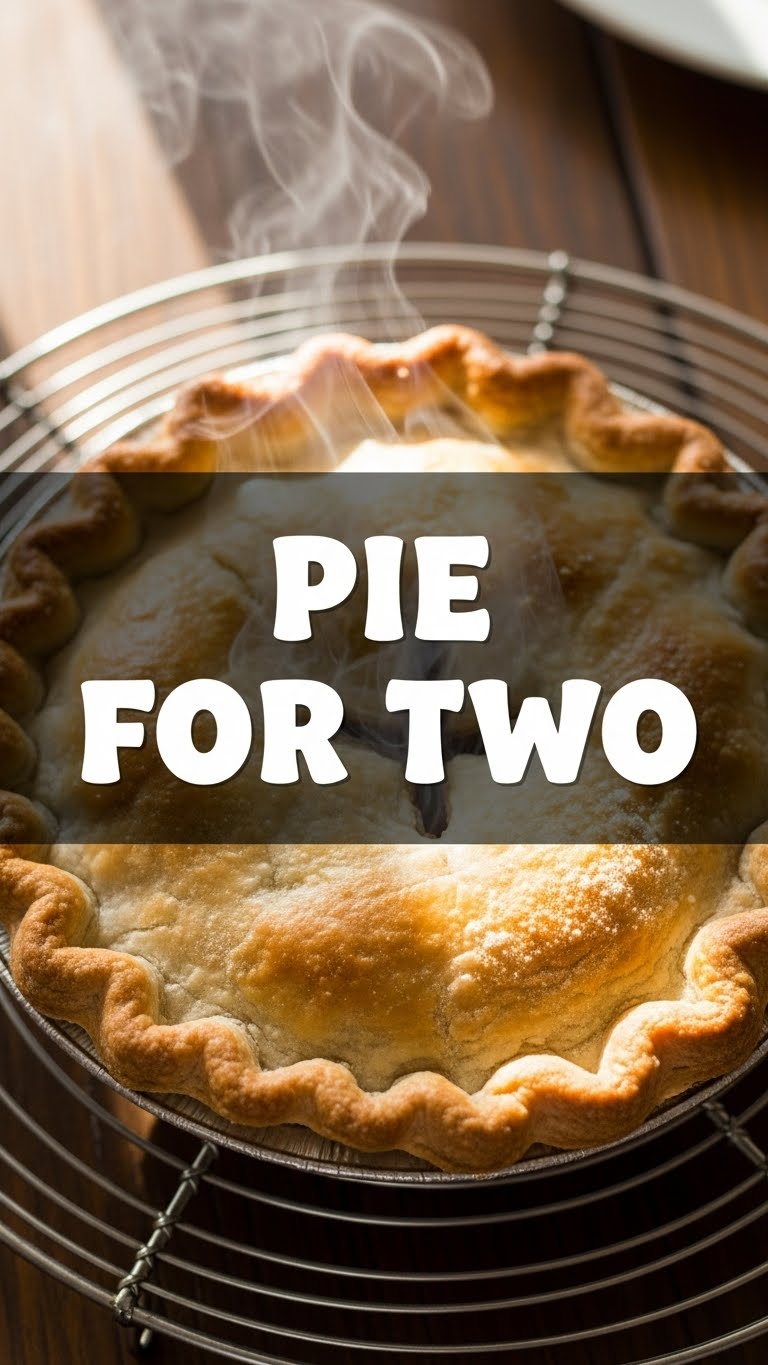
So, you’re staring longingly at a picture of pie, but the thought of baking an entire beast of a dessert just for two (or, let’s be real, for yourself over a few days) feels… overwhelming, right? Like, who needs that kind of commitment? You want the warm, gooey, flaky goodness, but in a size that says, “I love pie, but I also love not having leftovers for a week.” Good news, my friend! I’ve got you covered with a recipe that’s practically a high-five for your taste buds, perfectly portioned for two lucky people. Or one very ambitious person. No judgment here!
Why This Recipe is Awesome
Lemme tell ya, this “Pie for Two” recipe isn’t just a recipe; it’s a declaration of independence from giant pie dishes. Seriously, it’s a game-changer. Here’s why it’s about to become your new bestie:
- Portion Perfection: No more guilt-tripping yourself over a half-eaten pie taking up fridge space. This is made for two, so you get just enough delightful indulgence.
- Super Speedy: We’re using a ready-made crust because, frankly, life’s too short to roll dough every single time. This means less prep, more pie-eating. Score!
- Idiot-Proof: And yes, I say that with love, having messed up my fair share of “simple” recipes. This one is genuinely hard to screw up, even if you’re distracted by cat videos (been there).
- Minimal Cleanup: Smaller pie, smaller mess. It’s just simple math, folks.
- Flexibility Galore: Want apple? Berry? Peach? This recipe is super adaptable. We’re going with a berry mix because, IMO, berries are the unsung heroes of the pie world.
Ingredients You’ll Need
Get ready to gather your culinary arsenal. Nothing fancy, I promise!
- One (1) Refrigerated Pie Crust: Yeah, the store-bought kind. We’re not reinventing the wheel here, just making pie.
- 1.5 Cups Mixed Berries: Fresh or frozen (thawed and drained, please!). A vibrant mix of blueberries, raspberries, and blackberries is a dream.
- 2 Tablespoons Granulated Sugar: Or a little more if your berries are super tart. Taste as you go, you rebel!
- 1 Tablespoon All-Purpose Flour: This is our secret thickening agent. Don’t skip it unless you want soup.
- 1/2 Teaspoon Lemon Juice: Brightens everything up. Like a tiny, zesty ray of sunshine.
- Pinch of Cinnamon (Optional but Recommended): Because cinnamon makes everything cozier.
- 1 Tablespoon Butter: Cut into small pieces. Adds richness and helps with that golden crust.
- Egg Wash (1 egg yolk + 1 tsp water, whisked) or a splash of Milk (for brushing): For that glorious golden-brown top.
Step-by-Step Instructions
Alright, let’s get this pie party started! Follow these steps, and you’ll be in pie heaven in no time.
- Preheat & Prep: First things first, turn your oven to 375°F (190°C). While it’s getting toasty, lightly grease two small ramekins (about 4-inch diameter) or one small pie dish.
- Crust Time: Unroll your pie crust. Grab a round cookie cutter or a knife and cut out two circles a bit larger than your ramekins for the bottom crusts. You’ll also need two smaller circles (or strips) for the tops. If using one small pie dish, cut one larger circle for the bottom and one for the top. Gently press the larger crusts into your chosen dishes.
- Berry Bliss: In a medium bowl, combine your mixed berries, sugar, flour, lemon juice, and cinnamon (if using). Give it a good, gentle stir until everything’s coated.
- Fill ‘Em Up: Divide the berry mixture evenly between your prepared ramekins or pour into your small pie dish. Dot the top of the berries with the small pieces of butter.
- Top It Off: Place your smaller crust circles or strips on top of the berry filling. For ramekins, crimp the edges to seal. If you’re feeling fancy, make a few small slits in the top crust so steam can escape. Don’t want any pie explosions, do we?
- Egg Wash Magic: Brush the top crusts with your egg wash or milk. This gives it that beautiful, shiny, golden finish.
- Bake Away: Pop your pies onto a baking sheet (to catch any potential overflow – **better safe than sorry!**) and bake for 25-35 minutes. Keep an eye on them; you want that crust to be golden brown and the filling bubbly.
- Cool Down: Let them cool for at least 15-20 minutes before digging in. Trust me, piping hot berry filling is a hazard, and it needs time to set up properly.
Common Mistakes to Avoid
We’ve all been there, making a few “learning experiences” in the kitchen. Here are some pitfalls to steer clear of:
- Skipping the Preheat: Thinking your oven is “close enough” to temperature. Rookie mistake! An underheated oven means a sad, soggy crust.
- Overfilling: More filling equals more deliciousness, right? Not always. Overfill, and you’ll have a sticky, burnt mess in your oven. Just stick to the recommended amount.
- Forgetting the Thickeners: Thinking “flour? Nah, I’ll wing it.” Then you’re left with berry soup instead of pie filling. Flour or cornstarch is your friend here.
- Impatience is a Virtue (for Cooling): Eating pie straight out of the oven seems like a good idea until you burn your tongue and the filling runs everywhere. Give it time to cool and set. Seriously.
- Not Using a Baking Sheet: You might think, “My pies never overflow!” Famous last words. One bubbly burst, and you’ll be scrubbing your oven for hours. Save yourself the pain.
Alternatives & Substitutions
Feeling a little wild? Want to switch things up? Here are some ideas:
- Fruit Swap: Not a berry person? Go for sliced apples (about 1.5 cups, maybe a touch more sugar and cinnamon), peaches, or even cherries. Just be sure to adjust sugar based on fruit sweetness.
- Spice It Up: Instead of just cinnamon, try a pinch of nutmeg, cardamom, or even a tiny bit of ginger for a different kick.
- Crust Variations: If you’re feeling ambitious, use a homemade pie crust (you’ll need about half a recipe). Or, for a super rustic vibe, use puff pastry cut into squares for the top.
- Topping Tactics: No top crust? No problem! Make it a crumble pie! Just mix 1/4 cup flour, 2 tbsp sugar, and 2 tbsp cold butter until crumbly, then sprinkle over your filling before baking. Divine!
FAQ (Frequently Asked Questions)
Got questions? I’ve got casual, slightly sarcastic answers!
- Can I use frozen berries without thawing? Well, technically yes, but why add extra water to your pie? Thaw and drain them first unless you’re aiming for a super juicy (read: runny) pie.
- What if I don’t have ramekins? Are you asking if you can use a small oven-safe bowl or a muffin tin? Of course! Just adjust baking time slightly if they’re much smaller. Creativity is key, my friend.
- Do I really need the lemon juice? Need it? No. Should you use it? Absolutely! It brightens the flavor and cuts through the sweetness, making your pie taste more “chef-y” without being a chef.
- My crust isn’t getting golden! What gives? Did you forget the egg wash or milk? Did you peek too much? Don’t open the oven door constantly! If it’s still pale near the end, crank up the heat to 400°F for the last 5 minutes, but watch it like a hawk!
- Can I make this ahead of time? You can prep the filling and keep it covered in the fridge for a day. Assemble and bake just before you want to serve for the best results. Nobody likes a sad, soggy pre-baked crust.
- What about serving it with ice cream? Is that even a question? Why hurt your soul by NOT serving it with a scoop of vanilla bean ice cream? It’s practically mandatory.
Final Thoughts
So there you have it, folks! Your new favorite “Pie for Two” recipe that’s all about maximum flavor with minimum fuss. It’s perfect for a cozy night in, a spontaneous dessert craving, or just proving to yourself that you *can* bake amazing things without stress. Now go impress someone—or yourself—with your new culinary skills. You’ve earned it! Seriously, go make some pie. And maybe send me a slice? Just kidding. (Mostly.)


