So, you’ve got that irresistible craving, your sweet tooth is doing a little jig, but the thought of a complicated recipe makes you wanna just order takeout? Been there, done that, got the t-shirt. Well, friend, today we’re tackling a classic that’s so easy, it’s almost criminal: Peanut Butter Chocolate Chip Cookies!
Why This Recipe is Awesome
Listen, this isn’t just a recipe; it’s a *life hack*. It’s so ridiculously easy, I’m pretty sure my cat could make them if she had opposable thumbs and a basic understanding of measurements. Plus, it’s chocolate and peanut butter – a combo so iconic it should have its own national holiday. What makes it even better? No chill time needed! Yep, you heard that right. From zero to warm, gooey cookies in under 30 minutes. You’re welcome.
Ingredients You’ll Need
- 1/2 cup (1 stick) unsalted butter, softened: The good stuff. Don’t be cheap here, your taste buds will thank you. Unsalted gives you control over the saltiness.
- 1/2 cup creamy peanut butter: We’re talking Jif or Skippy vibes. And for the love of all that’s holy, no ‘natural’ oil-separated stuff here – we want that processed goodness for optimal cookie texture.
- 1/2 cup granulated sugar: Our main sweetening agent.
- 1/2 cup packed light brown sugar: Adds that lovely chewiness and depth of flavor. Because a cookie needs options.
- 1 large egg: The glue that holds our dreams (and cookies) together.
- 1 teaspoon vanilla extract: A splash of magic. Don’t skip it!
- 1 1/4 cups all-purpose flour: No fancy stuff needed. Just good old AP flour.
- 1 teaspoon baking soda: Our little lift-off agent, helping those cookies spread just right.
- 1/2 teaspoon salt: Balances the sweet, a tiny but mighty hero.
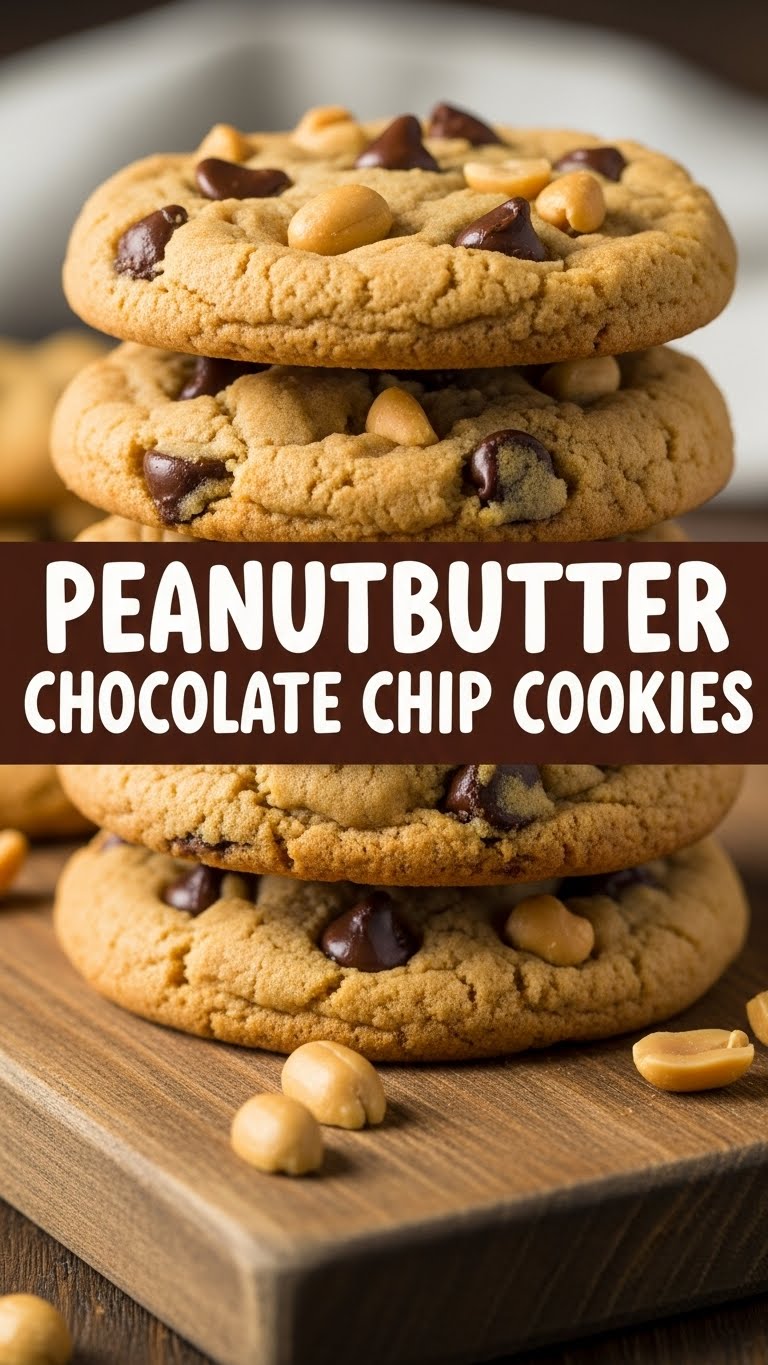
- 1 cup chocolate chips: Your choice! Milk, semi-sweet, dark… go nuts (figuratively, unless you’re adding actual nuts).
Step-by-Step Instructions
- Preheat & Prep: Go ahead and preheat your oven to 350°F (175°C). Line a couple of baking sheets with parchment paper or silicone mats. Trust me, it makes clean-up a breeze.
- Cream the Goods: In a large bowl, using an electric mixer, cream together the softened butter, peanut butter, granulated sugar, and brown sugar until light and fluffy. This should take about 2-3 minutes.
- Egg-cellent Addition: Beat in the egg and vanilla extract until just combined. Don’t overmix here; we want happy, tender cookies, not tough ones.
- Whisk the Dry: In a separate medium bowl, whisk together the flour, baking soda, and salt. Make sure it’s all well combined so every cookie gets its fair share of leavening.
- Combine & Conquer: Gradually add the dry ingredients to the wet ingredients, mixing on low speed until just combined. Stop when you no longer see flour streaks. Overmixing is the enemy of good cookies!
- Chocolate Chip Dive: Fold in the chocolate chips with a spatula. Don’t be shy; load ’em up!
- Scoop & Bake: Drop rounded tablespoons of dough onto your prepared baking sheets, leaving about 2 inches between each cookie. If you want them extra pretty, you can slightly flatten them with the back of a spoon or a fork (crosshatch pattern, anyone?).
- Bake ’em Up: Bake for 8-10 minutes, or until the edges are lightly golden and the centers are just set. They might look a little underdone in the middle, but that’s what makes them perfectly chewy!
- Cool Down: Let them cool on the baking sheets for 5 minutes before transferring them to a wire rack to cool completely (if you can wait that long, you’re a stronger person than me).
Common Mistakes to Avoid
- Overmixing the Dough: I cannot stress this enough. Once the flour is incorporated, STOP MIXING! Otherwise, you’ll end up with dense, dry hockey pucks instead of soft, chewy cookies.
- Not Preheating the Oven: It’s not a suggestion, it’s a command from the Cookie Gods. A properly preheated oven ensures even baking from the start. Rookie mistake otherwise.
- Crowding the Baking Sheet: Give those babies room to spread. They’re like teenagers; they need their space. Otherwise, they’ll merge into one giant, misshapen cookie monster.
- Using the Wrong Peanut Butter: Seriously, skip the “natural” stuff for this recipe. Its consistency is too different and will mess with the cookie’s texture. Stick to the classic processed kind.
Alternatives & Substitutions
Feeling adventurous? I love that for you! Here are a few ways to mix things up:
- Nut Butter Swap: Almond butter? Cashew butter? Sure, if you’re feeling bougie. Just make sure it’s the processed, creamy kind for consistency, not the oily, separated health-food store kind.
- Chocolate Variety Show: White chocolate chips, butterscotch chips, M&Ms, chopped-up candy bars… your cookie, your rules! Mix and match to your heart’s content.
- Extra Crunch: Fold in a half cup of chopped nuts (pecans or walnuts are divine!), or even crushed pretzels for a salty-sweet crunch. So good!
- Flour Power: If you’re experimenting with gluten-free, a 1:1 gluten-free all-purpose blend *might* work, but I haven’t personally tested it, so proceed with caution, my friend.
FAQ (Frequently Asked Questions)
- Can I use natural peanut butter?
- Nope, not for this recipe. The oils separate differently and will mess with the texture, making your cookies crumbly or greasy. Stick to Jif/Skippy vibes for optimal results.
- Do I need to chill the dough?
- Nah, that’s the beauty of this recipe! It’s designed for instant gratification. But if you *want* to for slightly thicker cookies, 30 minutes in the fridge won’t hurt. Just means more waiting, IMO.
- My cookies are flat! What went wrong?
- Oh, the tragedy! Common culprits include over-creaming the butter/sugar (incorporating too much air), your baking soda might be old (test it with vinegar!), or your oven temp is off. It’s a mystery sometimes!
- Can I make them bigger or smaller?
- Absolutely! This recipe is very forgiving. Just adjust baking time accordingly. Bigger cookies will need a few extra minutes, smaller ones will bake faster.
- How long do they last?
- In my house? About 5 minutes. But seriously, stored in an airtight container at room temperature, they’ll be good for 3-5 days. You can also freeze the dough balls for later cookie emergencies!
- Can I halve or double the recipe?
- Yes, it’s very forgiving like that! Just make sure to adjust all ingredients proportionally. Easy peasy!
Final Thoughts
So there you have it, your new go-to cookie recipe! It’s fast, it’s delicious, and it basically guarantees you instant hero status. You just whipped up some seriously good comfort food without breaking a sweat, and that, my friend, is a win. Now go impress someone – or yourself – with your new culinary skills. You’ve earned it!
Don’t forget to snap a pic and send me one! And maybe a cookie or two… just sayin’.


