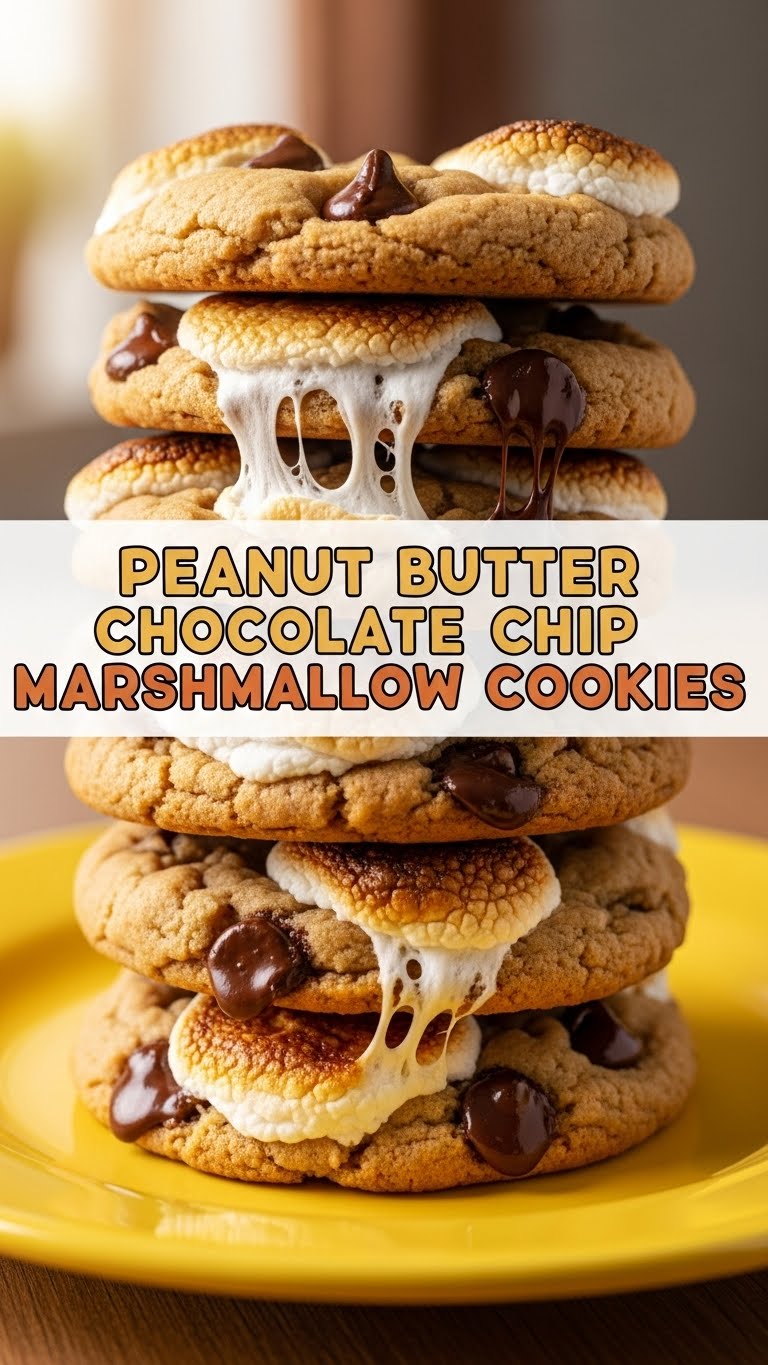
So you’re craving something ridiculously tasty but also kinda want to pretend you’re a five-star chef without, you know, actually putting in five-star effort? Same. Welcome to my world, friend! Today, we’re diving headfirst into a recipe that’s basically a party in your mouth and a hug for your soul: Peanut Butter Chocolate Chip Marshmallow Cookies. Get ready to bake something that tastes like pure joy, with minimal fuss and maximum deliciousness.
Why This Recipe is Awesome
Let’s be real, you’re not here for a lecture on advanced pastry techniques. You’re here because you want cookies that are:
- Stupid-easy: Seriously, if I can make these without setting off the smoke alarm, you’re golden.
- Mouth-wateringly delicious: We’re talking peanut butter-y, chocolate-y, gooey-marshmallow-y goodness. It’s a triple threat, and it wins every time.
- Quick to make: Perfect for those “OMG, I need cookies NOW!” moments. No endless chilling required, thank goodness.
- A definite crowd-pleaser: Or, if you’re like me, a definite “pleaser of you, by you, for you.” No judgment here!
- Comfort food personified: Because sometimes, you just need a cookie that understands you.
Ingredients You’ll Need
Gather ’round, my fellow snack enthusiast! Here’s your shopping list. Most of these are probably already lurking in your pantry.
- All-Purpose Flour: About 1 ½ cups. The backbone of our cookie empire.
- Baking Soda: 1 teaspoon. Gives our cookies that nice lift without being too puffy.
- Salt: ½ teaspoon. Don’t skip it; it balances the sweetness beautifully.
- Unsalted Butter: ½ cup (1 stick), softened. Let it sit out, or give it a quick zap in the microwave, but don’t melt it completely!
- Granulated Sugar: ½ cup. The classic sweet stuff.
- Brown Sugar: ½ cup, packed. For that deep, molasses-y goodness and chewy texture.
- Creamy Peanut Butter: ½ cup. Your favorite brand! Smooth is key for texture here.
- Large Egg: 1. Our binding agent.
- Vanilla Extract: 1 teaspoon. A little splash of magic.
- Semi-Sweet Chocolate Chips: 1 cup. Or milk, or dark, your call. More is always better, IMO.
- Mini Marshmallows: 1 cup. The final, glorious, gooey touch!
Step-by-Step Instructions
Alright, apron on (or not, no one’s judging your PJ-baking attire). Let’s get these cookies done!
- Preheat Power: Set your oven to 375°F (190°C). Line a couple of baking sheets with parchment paper. Trust me, it makes cleanup a breeze.
- Dry Mix Magic: In a medium bowl, whisk together the flour, baking soda, and salt. Set this aside for now.
- Cream It Up: In a large bowl, using an electric mixer (or some serious arm muscle), beat the softened butter, granulated sugar, and brown sugar until it’s light and fluffy. This usually takes 2-3 minutes.
- Peanut Butter Power-Up: Add the creamy peanut butter to the butter-sugar mix and beat until well combined and smooth.
- Egg-cellent Addition: Crack in the egg and pour in the vanilla extract. Beat until just combined. Don’t overmix!
- Combine & Conquer: Gradually add the dry ingredients to the wet ingredients, mixing on low speed until just combined. Stop as soon as no streaks of flour remain. Overmixing = tough cookies, FYI.
- Chocolate Chip Cha-Cha: Fold in the chocolate chips with a spatula. Be gentle!
- Scoop & Space: Drop rounded tablespoons of dough onto your prepared baking sheets, leaving about 2 inches between each cookie.
- Bake (Almost) Bliss: Bake for 8-10 minutes, or until the edges are just set and lightly golden. The centers might still look a little soft – that’s good!
- Marshmallow Mayhem: Take the baking sheets out of the oven. Quickly place 3-4 mini marshmallows on top of each partially baked cookie.
- Finish Line: Pop them back in the oven for another 2-3 minutes, just until the marshmallows are puffed and lightly golden. Watch them closely – marshmallows can burn fast!
- Cool Down: Let the cookies cool on the baking sheets for 5 minutes before transferring them to a wire rack to cool completely. Or, you know, eat one warm. I won’t tell.
Common Mistakes to Avoid
Hey, we’ve all been there. Learn from my past (delicious) failures!
- Forgetting to Preheat the Oven: Rookie mistake! Your cookies won’t bake evenly, and you’ll end up with flat, sad discs instead of glorious mounds.
- Overmixing the Dough: Seriously, stop when the flour disappears. Too much mixing develops the gluten, making your cookies tough instead of tender and chewy.
- Using Cold Butter: Hard butter means you won’t get that light, fluffy texture when creaming with sugar. Result? Denser cookies. Let it soften!
- Adding Marshmallows Too Early: If you add them at the start, they’ll melt into oblivion and might even burn. The mid-bake addition is crucial for that gooey topping.
- Baking Too Long: Keep an eye on them! If the edges are deep golden and the centers are firm, you’ve gone too far. We want soft, chewy cookies, not crunchy hockey pucks.
Alternatives & Substitutions
Feeling adventurous? Or just working with what you’ve got? Here are some tweaks:
- Nut Butters: Not a peanut butter fan? Try almond butter or cashew butter! Just make sure they’re creamy, not too thick or oily.
- Chocolate Variations: Swap semi-sweet for milk chocolate, dark chocolate chunks, white chocolate chips, or even a mix! You do you.
- Marshmallow Madness: No mini marshmallows? Chop up larger marshmallows! Or, if you’re feeling extra, try flavored marshmallows (strawberry? caramel? whoa).
- Add-ins: Throw in a handful of chopped nuts (peanuts, pecans), a sprinkle of sea salt on top before baking, or even some mini M&Ms for extra crunch and color.
- Flour Power: While I highly recommend all-purpose for the best texture, you can experiment with a 1:1 gluten-free flour blend if you need to. Just know the texture might be slightly different.
FAQ (Frequently Asked Questions)
Got questions? I’ve got (mostly) answers! Ask away, imaginary friend.
- Can I use crunchy peanut butter?
Technically, yes, but your cookies will have a different, chunkier texture. For that classic smooth-and-chewy vibe, creamy is usually the way to go. But hey, live your best crunchy life if that’s what you’re into!
- Do I have to chill the dough?
Nope! That’s one of the beauties of this recipe. You can go straight from mixing to baking. Instant gratification, baby!
- What if I don’t have mini marshmallows? Can I use regular ones?
Absolutely! Just snip them into smaller, cookie-appropriate pieces with kitchen shears. Make ’em mini yourself!
- Can I freeze these cookies?
You bet! Once completely cooled, store them in an airtight container or freezer bag for up to 2-3 months. Thaw at room temperature or give them a quick microwave zap for that fresh-baked feel.
- How long do these cookies stay fresh?
In an airtight container at room temperature, they’re typically good for 3-5 days. But let’s be real, do they ever last that long? Probably not.
- My marshmallows totally melted and disappeared! What happened?
You probably added them too early or baked them too long after adding them. Remember, they just need a couple of minutes to get puffy and lightly golden, not to become one with the cookie dough blob.
Final Thoughts
And there you have it! A batch of warm, gooey, utterly irresistible Peanut Butter Chocolate Chip Marshmallow Cookies. You’ve officially conquered the kitchen without breaking a sweat (or at least, not too much of one). Now go impress someone—or yourself—with your new culinary skills. You’ve earned every single bite. Happy baking, my friend!


