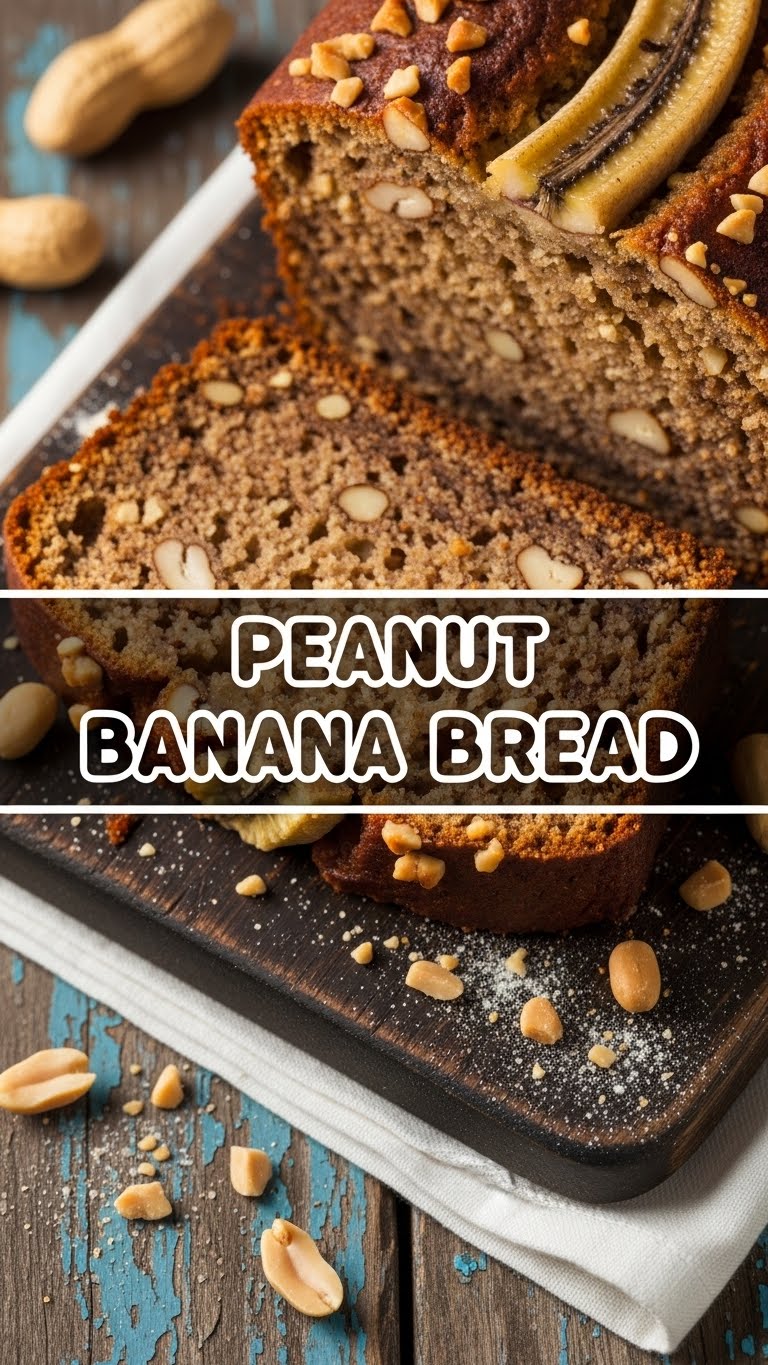
So, you’ve got some bananas on your counter that are looking a little… well, *experienced*. Maybe they’ve seen better days, maybe they’re practically begging for a delicious transformation. And you, my friend, are simultaneously craving something cozy, something nutty, and something that screams “I tried, but also didn’t try *too* hard.” Ding, ding, ding! You just won the jackpot with Peanut Banana Bread. Get ready to have your kitchen smell like a dream and your taste buds do a happy dance.
Why This Recipe is Awesome
Let’s be real, who doesn’t love banana bread? Now, imagine that, but with a glorious, nutty hug from peanut butter. This isn’t just banana bread; it’s banana bread with a swagger. Why is it so awesome, you ask? Because:
- It’s practically **idiot-proof**. If I can make it without summoning a kitchen disaster, you absolutely can.
- It smells utterly divine while baking, making your house instantly feel like a cozy, five-star bakery.
- It uses up those sad, spotty bananas you were probably going to forget about anyway. No food waste, high five!
- It’s the ultimate comfort food. Perfect for breakfast, a snack, dessert, or a midnight raid. No judgment here.
- The peanut butter adds a richness and an “oomph” that takes basic banana bread from “good” to “holy moly, give me more.”
Ingredients You’ll Need
Gather your troops, folks! Most of these are probably already lurking in your pantry, just waiting for their moment in the spotlight.
- 1 ½ cups All-Purpose Flour: The foundational good stuff. Sift it if you’re feeling fancy, but no biggie if you don’t.
- ¾ cup Granulated Sugar: Because life needs sweetness.
- 1 teaspoon Baking Soda: Our little lift-off agent.
- ½ teaspoon Salt: Balances everything out like a culinary tightrope walker.
- 3-4 Ripe Bananas: The browner, the better! Seriously, go for the ones that look like they’ve seen some things. Mash ’em good.
- 2 Large Eggs: The binders of destiny. Lightly beaten.
- ½ cup Unsalted Butter: Melted and slightly cooled. This is liquid gold, people.
- ½ cup Creamy Peanut Butter: The star of our show! Smooth, no-stir is usually best for consistency, but if chunky is your jam, go for it.
- 1 teaspoon Vanilla Extract: A hug for your taste buds. Don’t skip it!
- Optional (but highly recommended): ½ cup Chocolate Chips or Chopped Peanuts: Because sometimes, extra is just right.
Step-by-Step Instructions
Alright, apron on (or not, we’re friends here), let’s get baking!
- Preheat & Prep: Crank that oven to 350°F (175°C). Grab a 9×5-inch loaf pan, grease it, and flour it. Or line it with parchment paper. Whatever makes your life easier.
- Dry Mix Magic: In a large bowl, whisk together your flour, sugar, baking soda, and salt. Give it a good whisk to make sure everything’s buddies.
- Wet Mix Wonder: In a separate (but equally important) bowl, mash those ripe bananas until they’re mostly smooth with a few yummy lumps. Stir in the beaten eggs, melted butter, peanut butter, and vanilla extract. Mix until combined and looking delicious.
- Combine Forces: Pour the wet ingredients into the dry ingredients. Now, here’s the crucial part: **Mix just until combined!** A few lumps of flour are totally fine. Overmixing is the enemy of tender banana bread. If you’re adding chocolate chips or chopped peanuts, fold them in gently now.
- Pan It Up: Scrape that glorious batter into your prepared loaf pan. Give it a gentle tap on the counter to settle.
- Bake Away: Pop it into your preheated oven. Bake for about 50-65 minutes. How do you know it’s done? A wooden skewer or toothpick inserted into the center should come out clean (or with a few moist crumbs, but no wet batter).
- Cool Down: Once baked, take it out and let it cool in the pan for about 10-15 minutes. Then, carefully transfer it to a wire rack to cool completely. This is the hardest part, IMO, because the smell is just intoxicating!
- Devour: Slice it up and enjoy! It’s amazing warm, but even better once completely cool.
Common Mistakes to Avoid
Look, we all make mistakes. But some are easily avoidable, especially when armed with this sage advice:
- Ignoring the Oven Preheat: Thinking you don’t need to preheat the oven? Rookie mistake! The oven needs to be hot to get that initial “spring” in your bread.
- Using Under-Ripe Bananas: Those yellow bananas with no spots are pretty, but they won’t give you the deep banana flavor and natural sweetness this bread deserves. The browner, the better, remember?
- The Dreaded Overmixing: Seriously, I can’t stress this enough. Mix until just combined. Overmixing develops the gluten too much, giving you tough, not tender, bread.
- Opening the Oven Door Too Early: Patience, grasshopper! Every time you open the oven door, you drop the temperature, which can make your bread sink in the middle. Resist the urge for at least the first 40 minutes.
- Cutting It While Hot: I know, the smell is irresistible. But let it cool a bit in the pan, then fully on a rack. This helps it set and prevents a crumbly mess.
Alternatives & Substitutions
Feeling a little adventurous? Or just realized you’re missing an ingredient? No stress, we’ve got options!
- Nut Butter Swap: Not a peanut butter fan (gasp!) or have an allergy? Almond butter, cashew butter, or even sunbutter can work wonders here. Just make sure it’s a creamy, no-stir variety for the best texture.
- Sweetener Shenanigans: You can swap out some of the granulated sugar for brown sugar (hello, deeper caramel notes!) or even a touch of maple syrup, though the liquid might slightly change the texture.
- Mix-in Mania: Get creative! Add chopped walnuts, pecans, shredded coconut, or even a swirl of cream cheese for a fancy touch. **FYI:** mini chocolate chips distribute really well!
- Gluten-Free Goodness: You can definitely use a 1:1 gluten-free baking flour blend in place of regular flour. Just make sure it contains xanthan gum.
- Dairy-Free Dupe: Swap the butter for a good quality dairy-free butter alternative or even a neutral oil like canola or vegetable oil. The flavor will be slightly different, but still delicious.
FAQ (Frequently Asked Questions)
Got questions? I’ve got (casual) answers!
- Can I use margarine instead of butter? Well, technically yes, but why hurt your soul like that? Butter just brings a richness that margarine can’t quite replicate. If it’s all you have, go for it, but just know it’s not quite the same vibe.
- My bananas aren’t super ripe. Can I still use them? You *can*, but your bread won’t be as sweet or as banana-y. A little trick: bake unpeeled bananas on a baking sheet at 300°F (150°C) for 15-20 minutes until they’re black. Let them cool, then use ’em!
- Can I make muffins instead of a loaf? Absolutely! Just divide the batter into a greased muffin tin (about 12 muffins) and bake for 20-25 minutes, or until a toothpick comes out clean. Perfect for grab-and-go!
- How should I store this amazing bread? Once completely cool, wrap it tightly in plastic wrap or store it in an airtight container at room temperature for up to 3-4 days. For longer storage, freeze slices (wrapped individually) for up to 3 months. Just thaw and enjoy!
- Is it okay if I add *extra* peanut butter? Like, a lot? I get it, you’re a PB fanatic! But adding too much extra peanut butter can make the bread dense or oily. Stick to the recipe’s ½ cup for the best texture and flavor balance, or swirl a little extra on top before baking for a visual cue.
- My bread sank in the middle! What happened? Could be a few things: oven not hot enough, opening the oven door too early, too much leavening (baking soda), or underbaking. Don’t worry, it still tastes good even if it’s a bit sunken!
Final Thoughts
So there you have it, folks! Your new favorite banana bread recipe, ready to rock your world. This Peanut Banana Bread is more than just a sweet treat; it’s a declaration of deliciousness, a testament to using up those perfectly-aged bananas, and frankly, a darn good reason to brew a fresh pot of coffee. Now go impress someone—or yourself—with your new culinary skills. You’ve earned it, you magnificent baker, you!


