“`html
Pavlova Birthday Cake: Because Who Needs Another Boring Sheet Cake Anyway?
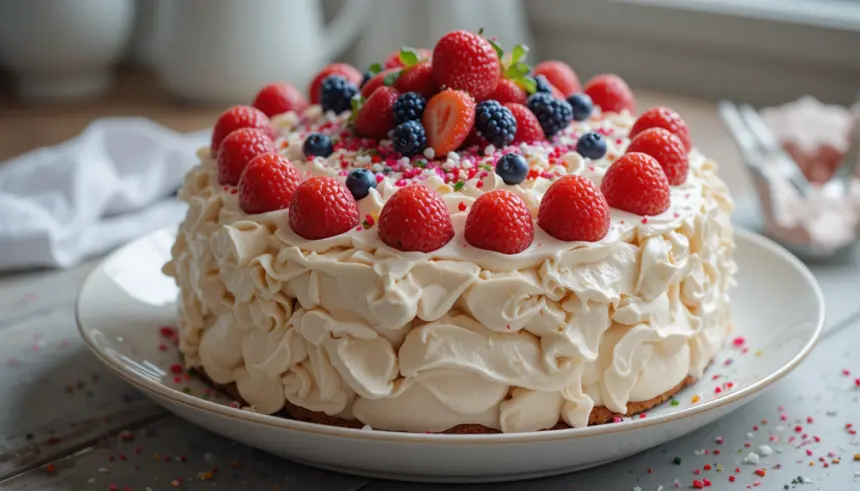
So, you’ve got a birthday coming up, either yours or someone else’s (no judgment here, we all have those people we *have* to bake for). And the thought of wrestling with fondant or attempting a seven-layer monstrosity makes you want to just buy a supermarket cake and call it a day, right? Well, my friend, I have a solution that’s as impressive as it is ridiculously easy. Introducing the Pavlova Birthday Cake! It’s like a cloud met a meringue and they decided to have a fancy party.
Why This Recipe is Awesome (Like, Seriously Awesome)
Let’s be real, most birthday cakes are a commitment. This Pavlova, however, is your fun, flirty, and surprisingly low-effort cousin. It looks super gourmet, makes you feel like a baking goddess, and tastes like pure bliss. Plus, it’s practically a blank canvas for your creative genius (or your laziness, no judgment!). You can go wild with toppings, and it’s naturally gluten-free, so you can cater to that one friend who’s always saying, “Oh, I’m gluten-free, you know…” (We all have them). And the best part? It’s pretty darn hard to mess up. Like, *really* hard. I’ve accidentally left mine in a bit too long, and it still turned out fabulous. So yeah, it’s idiot-proof.
Ingredients You’ll Need (The Usual Suspects, Mostly)
Here’s what you’ll need to summon this magical dessert:
- 4 large egg whites: Make sure they’re at room temperature. No sad, cold egg whites allowed.
- 1 cup (200g) caster sugar: This is the fine stuff, not the chunky rocks you put in your tea.
- 1 teaspoon cornstarch (cornflour): The secret ingredient that gives it that delightful chew.
- 1 teaspoon white vinegar: Don’t worry, you won’t taste it. It’s just doing its magic.
- 1 teaspoon vanilla extract: The perfume of the dessert world.
- Fresh fruit: Berries, kiwi, mango, passionfruit – whatever makes your taste buds sing.
- Whipped cream: The fluffy blanket that ties it all together. Sweetened, of course!
Step-by-Step Instructions (Let’s Get This Meringue Party Started!)
Alright, deep breaths. You got this.
- Preheat your oven to a ridiculously low 300°F (150°C). We’re not trying to bake a brick here. Line a baking sheet with parchment paper and draw a circle on it (about 8 inches). This is your Pavlova’s blueprint.
- Whip up those egg whites in a super clean bowl (seriously, no grease allowed, or your meringue will weep). Beat them until they form soft peaks – like fluffy clouds on a lazy Sunday.
- Gradually add the caster sugar, a tablespoon at a time, while beating constantly. This is where the magic happens. Keep going until you have stiff, glossy peaks that look like they could hold their shape if you tipped the bowl upside down. (Don’t actually tip it, but you get the idea).
- Gently fold in the cornstarch, vinegar, and vanilla. Be tender, like you’re tucking a baby into bed. Overmixing is the enemy here.
- Spoon the meringue onto your drawn circle on the parchment paper. Create a bit of a well in the center – this is where all the delicious fruit and cream will live. Shape it into a rustic mound; perfection is overrated.
- Bake for about 1 hour to 1 hour 15 minutes. You want it to be crisp on the outside and still a little marshmallowy on the inside. Then, **turn off the oven and leave the Pavlova inside with the door slightly ajar** until it’s completely cool. This is the crucial step to prevent it from collapsing like a sad soufflé.
- Once cool, top with a mountain of whipped cream and then go wild with your fresh fruit. Pile it high!
Common Mistakes to Avoid (Don’t Be That Guy!)
A few things can send your Pavlova into a tailspin. Let’s avoid them:
- Greasy bowls or beaters: Like we said, the enemy of meringue.
- Adding sugar too fast: Patience, grasshopper! It needs time to dissolve.
- Opening the oven door too much: Resist the urge! The temperature fluctuations are its kryptonite.
- Not cooling it in the oven: This is a classic Pavlova collapse scenario. Don’t do it!
- Overbaking: You’ll end up with a hard, dry disc. Aim for that lovely chewy center.
Alternatives & Substitutions (Because We’re All About That Life)
* **Sugar:** If you can’t find caster sugar, just blitz granulated sugar in a food processor for a few seconds. Easy peasy.
* **Fruit:** Seriously, use whatever you love! A mix of tart berries with something sweet like peaches is divine. Or go tropical with mango and passionfruit.
* **Cream:** Heavy cream is the MVP here, but coconut cream (whipped and sweetened) is a great dairy-free option.
* **Vinegar:** Lemon juice works in a pinch, but the vinegar is pretty neutral and effective.
FAQ (The Burning Questions You Might Have)
Q: Can I make this ahead of time?
A: You can bake the meringue shell a day or two in advance and store it in an airtight container at room temperature. Just don’t let it sit out for ages, or it’ll get… less than ideal. Assemble right before serving!
Q: My Pavlova cracked! Is it ruined?
A: Oh no! But guess what? **Cracks add character!** Seriously, once you pile on the cream and fruit, nobody will even notice. Embrace the imperfections.
Q: Can I use store-bought whipped cream?
A: Technically, yes. But honestly, whipping your own is way better and takes like, two minutes. Plus, you can control the sweetness.
Q: What if my meringue looks a bit lumpy?
A: Don’t sweat it. A rustic look is part of the Pavlova charm. As long as it bakes up crispy on the outside, it’s golden.
Q: Can I color my meringue?
A: You *can*, but it’s a bit fiddly and can affect the texture if you overmix. For a birthday cake, I usually opt for colorful fruit and toppings to keep things simple and delicious.
Q: How do I store leftovers?
A: Leftovers? What leftovers? Just kidding. If you have any, cover it loosely with plastic wrap and keep it in the fridge. But be warned, the meringue can get a little soft if it’s in there too long.
Final Thoughts (Go Forth and Conquer!)
So there you have it! A showstopper of a birthday cake that’s surprisingly forgiving and ridiculously delicious. You’ve got the secrets, you’ve got the steps, and I’ve got faith in you. Now go forth and impress someone – or just yourself – with your new culinary skills. You’ve definitely earned it! Happy baking (and happy birthday to the lucky recipient)!
“`


