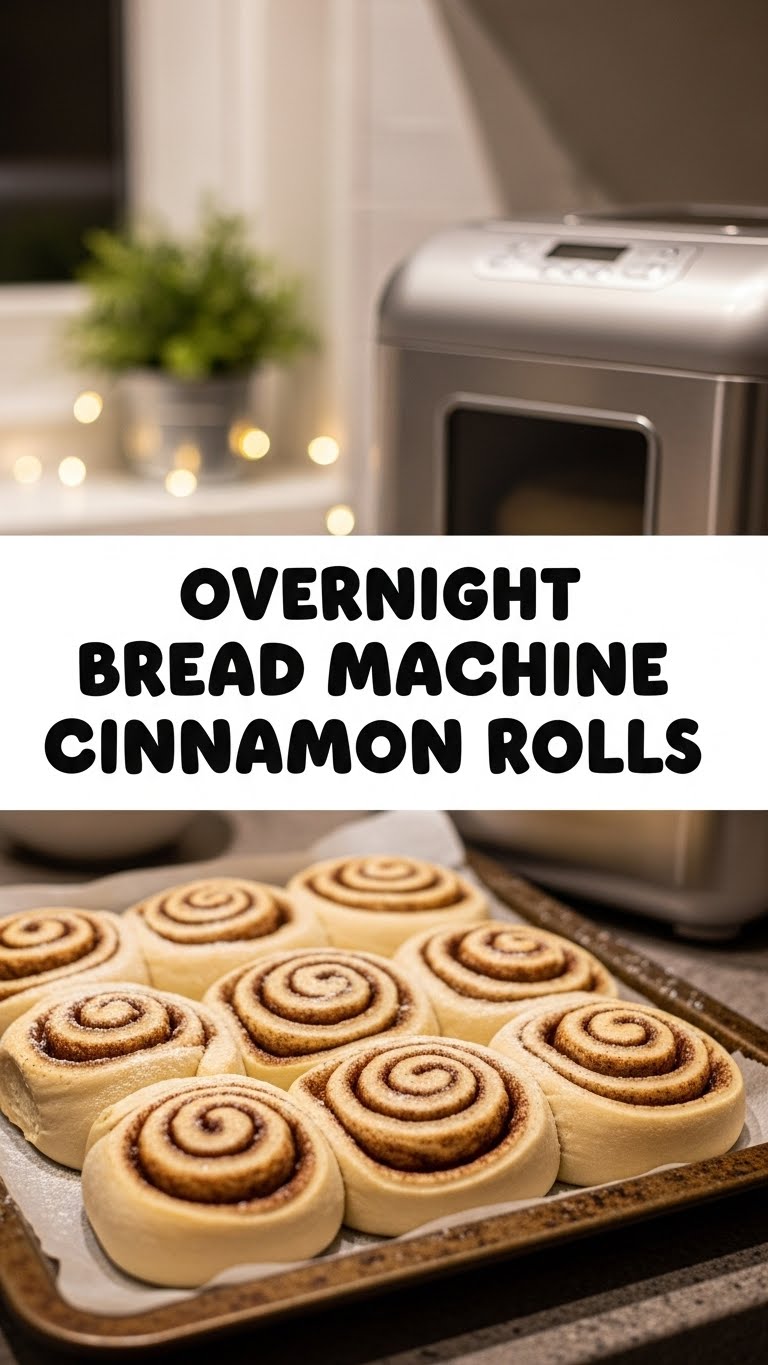
So, you’re craving something warm, gooey, and utterly delicious for breakfast but the thought of getting up before the sun to make it sends shivers down your spine? Friend, I hear you. And I’m here to tell you that you *can* have your cinnamon rolls and eat them too, all while barely lifting a finger. Say hello to your new best friend: **Overnight Bread Machine Cinnamon Rolls**.
Why This Recipe is Awesome
Let’s be real, we all have those mornings where even hitting the snooze button feels like a marathon. This recipe is your secret weapon. It’s like having a tiny, magical bakery elf living in your bread machine, doing all the grunt work (the kneading! the rising!) while you’re off in dreamland. You dump ingredients, press a button, and wake up to a perfectly proofed dough ready for its star moment. **It’s genuinely idiot-proof, even I didn’t mess it up.** Seriously, you’ll look like a culinary genius with minimal effort. Win-win, if you ask me!
Ingredients You’ll Need
Get ready for some kitchen magic. Here’s your shopping list – nothing too fancy, just good old-fashioned yumminess.
- **For the Dough:**
- 1 cup warm milk (around 105-115°F/40-46°C, like a baby’s bath. **Not scalding!**)
- 1/2 cup (1 stick) unsalted butter, softened (or melted and slightly cooled, because who remembers to soften butter?)
- 1 large egg, room temperature (seriously, it makes a difference, IMO)
- 1/2 cup granulated sugar (for sweetness, duh)
- 1 teaspoon salt (don’t skip this, it balances everything!)
- 4 cups all-purpose flour (the foundational goodness)
- 2 1/4 teaspoons active dry or instant yeast (one packet, those little magical creatures)
- **For the Filling:**
- 1/2 cup (1 stick) unsalted butter, softened (again, or melted if you’re like me and forgot)
- 1 cup light brown sugar, packed (for that deep, caramel-y goodness)
- 2 tablespoons ground cinnamon (the star of the show!)
- **For the Cream Cheese Icing:**
- 4 oz cream cheese, softened (don’t even try cold cream cheese, it’s a lumpy nightmare)
- 1/4 cup (1/2 stick) unsalted butter, softened
- 2 cups powdered sugar (confectioners’ sugar, for that smooth finish)
- 1 teaspoon vanilla extract (adds that extra *oomph*)
- 1-2 tablespoons milk or cream (to get that perfect drizzle consistency)
Step-by-Step Instructions
- **Load Up Your Bread Machine:** In the order specified by your bread machine’s manual (usually liquids first, then dry, then yeast on top), add the warm milk, softened butter, egg, sugar, salt, flour, and finally, the yeast. **Do not let the yeast touch the wet ingredients until the machine starts!** This is crucial for happy yeast.
- **Set and Forget (Almost!):** Select the “Dough” cycle on your bread machine. Hit start. Now, go live your best life, or more accurately, go to bed! The machine will do all the kneading and the first rise. This usually takes about 1.5 to 2.5 hours, and then it’ll chill in the machine overnight.
- **The Morning After:** When you wake up (to the smell of possibility!), gently remove the dough from the bread machine. It should be beautifully risen and soft. Lightly flour a clean surface (your counter works great!).
- **Roll It Out:** Roll the dough into a large rectangle, roughly 12×18 inches. Think pizza box size.
- **Butter Up!:** In a small bowl, combine your softened butter, brown sugar, and cinnamon for the filling. Spread this glorious mixture evenly over the entire surface of the dough, leaving a small border at one of the long edges.
- **Roll ‘Em Up Tight:** Starting from one of the long edges, carefully roll the dough into a tight log. **The tighter you roll, the prettier your spirals will be.** Pinch the seam closed to seal it.
- **Slice and Arrange:** Using a sharp knife or even easier, a piece of unflavored dental floss (seriously, try it!), slice the log into 12 equal pieces, about 1.5 inches thick. Arrange them in a lightly greased 9×13-inch baking pan, leaving a little space between each roll.
- **Second Rise (A Quick Nap):** Cover the pan with a clean kitchen towel and let the rolls rise in a warm spot for about 30-45 minutes, or until they’re visibly puffy and nearly touching.
- **Preheat & Bake:** While they’re doing their final puff, preheat your oven to 375°F (190°C). Bake for 20-25 minutes, or until golden brown and cooked through. **Don’t overbake!** We want gooey centers.
- **Whip Up the Icing:** While the rolls are cooling slightly, beat together the softened cream cheese and butter until smooth. Gradually add the powdered sugar, then the vanilla and milk/cream, beating until light and fluffy.
- **Glaze and Devour:** Once the rolls are out of the oven, let them cool for 5-10 minutes. Then, slather that decadent cream cheese icing generously over the warm rolls. Serve immediately and prepare for compliments!
Common Mistakes to Avoid
- **Using Hot Liquid:** If your milk is too hot, it’ll kill the yeast. Yeast are delicate little beings. Aim for warm, not scorching.
- **Forgetting the Salt:** Seriously, don’t. It doesn’t make it salty; it enhances the flavor and helps control the yeast.
- **Not Sealing the Roll:** If you don’t pinch that seam tight, your rolls might unravel in the oven. Not the end of the world, but less pretty.
- **Overbaking:** This is the ultimate sin! Dry cinnamon rolls are a tragedy. Keep an eye on them; they should be golden, not deep brown.
- **Icing Cold Rolls:** Icing goes on warm rolls. The warmth helps it melt and seep into all those lovely nooks and crannies. Trust me on this.
Alternatives & Substitutions
Feeling adventurous? Or just out of something crucial? Here are a few ideas:
- **Milk:** You can use almond milk or soy milk for a dairy-free option, but the full-fat dairy milk really does give it that classic richness and tenderness. Your call!
- **Butter:** For a dairy-free swap, solid coconut oil can work in the dough and filling, though the flavor will be a bit different. For the icing, use a dairy-free cream cheese and butter alternative. **Margarine? Well, technically yes, but why hurt your soul like that?**
- **Spices:** Feeling fancy? Add a pinch of nutmeg or cardamom to your cinnamon sugar filling for an extra layer of warmth.
- **Add-ins:** Sprinkle some chopped pecans or walnuts over the filling before rolling for a nutty crunch. Raisins? If you must. (Just kidding, mostly.)
FAQ (Frequently Asked Questions)
Because you’ve got questions, and I’ve got answers (with a side of sass).
- **Can I make these without a bread machine?** Well, yes, but then it wouldn’t be the *overnight bread machine* recipe, would it? You’d have to manually knead and let it rise. It’s more work, but totally doable if you’re feeling ambitious.
- **My dough didn’t rise in the bread machine, what gives?** Oh, the drama! Most likely your yeast was expired (check the date!), or your liquid was too hot or too cold. Yeast are divas, they need specific conditions.
- **How long do these last?** If you manage to have any left, they’re best on day one. You can store them in an airtight container for 2-3 days. Reheat gently in the microwave or oven for gooey goodness. **Good luck with the self-control, though.**
- **Can I freeze the rolls?** **Absolutely!** You can freeze them *before* the second rise (after slicing and arranging in the pan). Cover tightly and freeze. Thaw overnight in the fridge, then let rise at room temp and bake. Or, freeze them *after* baking and glazing, then just reheat gently.
- **What if I don’t have brown sugar?** White sugar can work in a pinch, but you’ll miss that deep, molasses-y flavor brown sugar brings. Maybe add a tiny drizzle of molasses if you’re really out and have some lying around?
- **My rolls are spreading out instead of rising up! Help!** This usually means your dough was a bit too wet, or you didn’t roll them tight enough, or they over-proofed during the second rise. Don’t worry, they’ll still taste amazing!
Final Thoughts
There you have it, future breakfast champion! You’ve just mastered the art of making bakery-quality cinnamon rolls while you were blissfully sleeping. Talk about productivity! Now go impress someone – or just yourself – with your new culinary superpowers. You’ve earned every single gooey bite. Happy rolling!


