Hold up, you want that glorious, crispy-skinned, juicy-on-the-inside fried chicken but you’re not trying to bathe your kitchen in oil, right? My friend, you’ve come to the right place. We’re talking oven-fried magic today! Forget the splatters, the greasy clean-up, and the minor fire hazards. We’re getting all that finger-licking goodness with a fraction of the fuss. So, roll up your sleeves – metaphorically, of course, because this is pretty chill – and let’s get crispy!
Why This Recipe is Awesome
Okay, so why bother with this particular oven-fried chicken drumstick recipe? Because it’s literally the cheat code to “fried” chicken without the deep-fry mess. Your kitchen will thank you, your waistline might *slightly* thank you (it’s *oven*-fried, after all!), and your taste buds? Oh, they’ll be sending you fan mail. Plus, it’s pretty much **idiot-proof**. Even I, the queen of occasionally burning toast, can ace this. Seriously, if you can turn on an oven, you can make these drumsticks sing. No more sad, soggy baked chicken, promise!
Ingredients You’ll Need
Gather ’round, my culinary adventurers! Here’s your loot list:
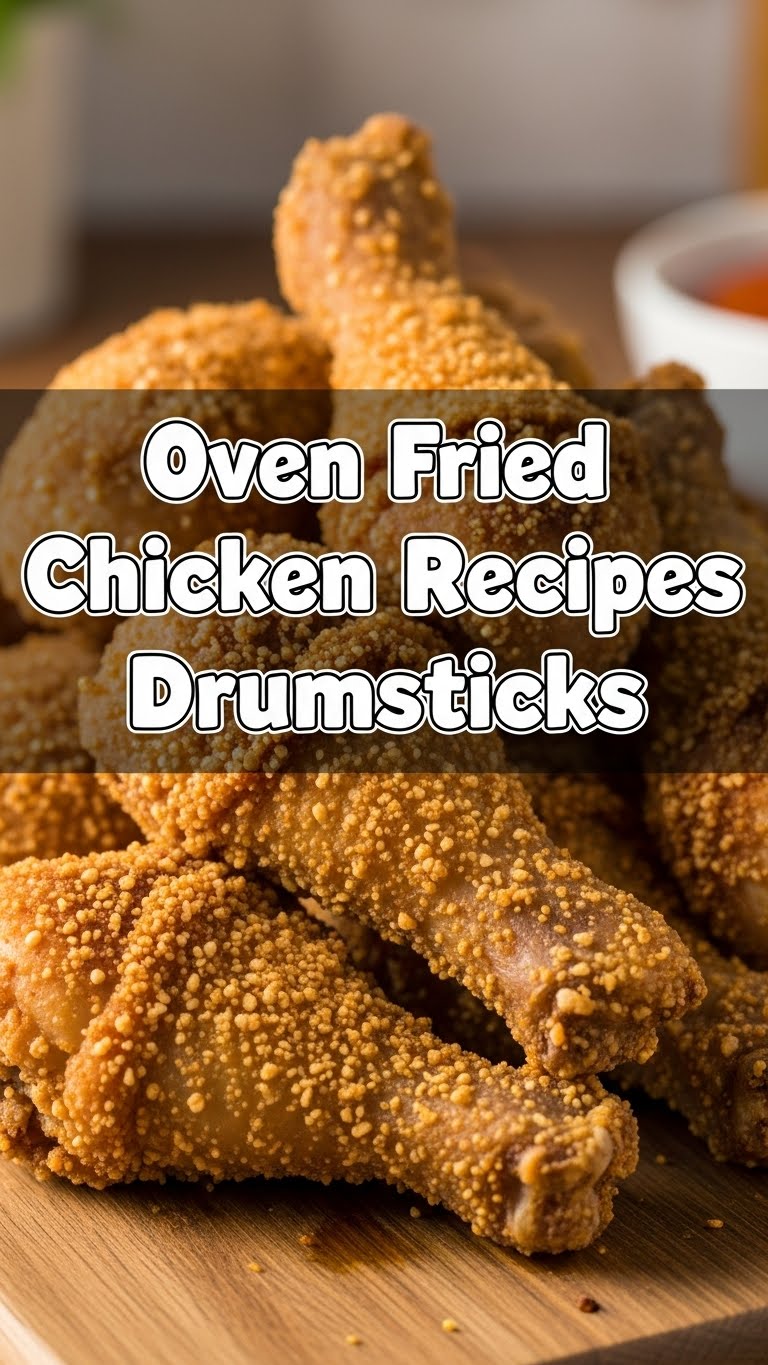
- Chicken Drumsticks: About 8-10 of these bad boys. Make sure they’re thawed, unless you’re into frosty chicken (you’re not).
- All-Purpose Flour: 1 cup. Just your regular flour. Nothing fancy, unless you *want* to get fancy, but really, don’t overthink it.
- Egg: 1 large, lightly beaten. For that **crispy** coating. Think of it as delicious glue.
- Buttermilk (or milk + lemon juice): 1/4 cup. Buttermilk adds a tang that’s *chef’s kiss*. No buttermilk? Mix regular milk with 1/2 tsp lemon juice or white vinegar and let it sit for 5 minutes. Voila!
- Seasonings:
- 1 tsp salt (don’t be shy!)
- 1/2 tsp black pepper
- 1 tsp garlic powder
- 1 tsp onion powder
- 1 tsp paprika (smoked paprika for extra oomph!)
- 1/2 tsp cayenne pepper (optional, for a little kick!)
- Olive Oil Spray (or melted butter/oil): For that glorious golden finish. Don’t skip this, unless you like sad, pale chicken.
Step-by-Step Instructions
- Preheat & Prep: Crank your oven to a scorching **400°F (200°C)**. While it’s heating up, grab a wire rack and place it on a baking sheet. Spray the rack generously with cooking spray. This is key for all-around crispiness!
- Pat ‘Em Dry: Grab those drumsticks and pat them *super* dry with paper towels. **Moisture is the enemy of crispy!** Seriously, get in there.
- Set Up Your Stations: Get two shallow dishes. In the first, whisk together the egg and buttermilk. In the second, combine the flour and all your delightful seasonings. Give it a good mix.
- Dredge & Coat: Now for the fun part! Take each dry drumstick, dip it fully into the egg wash, letting any excess drip off. Then, roll it in the seasoned flour, pressing gently to make sure it’s fully coated. Shake off any extra flour.
- Rack ‘Em Up: Place the coated drumsticks on your prepared wire rack, making sure they aren’t touching each other. They need their space, like teenagers at a party.
- Spray for Success: Give each drumstick a generous spritz of olive oil spray (or drizzle lightly with melted butter/oil). This is what helps create that beautiful golden-brown, crispy skin.
- Bake Time! (Part 1): Pop that baking sheet into your preheated oven. Bake for **30 minutes**. Resist the urge to peek constantly!
- Flip & Finish: After 30 minutes, carefully flip each drumstick. Give them another little spritz of oil. Bake for another **20-30 minutes**, or until they’re golden brown, crispy, and the internal temperature reaches **165°F (74°C)** at the thickest part near the bone.
- Rest & Devour: Take them out of the oven and let them rest on the rack for about 5 minutes. This helps the juices redistribute, keeping them extra moist. Then, go wild!
Common Mistakes to Avoid
Listen up, buttercup! Don’t fall into these common traps:
- Not Preheating the Oven: Rookie move! A cold oven means uneven cooking and sad, pale skin. **Always preheat!**
- Crowding the Pan: Chicken needs its personal bubble! Overcrowding leads to steaming, not crisping. Nobody wants steamed “fried” chicken, trust me.
- Skipping the Pat-Dry Step: We talked about this! Moisture = soggy. Dry chicken = crispy heaven.
- Forgetting the Oil Spray/Drizzle: That glorious golden crunch doesn’t just happen by magic. Give it some love with that oil.
- No Wire Rack: Putting chicken directly on the baking sheet traps moisture underneath, making the bottom soggy. The rack lets air circulate, ensuring crispiness all around. It’s a game-changer!
Alternatives & Substitutions
Feeling adventurous? Or just out of something? No worries, we can roll with it!
- Spice Swap: Don’t like paprika? Swap it for smoked paprika for a deeper, smoky vibe. Want more heat? Double the cayenne! Feel free to go wild with your favorite spice blend. **Your kitchen, your rules, remember?**
- Flour Power: Gluten-free? A 1:1 gluten-free flour blend usually works well. Or, for an even crisper coating, swap out 1/4 cup of the flour for cornstarch.
- Milk Dilemma: No buttermilk? As mentioned, regular milk with a splash of lemon juice or vinegar (1/2 tsp per 1/4 cup milk) will do the trick in a pinch. Let it sit for 5 minutes before using.
- Chicken Parts: Thighs work great too! Just adjust cooking time; they might need a bit longer (around 35-40 minutes per side). Boneless chicken will cook much faster, so keep an eye on it.
FAQ (Frequently Asked Questions)
Got questions? I’ve got (casual) answers!
- Can I use boneless chicken? Sure, but drums are king for that “fried” experience. Plus, bones add flavor! Boneless will cook faster, so watch that internal temp.
- Why the baking rack? Is it really necessary? YES! It’s essential! Air circulates around the chicken, making it crispy all over. No soggy bottoms here!
- My chicken isn’t crispy enough! What gives? Did you pat it dry? Did you use enough oil spray? Did you overcrowd the pan? Go back and check your steps, chief! Sometimes an extra 5-10 minutes at the end helps too.
- Can I prep this ahead? You can bread the chicken a few hours in advance and keep it in the fridge. Just make sure to bring it closer to room temp before baking for even cooking.
- What about leftovers? Pop them in the air fryer or oven for a quick reheat (around 350°F/175°C for 10-15 mins) to bring back that crisp. Microwave will make it sad and rubbery, just **FYI**.
- How do I know it’s cooked through? A meat thermometer is your best friend. **165°F (74°C)** at the thickest part near the bone. Don’t guess and make yourself sick!
- Can I air fry this? Oh, absolutely! Air fry at 375°F (190°C) for about 20-25 minutes, flipping halfway, until golden and cooked through. Super crispy!
Final Thoughts
There you have it, folks! Oven-fried chicken drumsticks that are so good, your taste buds will think you’ve been secretly training at a fancy culinary school. But nope, it was just you, an oven, and this super-easy recipe. Go forth and conquer those cravings! Now go impress someone—or yourself—with your new culinary skills. You’ve earned it! Seriously, text me when you make it, I wanna know how it went!


