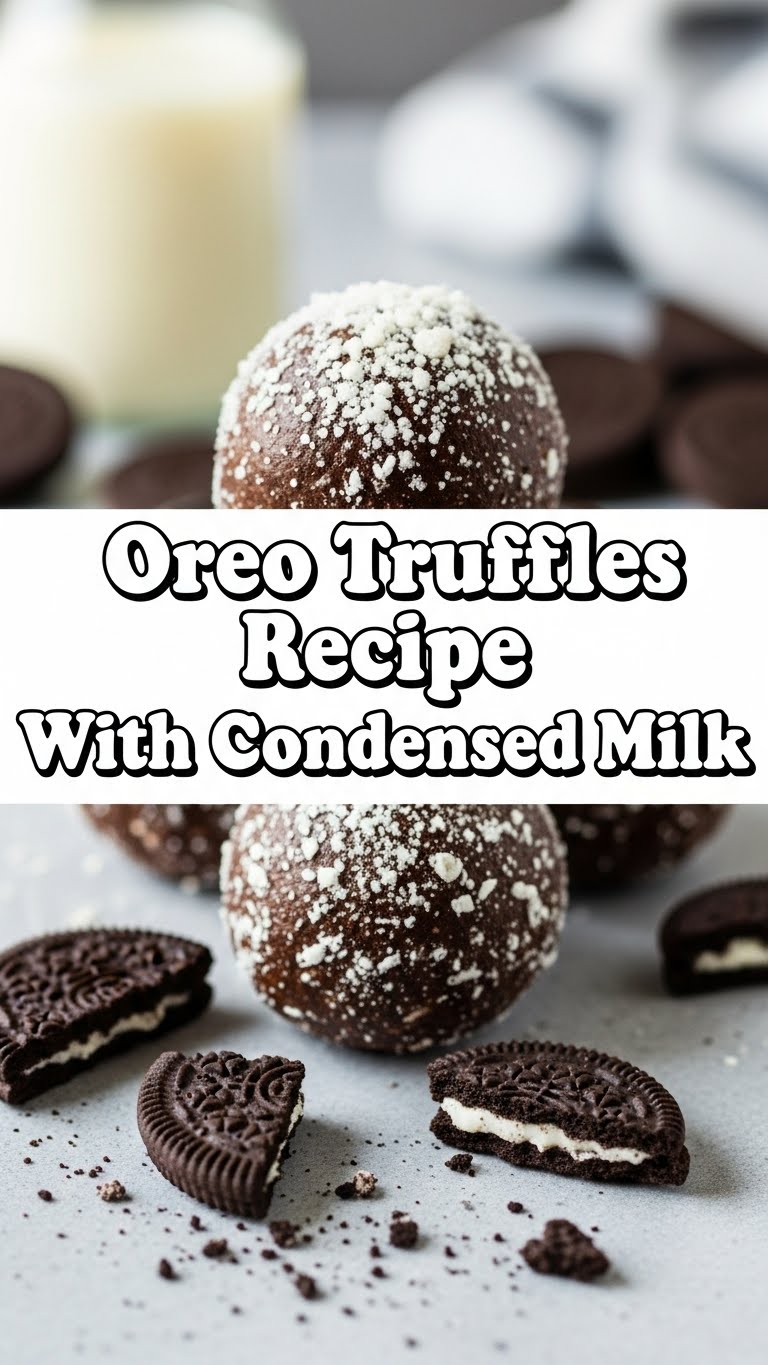
So you’re craving something tasty but too lazy to spend forever in the kitchen, huh? Same, friend, same. We’ve all been there: that sudden, intense need for something sweet, something chocolatey, something that whispers “I love you” to your taste buds without requiring you to pull out every single pot, pan, and obscure kitchen gadget you own. Well, buckle up, buttercup, because today we’re making Oreo Truffles with Condensed Milk, and it’s so ridiculously easy, you’ll wonder why you ever bought them from a fancy bakery.
Why This Recipe is Awesome
Let’s be real, life’s too short for complicated recipes unless you’re, like, a Michelin-star chef or something. This gem? It’s the ultimate “I need dessert NOW” solution. It’s no-bake, requires minimal ingredients, and honestly, it’s pretty much **idiot-proof**. Yes, even I didn’t mess it up, and my kitchen skills sometimes peak at microwaving ramen. Plus, who doesn’t love Oreos? And chocolate? And anything that involves barely any dishes? It’s a trifecta of culinary laziness and deliciousness!
Ingredients You’ll Need
Get ready for the shortest grocery list of your life. Seriously, you probably have most of this already:
- 1 package (about 14.3 oz) Oreo cookies: Go for the regular kind. None of that fancy double-stuffed or mint stuff unless you’re feeling *extra* wild. They’re the star of the show!
- 1/2 cup sweetened condensed milk: This is the sticky, sweet magic that holds it all together. **Do NOT confuse this with evaporated milk**, unless you want a sad, crumbly mess and a very disappointed palate. You want the thick, syrupy stuff.
- 10-12 oz chocolate for coating: Milk, dark, white – your call! Chocolate chips, melting wafers, or a good quality chocolate bar chopped up will all work. This is where you get to be fancy (or not).
- Optional sprinkles, crushed nuts, or extra Oreo crumbs: For when you want to make it look like you put more effort in than you actually did. It’s all about presentation, darling!
Step-by-Step Instructions
Alright, grab your apron (or don’t, who cares?), and let’s get this party started. These steps are so simple, you could probably do them blindfolded (but please don’t; safety first, folks).
- Crush Those Oreos: Grab your full package of Oreos and unleash your inner Hulk. You can put them in a food processor and pulse until they’re fine crumbs (think sand, but delicious). No food processor? No problem! Stick ’em in a Ziploc bag, seal it up, and bash away with a rolling pin or a handy heavy object (a can of soup works wonders). We’re aiming for fine crumbs here, with maybe a few tiny chunks for texture.
- Mix in the Magic: Pour your crushed Oreos into a medium-sized mixing bowl. Now, add the 1/2 cup of sweetened condensed milk. Stir it all together until it forms a thick, sticky, dough-like mixture. It should be firm enough to roll into balls without falling apart. If it’s too dry, add another tablespoon or two of condensed milk.
- Roll ‘Em Up: Scoop out small portions of the mixture (about a tablespoon each) and roll them between your palms to form smooth, bite-sized balls. Make them as uniform as possible, but don’t stress if a few are slightly lopsided. They’re homemade, after all!
- Chill Out: Place your beautiful truffle balls on a baking sheet lined with parchment paper. Pop them into the fridge for at least 30 minutes. This step is crucial! It helps them firm up, making them much easier to dip later.
- Melt the Chocolate: While your truffles are chilling, melt your chosen chocolate. You can do this in a microwave-safe bowl in 30-second intervals, stirring after each, until smooth. Alternatively, use a double boiler on the stovetop. Be careful not to overheat it, or it’ll seize up.
- Dip and Drip: Take your chilled truffles out of the fridge. Using a fork or a dipping tool, gently dip each truffle into the melted chocolate, making sure it’s fully coated. Lift it out, tap off any excess chocolate, and place it back on the parchment-lined baking sheet.
- Sprinkle (or Not): If you’re using sprinkles, crushed nuts, or extra Oreo crumbs, sprinkle them over the wet chocolate immediately after dipping. Once the chocolate sets, they won’t stick!
- Chill Again: Return the finished truffles to the fridge for another 15-20 minutes, or until the chocolate coating has fully set. Then, they’re ready to devour!
Common Mistakes to Avoid
Even though this recipe is super easy, there are a couple of pitfalls beginners (and sometimes even seasoned snackers like us) can fall into. Don’t say I didn’t warn you!
- Not Chilling Enough: This is probably the biggest rookie mistake. If your truffle balls aren’t properly chilled before dipping, they’ll be too soft and might just collapse into the warm chocolate. Patience, young grasshopper!
- Using the Wrong Milk: I said it once, I’ll say it again: **sweetened condensed milk**, not evaporated milk! They are NOT interchangeable unless you’re actively trying to ruin your day.
- Overheating the Chocolate: Scorched chocolate is a sad, clumpy mess that’s practically unusable. When melting, go slow, stir often, and remove it from the heat as soon as it’s mostly melted, letting the residual heat do the rest.
- Making Them Too Big: Sure, a giant truffle sounds like a dream, but they can be a bit unwieldy and overly rich. Stick to bite-sized – it makes you feel less guilty for eating five.
Alternatives & Substitutions
Feeling a little adventurous? Here are some ways to jazz up your truffles without totally reinventing the wheel:
- Oreo Flavor Swap: While I’m a purist, you could totally experiment with different Oreo flavors! Peanut Butter Oreos, Mint Oreos, or even Golden Oreos could give you a whole new vibe.
- Chocolate Coating Variations: Beyond milk, dark, and white chocolate, try adding a tiny bit of peppermint extract to your melted chocolate for a minty kick, or a splash of orange extract for a citrusy twist.
- Topping Frenzy: Ditch the basic sprinkles! Roll them in crushed pretzels for a salty-sweet combo, toasted coconut flakes, finely chopped nuts, cocoa powder, or even a drizzle of contrasting chocolate.
- Boozy Boost (Adults Only!): For an elevated treat, add a tablespoon of your favorite liqueur (like Kahlúa, Baileys, or a raspberry liqueur) to the Oreo-condensed milk mixture. Just a tiny splash goes a long way!
FAQ (Frequently Asked Questions)
Got questions? I’ve got (casual, probably humorous) answers!
- “Can I use store-brand sandwich cookies instead of Oreos?”
Technically, yes, you can. But why would you want to? Just kidding! They’ll work just fine, though the flavor might be slightly different. Don’t tell anyone I said this, but sometimes the store brands are pretty good. - “How long do these truffles last?”
In my house? About 15 minutes. Kidding! They’ll last about 1-2 weeks in an airtight container in the fridge. But honestly, they’re so good, they rarely make it that long. - “Do I *really* need to chill them?”
Yes, friend, you really, really do. Skipping the chill time is like trying to build a sandcastle without water – it’s just going to crumble. Trust the process! - “Can I freeze these?”
Absolutely! They freeze beautifully. Pop them into an airtight container or freezer bag, and they’ll keep for up to 2-3 months. Just let them thaw in the fridge for a bit before devouring. - “My mixture is too crumbly/too sticky, help!”
If it’s too crumbly, add a tiny bit more condensed milk (half a teaspoon at a time) until it’s workable. If it’s too sticky, try adding a tablespoon or two of extra crushed Oreos or finely ground plain cookies to absorb some moisture. - “What if my chocolate seizes?”
Ah, the dreaded seized chocolate! It happens to the best of us. Usually, it’s from overheating or getting a drop of water in it. Unfortunately, once it seizes, it’s pretty hard to rescue. Your best bet is to start fresh with new chocolate. Consider it a lesson learned!
Final Thoughts
And there you have it! Delicious, decadent Oreo truffles made with minimal effort and maximum satisfaction. These little balls of joy are perfect for impressing guests (who will think you slaved away for hours), bribing your kids, or simply treating yourself after a long day of, well, existing. Now go forth and conquer those cravings – or just enjoy the fact that you just made something amazing with basically three ingredients. You’ve earned it!


